Sunday, July 29, 2012

My Armoire and Pearls

Note:  If you're following me and I'm not following you, please leave me a note so I can follow you back  ;-)

I finally got my Armoire organized!  I'm too hot & tired to bore you with a lot of words, but I do have lots of pictures ;-)


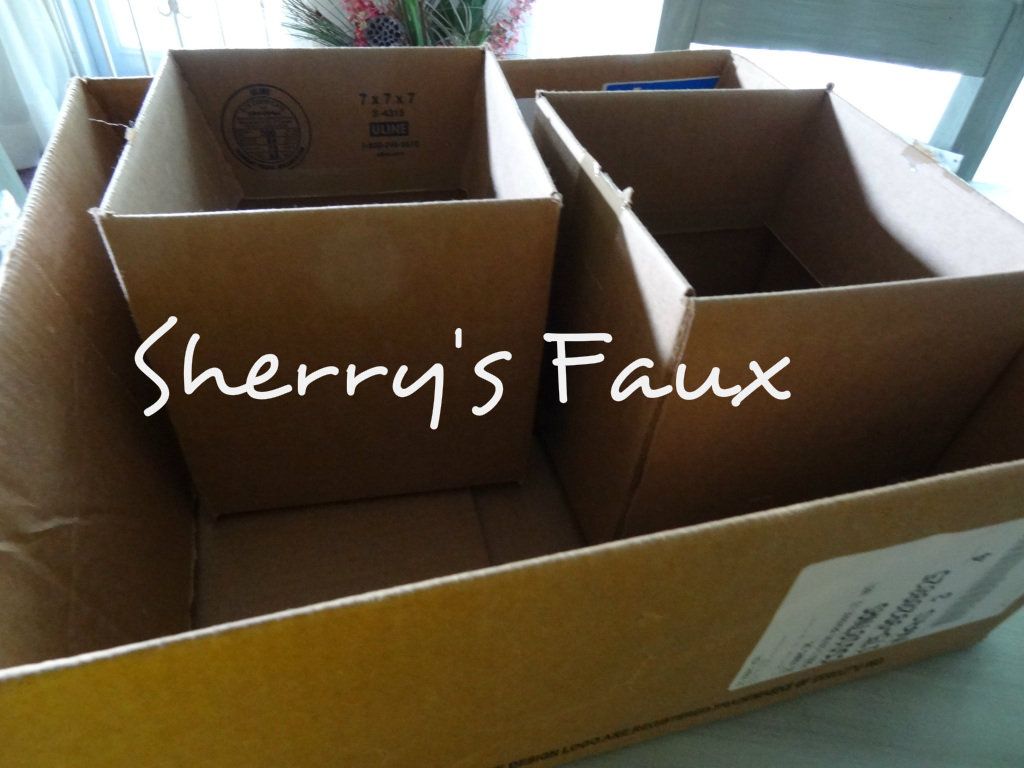
By now you should be familiar with the BEFORE


Or you can read my earlier posts  here and here.
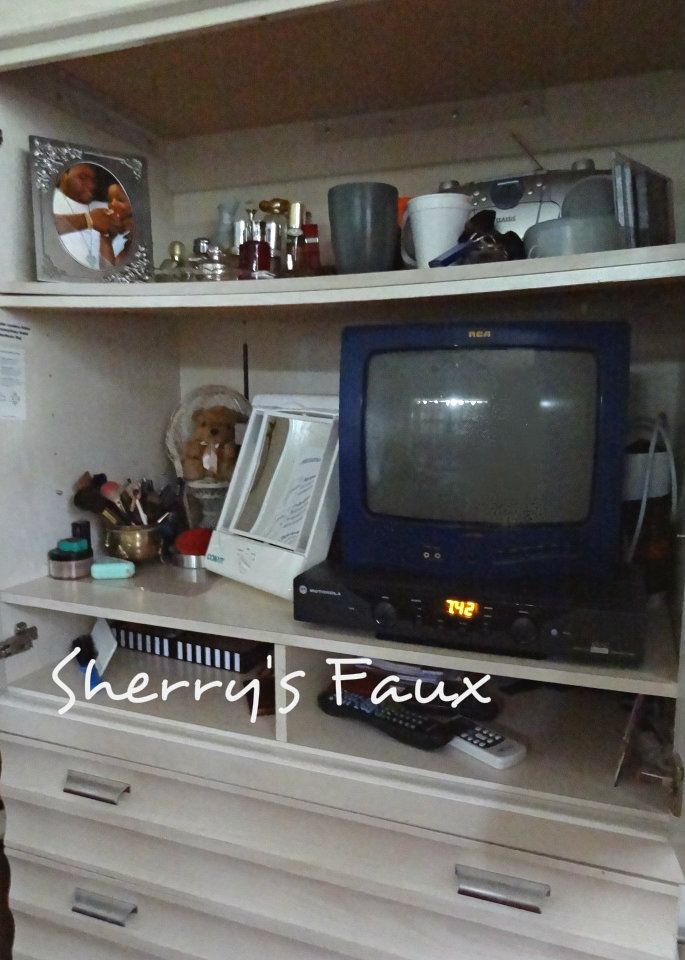
This is the NOW


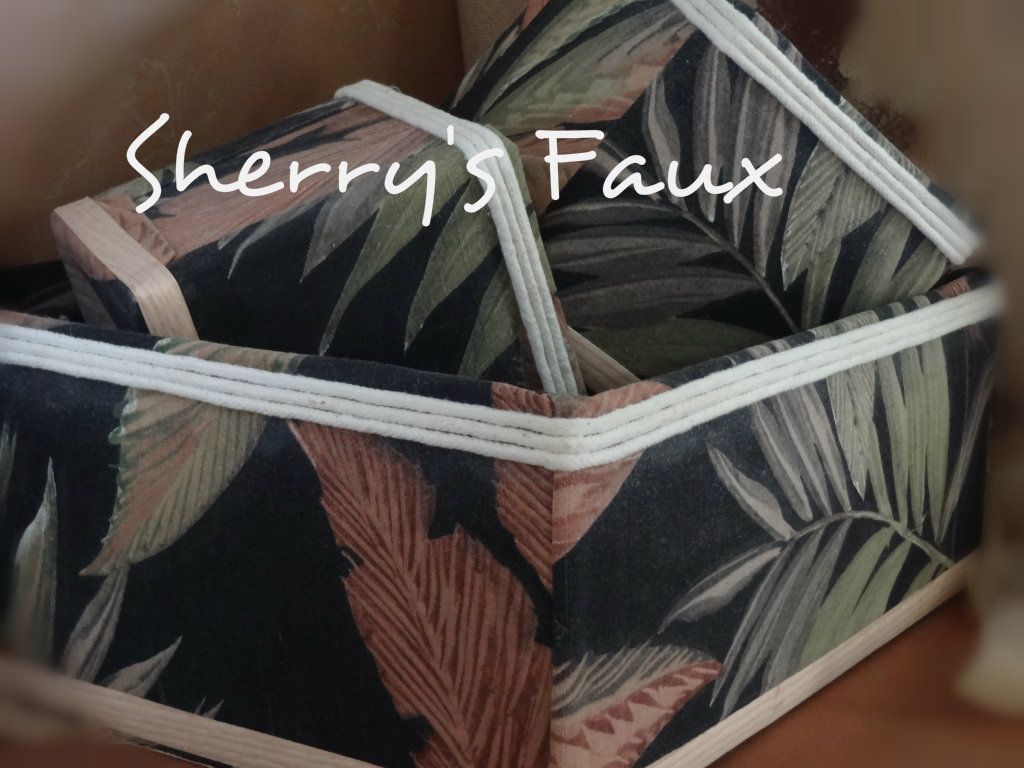
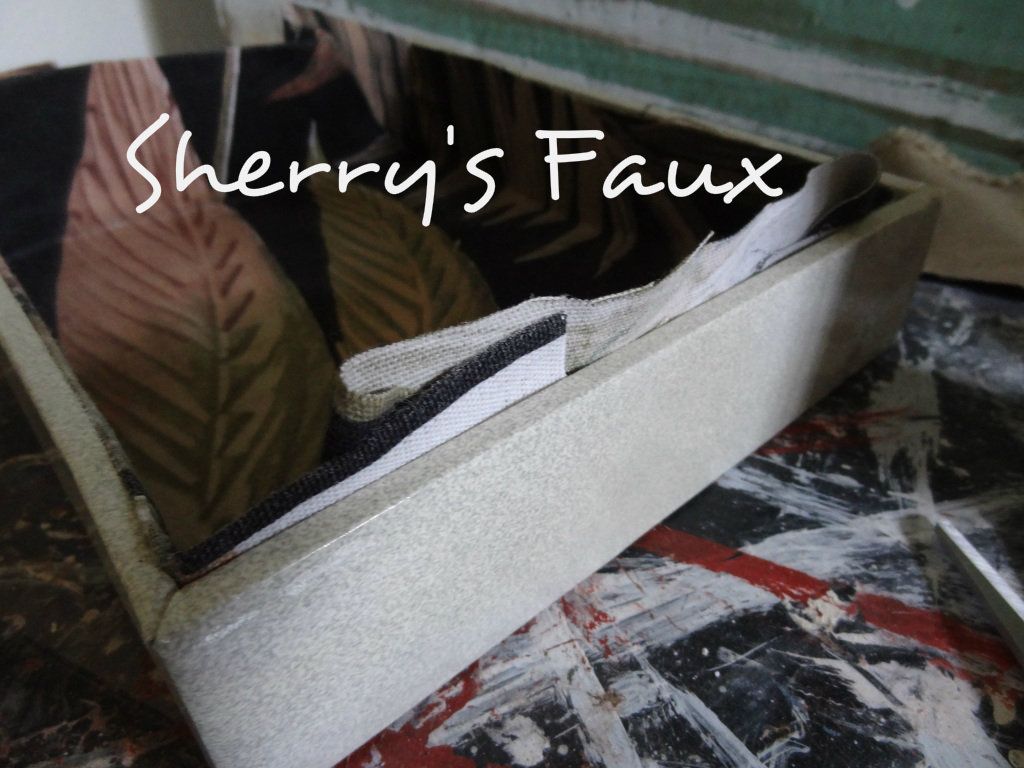
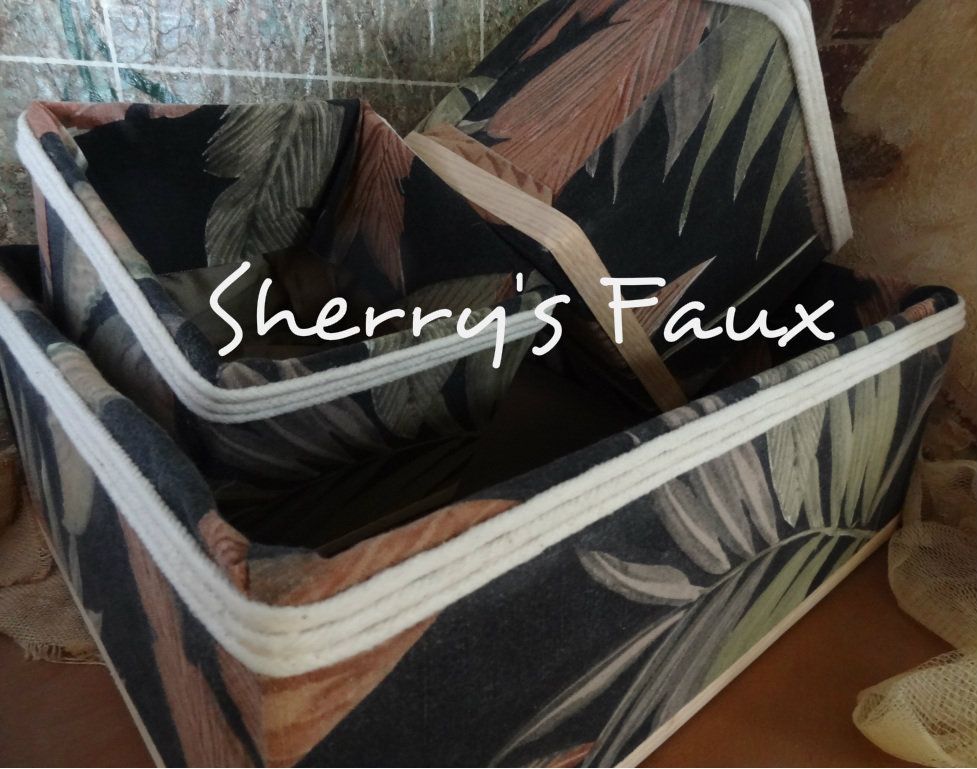
I started with me covering boxes with fabric to use as storage boxes.


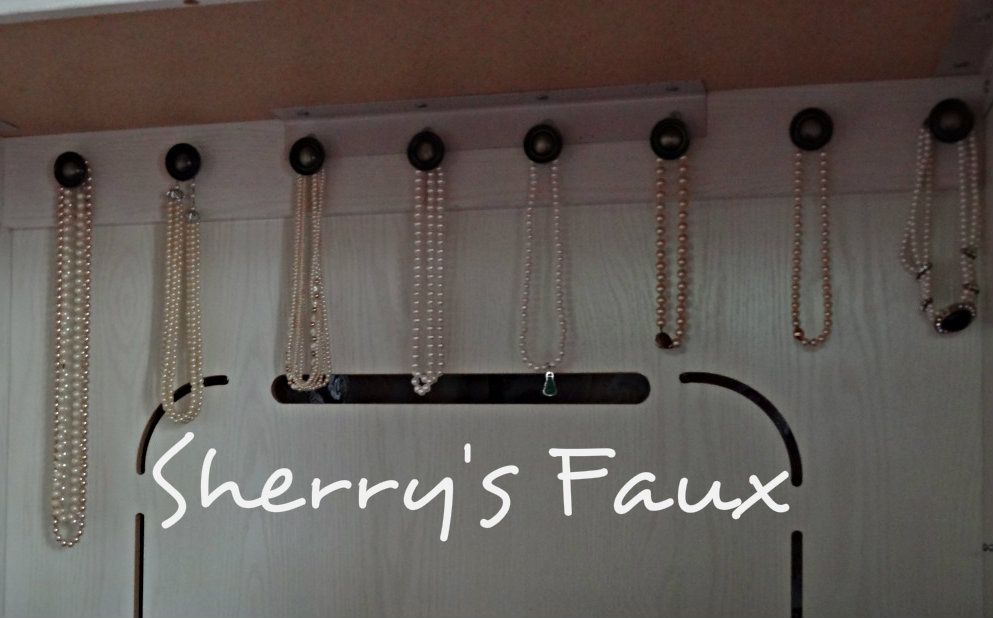
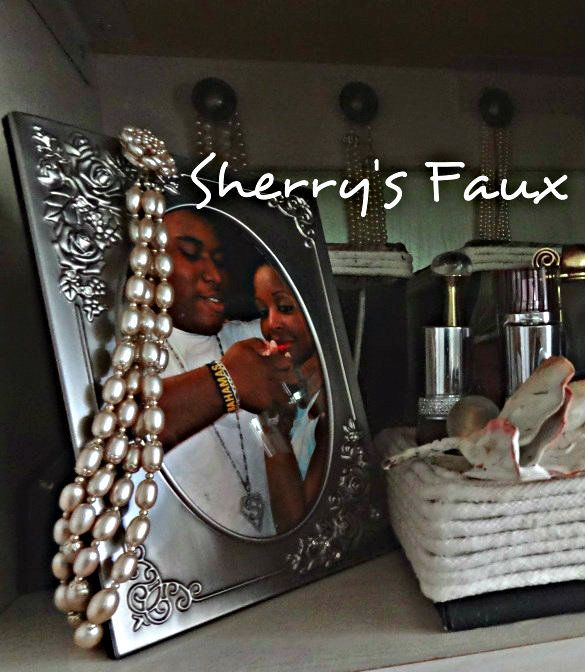
To organize my pearls I bought some bronze cabinet knobs and hung them at the back of my Armoire.


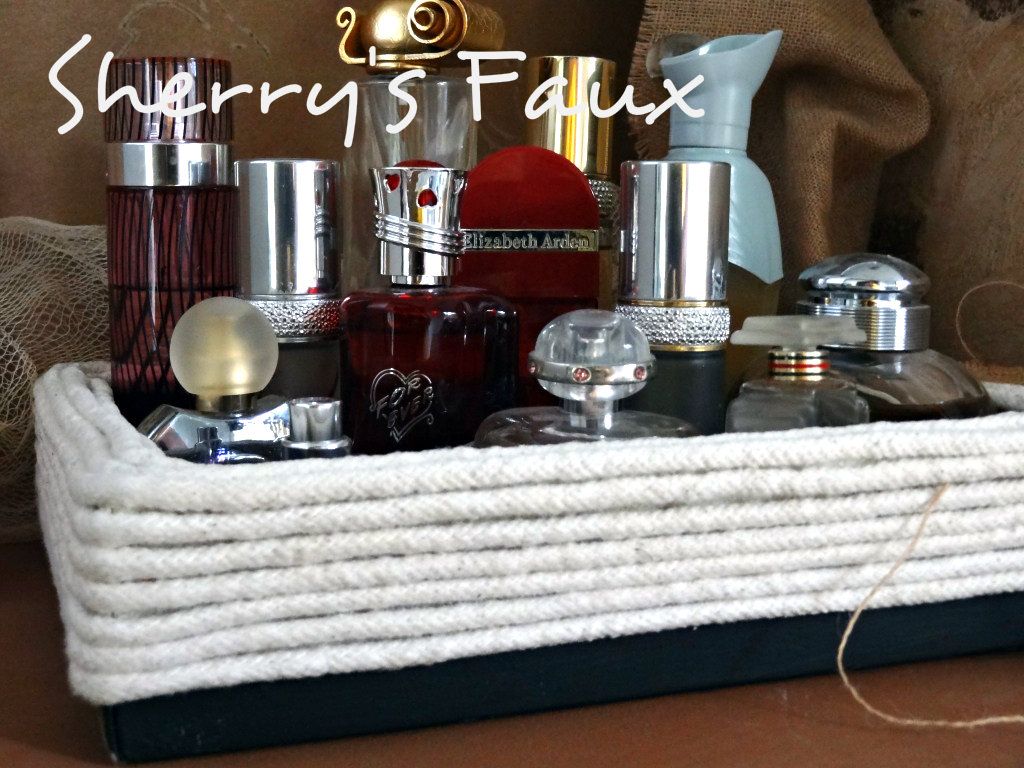
Then there was the box I covered and adorned with my plastered flower to hold my perfume


I had inherited a beautiful pearl necklace from my grandmother, when she passed.  I  wear it on special occasions, so I decided to drape it over a picture that I cherish of my son and me.


Then there was this teddy bear in a wicker chair that my son surprised me with on Mother's Day when he was around 9 yrs, I think he was proud of the fact that he actually picked it out by himself without his father assisting him.  I decided to drape my black pearls over it.


Usually, the first thing I do when I come in from work, or when I'm cleaning the house, is pull off my watch and rings.  I decided to use this cute little basket to hold them, no more misplacing. 
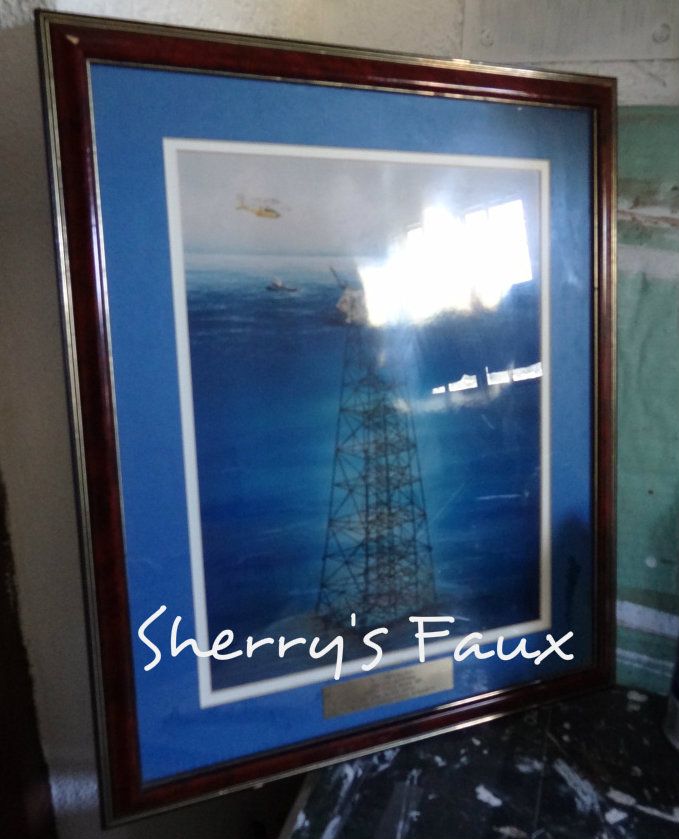
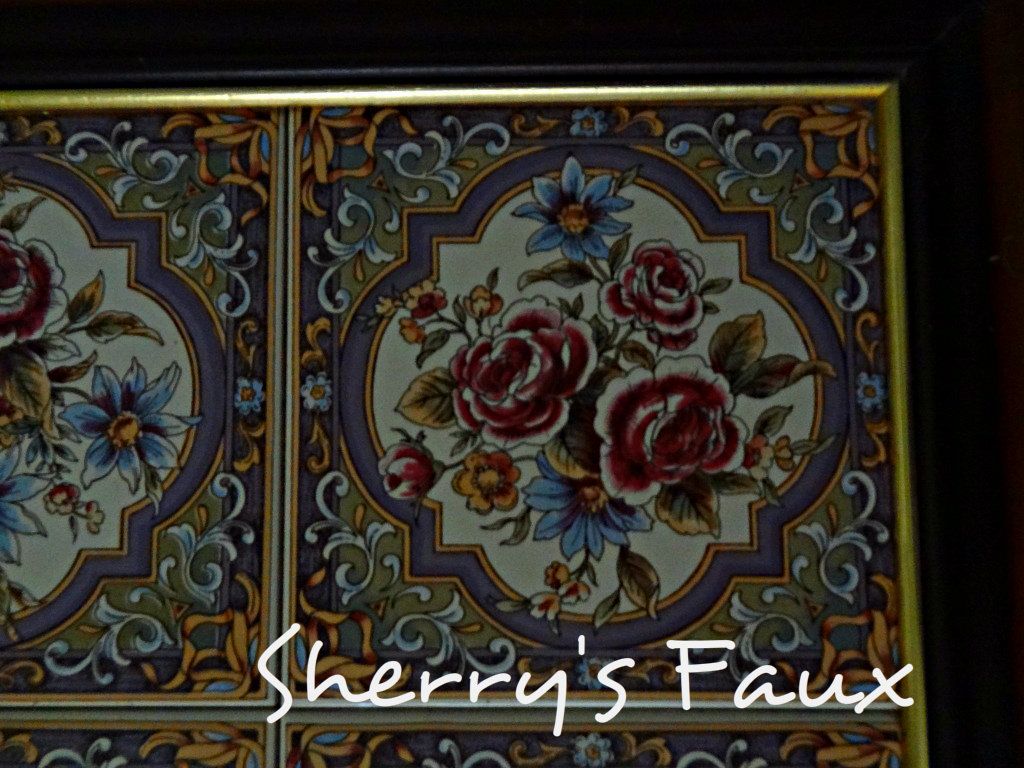


decided to transform this picture...


along with this straw place-mat...


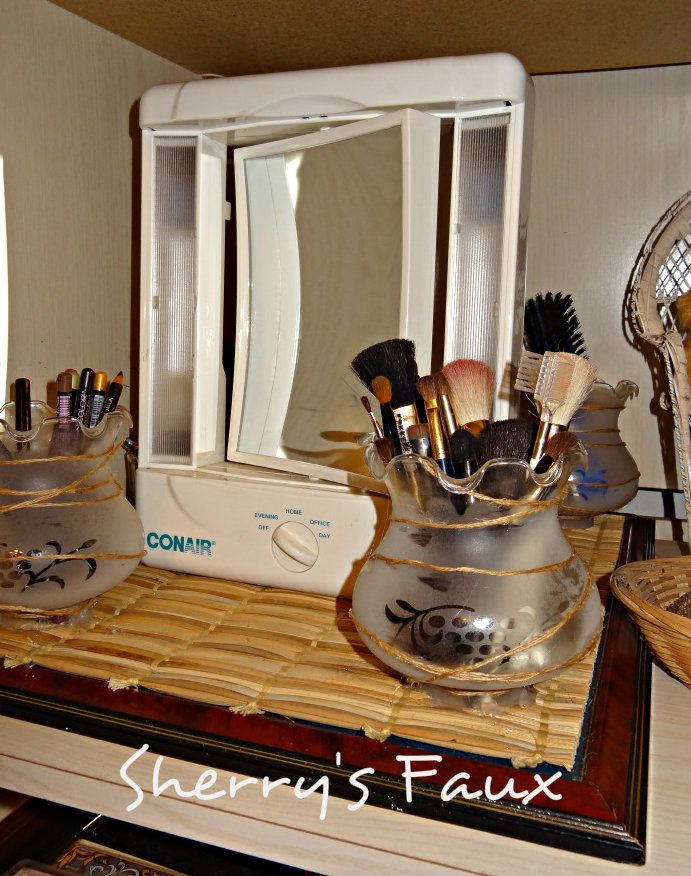
...and the globes from this chandelier that I had recently transformed


... into a vanity, something to hold my brushes, lipstick, etc. I used spray adhesive to keep the place-mat in place and I used a glue gun for the globes.   I pulled some thread from a small piece of burlap, I had been holding onto, and twined  the thread randomly around the globes using spray adhesive.


Because the kickstand on the back of my vanity mirror was longer than I had estimated, I had to remove the back globe.  :(


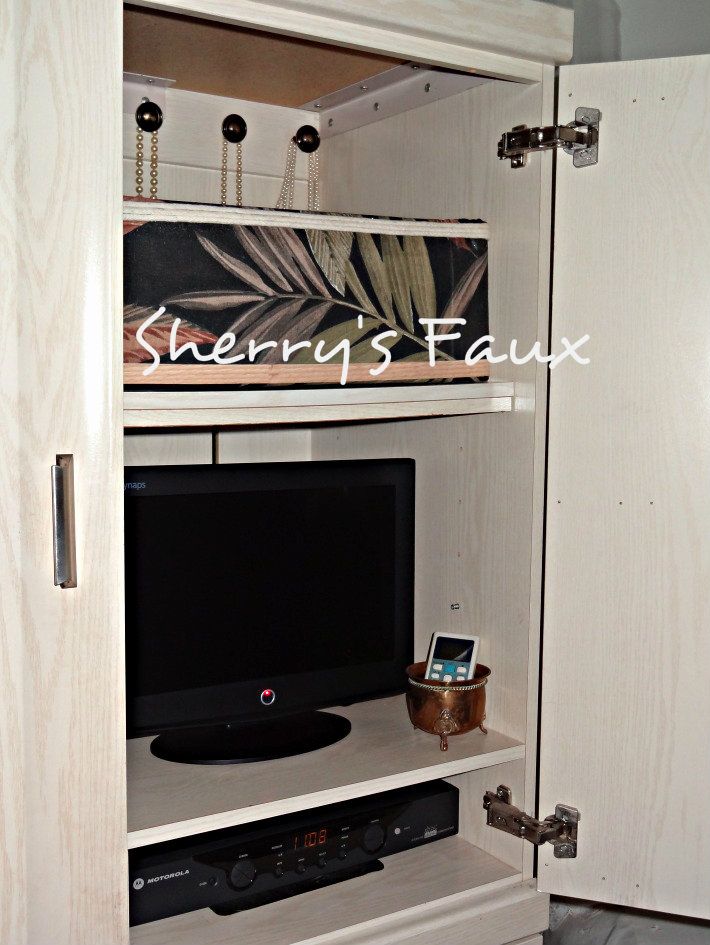
I had a brass 'thingy' that I decided to use to hold my remote controls


Did I mention I replaced my analog for a small flat screen???  Definitely a space saver!


I took this cheese tray that I had purchased from an English Shop years ago.  It's inlaid with ceramic tile and I was always fond of the colors.  I figured since I don't entertain as much as I use to, I would get better use out of it as a makeup tray.  The tray is lined with felt at the bottom so it's easy sliding it without scratching my furniture.


A very dear friend gave me this lovely purse for Christmas some years back, I don't use it very often, so I decided to hang it on my Armoire door to hold my fine gold chains.  I used one of my scarves as a backdrop.


ARMOIRE TOP SHELF


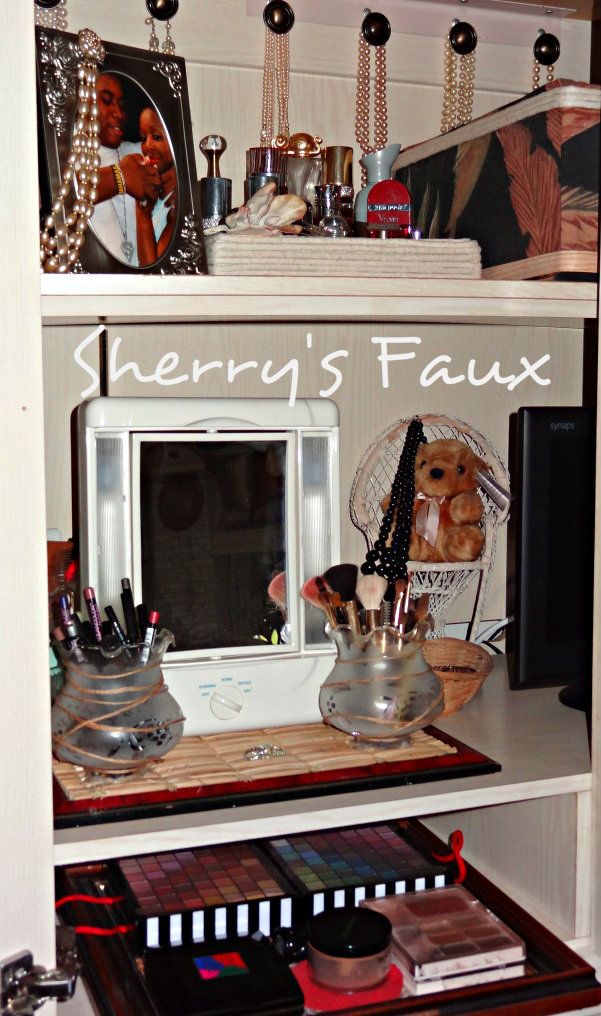
ARMOIRE MIDDLE SHELF


ARMOIRE BOTTOM SHELF


When I'm ready to apply makeup, etc. I open this side...


When I want to relax and watch TV, I open this side...


My Armoire and Pearls.  Not only was I able to organize my Armoire, I also found a way to organize and display my pearls.  LET YOUR CREATIVITY FLOW!

Wednesday, July 25, 2012

Editor's Choice Award!

(Note:  If you're following me, but I'm not following you, please leave a note so I can follow you back)

I would like to thank Matt for stumbling across my blog and awarding me with their Editor's Choice Award.  Matt is the editor at Craft Corners and Be @ Home blogging network.  Be @ Home is a part of Become.com blogging network that connects readers with blogs that they think others will find both interesting and relevant.

I've been made the recipient of the Be @ Home Editor's Choice Award and Crafting Award Editor's Choice Award.


It's always a good feeling knowing somebody or anybody can find something useful in your blog to share with others.

Thanks Matt!

Thursday, July 19, 2012

Armoire Update - I'm getting there

In my earlier blog I was trying to get my Armoire organized, well I'm realizing it's taking up much more time then I realized, but I'm making progress.

This is the BEFORE


These are the pictures that inspired me


This is what I've done so far

Earlier you will remember I transformed 3 boxes from this...


...to this


After some thought I decided I wanted something to hold organize my perfume, so I took another box


Lined it with the same fabric I used for the earlier boxes...


...painted the exterior black and then wrapped and glued twill around it.


However I felt something was missing -  I wanted it to "pop" a bit more.  I remembered I had a plastered flower, that I learned to make from Villabarnes earlier, so I decided to glue it on top.


Gotta admit that looks much better!


Earlier in one of my blogs you may remember I made a Jewelry Organizer, unfortunately I don't use it for my pearls.  I keep all of my pearls dumped inside a box, I generally wear the same strands repeatedly because it's too time consuming digging through all of them.  Then I thought, "Why not display them so I could easily select one when ready to wear?"  So while at Kelly's House & Home I saw these cute bronze cabinet knobs.  I bought several, attached them inside my Armoire, at the back, and hung my pearls over them. (Sorry, the picture isn't too clear).


Although I seem to be working at a snail's pace, I'm happy everything is coming together.


What I'm working on now...

I have this old picture I've been holding onto for years.  It use to hang on the office wall of a company I worked for.  When the company closed, I was given permission to keep the picture.  The frame was custom made and I always loved it!


I also have this straw place-mat...


...and the globes from my chandelier that I had recently transformed...


I won't say what I'm going to do with them, because I'm not certain it's going to work, but let's hope by next week I'll have everything completed to showoff.  So until next week, don't forget to LET YOUR CREATIVITY FLOW!

Monday, July 16, 2012

My Calorie Free Chocolat Bunnie

I'm back from vacation but while away I received a lovely package from a fellow blogger.  You see, sometime back I was the winner of a calorie free Chocolate Bunnie.  However, the problem was it wasn't chocolate and it wasn't eatable.  So what kind of bunny is this you ask?  It was a Chocolat Lombart bunny made especially by Beverly Collins @ Rhissanna


Not only did I receive this cute little, black eyed bunny there were all sorts of neat goodies packed tightly into my little box, actually Beverley mentioned she took delight in seeing how much she could cram into a tiny FedEx box!  And wow, did she cram it!


There were all sorts of bunnies - Bunnies modeling decorative flowers sporting various checkered & floral patterns


A bunny without eyes sporting the cuttest tatoo and another with a button in his ear...


After pulling out all of these adorable bunnies from my box, I was shocked to see those extra goodies she threw in like, nutmeg, cloves, rosemary (not in photo) & dried lavender.  Vintage laces, trims, dollies & ribbons along with Chinese tea (red foil package) a teeny weeny book, buttons, beads and other grand trinkets.


I have to admit when I saw the red foil package, so tigltly sealed, I was afraid to open it because I wasn't too sure what it was.  Confessing my ignorance I asked Beverley.  She educated me saying it was Chinese tea and that the tea leaves are folded up and tied together but when boiling water is added, it opens like a flower!  So I can't wait to give it a try...

But my biggest surprise was when I pulled out the cutest little Button Bunny doll!


Isn't she adorable!


I want to thank Beverley for deligting me with so many special treats. 


If you haven't visited Beverley's blog, when you have a chance please do.  You'll be amazed at her wonderful magical creations.  LET YOUR CREATIVITY FLOW!