Friday, October 26, 2012

Bathroom Redo Completed


I'm not too sure what happened, I posted this earlier, right after hurricane Sandy, but while checking my posts I see where this was labeled as a draft.  So, I'm re-posting.
---------------------------------

MY SPARE BATH IS COMPLETED!   Well, there're some minor details, like pictures on the walls, but that's not a rush.   Here's what I did

  • Framed the mirror, 
  • Put molding around the tub 
  • Made a bath tray  
  • Changed the curtains (window & shower) 
  • Added a few accessories.   
Below is a preview of where I started and finished.

MIRROR BEFORE (years ago I had painted a small frame around it)


Plain mirror painted around edges

MIRROR AFTER (plastic molding was used for frame, I then dry brushed with Caramel & Avocado - same paint I used on vanity.  A caulking adhesion was used to adhere frame to mirror.)


Mirror framed


Framed mirror

LIGHT FIXTURE BEFORE


Framed mirror

NEW LIGHT FIXTURE & FRAMED MIRROR


Framed mirror & new light fixture
BATHTUB BEFORE (rusting at bottom)


BATHTUB AFTER (Rosette blocks & molding were added to base of tub for a more modern appearance; adhesion caulking was used to adhere to tub)


Molding added around floor of tub


Molding added around floor of bathtub
BATH TRAY (I took a piece of wood, added molding to the side for my bath tray.  Initially I was going to go with an alternate color, but knowing how I can change the color of my bathroom within a year's time, I decided to keep it the same color of my bathtub.  I doubt I'll be changing my tub anytime soon.)


The bath tray is light, so it's easy to move around (raised stenciling was added)


White bath tray with raised stenciling


White bath tray with raised stenciling

SOAP HOLDER (Can I call this a cloche?  If so it's my first)  I used a top I've been holding onto and the globe from a light fixture I had just changed.


Cap from a jar


Soap placed in cap


Light globe used for soap dish/


Light globe used as cloche for soap


Molding bottom of tub & bath tray


BATH FAUCETS BEFORE


SPRAY PAINTED BATH FAUCETS  (black & copper) (you can see more here)


Spray painted bath fixtures


Spray painted bath fixtures & shower head


VANITY BEFORE


VANITY AFTER (you can see more here)


Green Vanity with raised stenciling


raised stenciling


CERAMIC TILE BEFORE


cracked ceramic tile


CERAMIC TILE AFTER (you can see more here)


Ceramic tile painted with white homemade chalk paint


BATHROOM BEFORE


BATHROOM AFTER (I spray painted curtain rod & clips copper & silver; took 2 pieces of sheer fabric light green & off-white cut to size, layered and then clipped on.  I had been holding on to the shower curtains for about 6 months)


You can see I still use jewelry to accessorize

Green vanity with raised stenciling

Glass contains cinnamon sticks


Computer paper rack used for towels; toy bin painted black used for wash cloths & waste paper bin fit neatly under rack.

computer rack converted to towel rack


bath vanity with raised stencils
There are still the small details, my walls are bare but I'm not rushing.  Oh, and there is one thing I've decided I won't touch... the soap on the ceiling!


soap on ceiling


When I look up I have too many fond memories of a cute little fat cheek boy cheerfully playing in the tub.


BEFORE


AFTER


So, until the holiday season (or when I get bored studying) LET YOUR CREATIVITY FLOW!

Friday, October 19, 2012

Bathroom Vanity & New Faucets

Hurray for me!  I just finished tackling the vanity in my guest bath and I'm realizing this is going to take much longer than I had hoped, when I get home from work I'm tired, can't seem to get very much done  ;-(

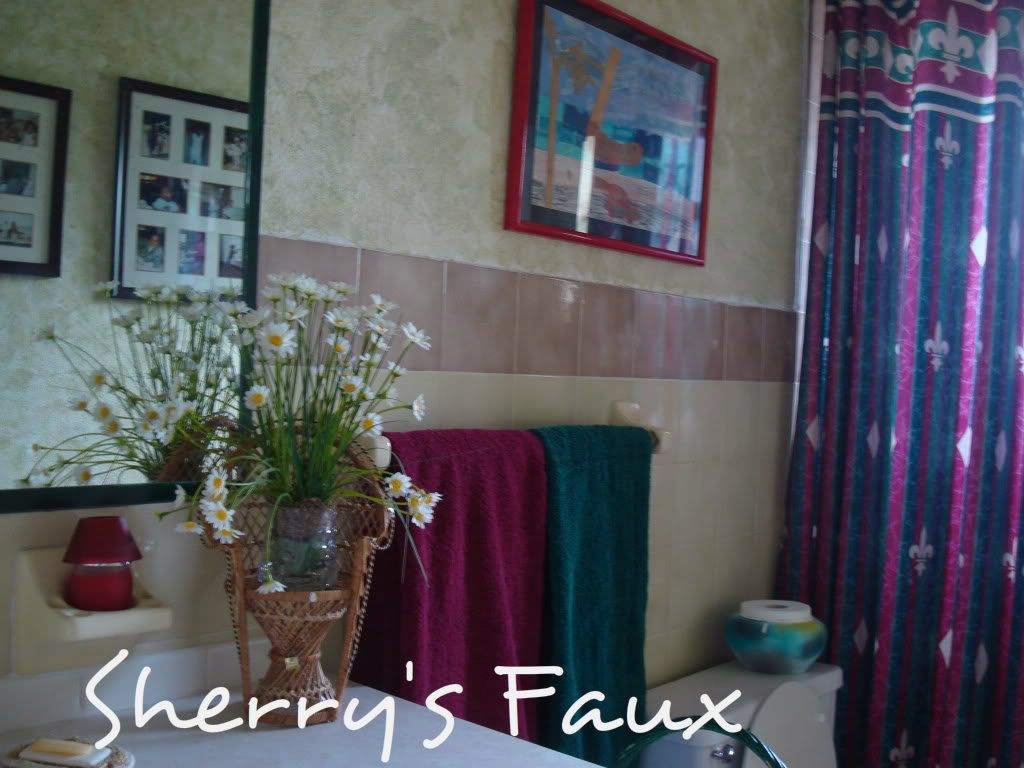
Earlier I had already painted the walls, tiles, soap dish, etc.  You can read more about that here.  

This was my next project   


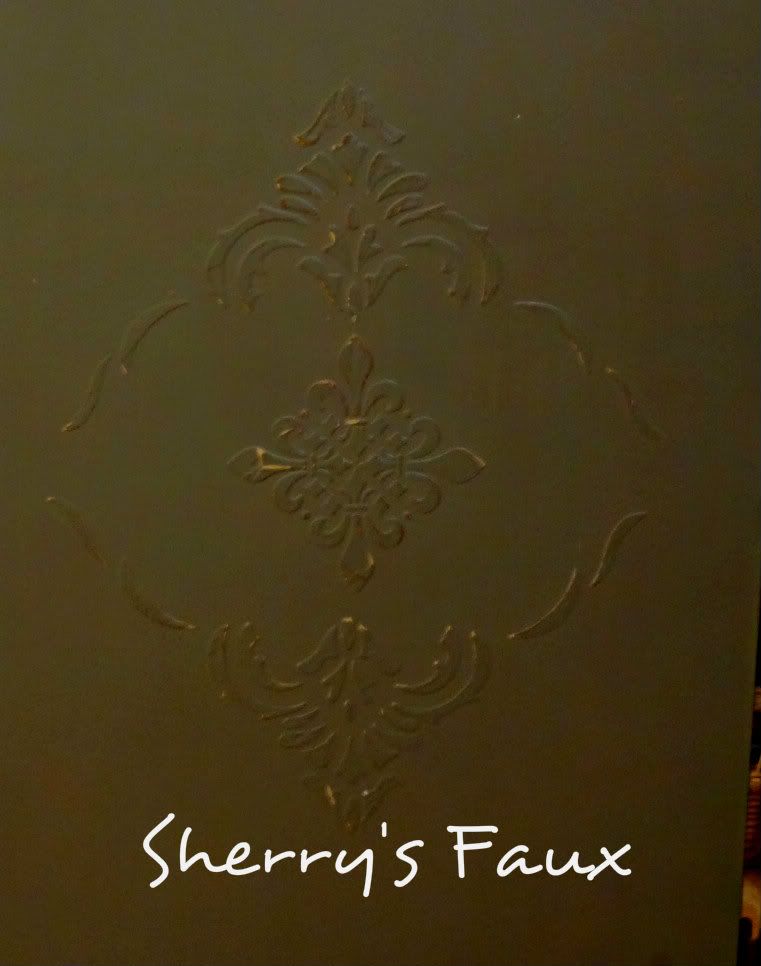
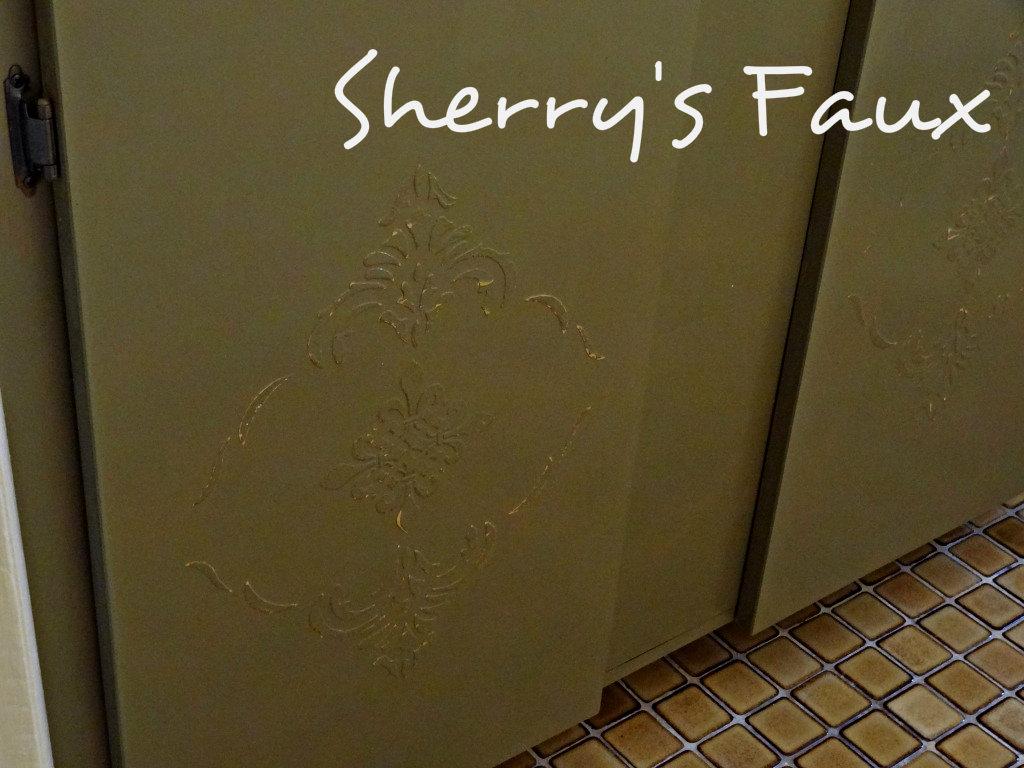
I decided to add some detail to the sink by adding raised stenciling around the sink and on the doors.  If you're not sure about raised stenciling you can go here.


   BEFORE


 with stencil

raised stenciling


The door BEFORE (doors were taken down before I thought to take picture)


with raised stencil


raised stenciling

You can see I added a little paint to the compound before stenciling, that way when I'm ready to distress it the brown (rather than white compound) will show through. 


For painting I decided to go with homemade chalk paint ("HCP")  I used two colors, one was a Caramel and the other ??? Avocado (sorry can't remember name).  I used the same recipe for HCP that I used on my ceramic tiles (read more here) you can get the recipe from here

The Caramel HCP went on as the base coat and the Avocado 2nd coat.  Initially I wanted to distress the vanity, but I had second thoughts and decided to just distress the stenciling instead.  However, some of the Caramel can be seen through in certain areas.


raised stenciling


avocado vanity with raised stenciling


The doors

raised stenciling


raised stenciling on bathroom vanity


My initial thought was to wax, but knowing this will get lots of banging, so I instead went with poly (polyurethane) .  I waited a day or 2 before applying the poly and applied 4 or 5 coats.  From my experience poly is very durable and can take a lot of banging I haven't had very much experience with wax and didn't want to take any chances.

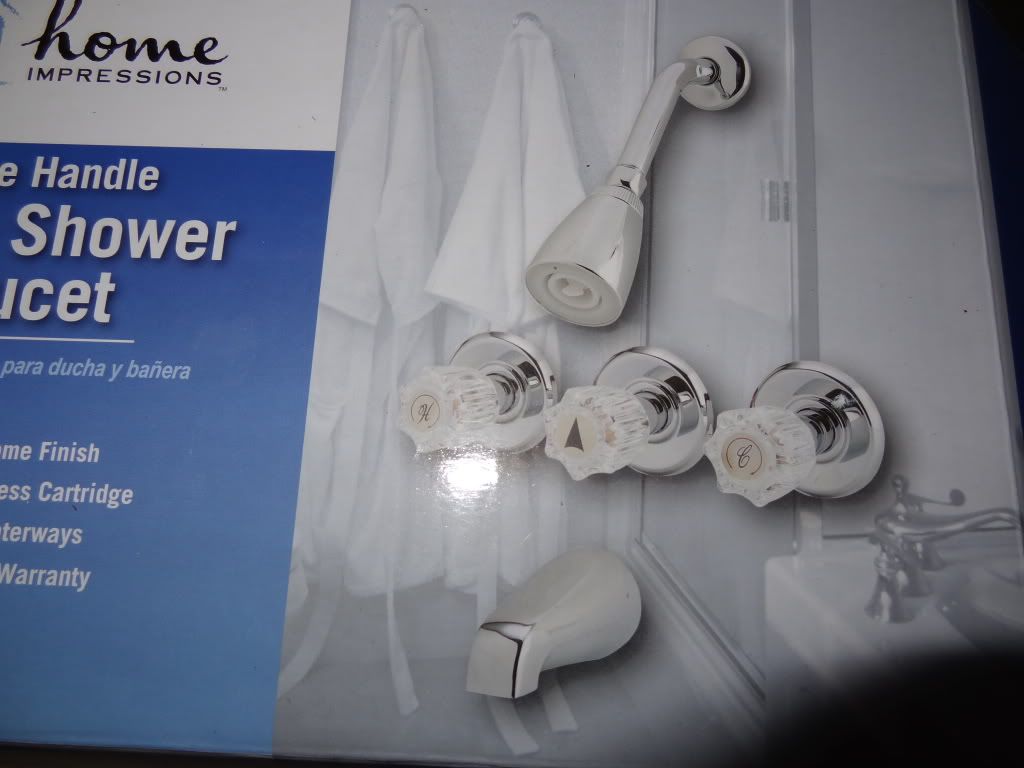
For my faucet I decided on a this 


raised stenciling on bathroom vanity


Vanity Before


Vanity After

raised stenciling on bathroom vanity


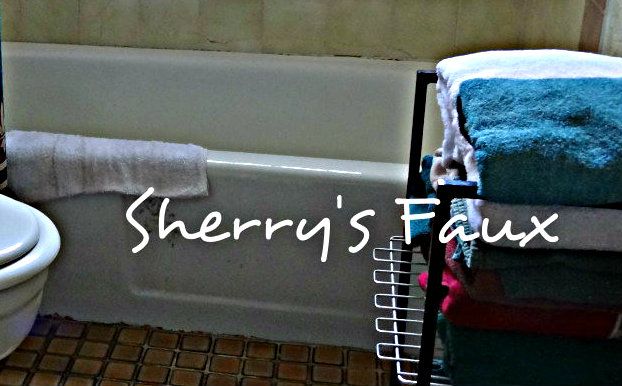
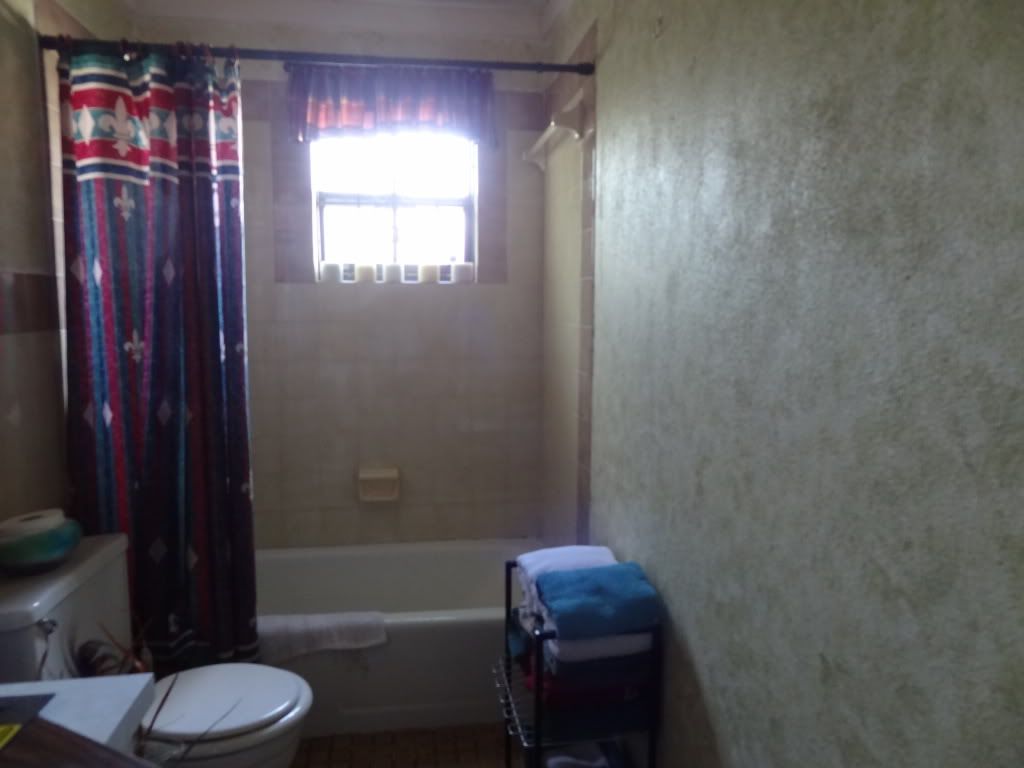
I thought this was a big improvement.  Unfortunately, I didn't have the same luck with my tub.    

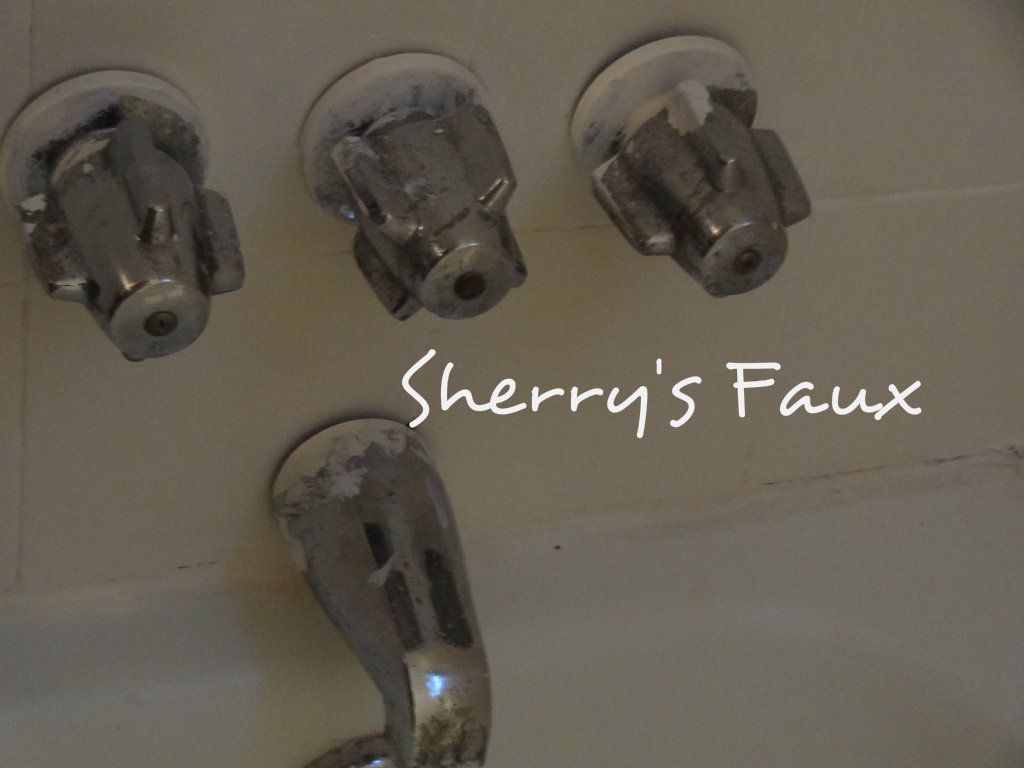
This was my bath faucet


I really wanted something fancy like my sink, but this was all I could find (boring chrome)


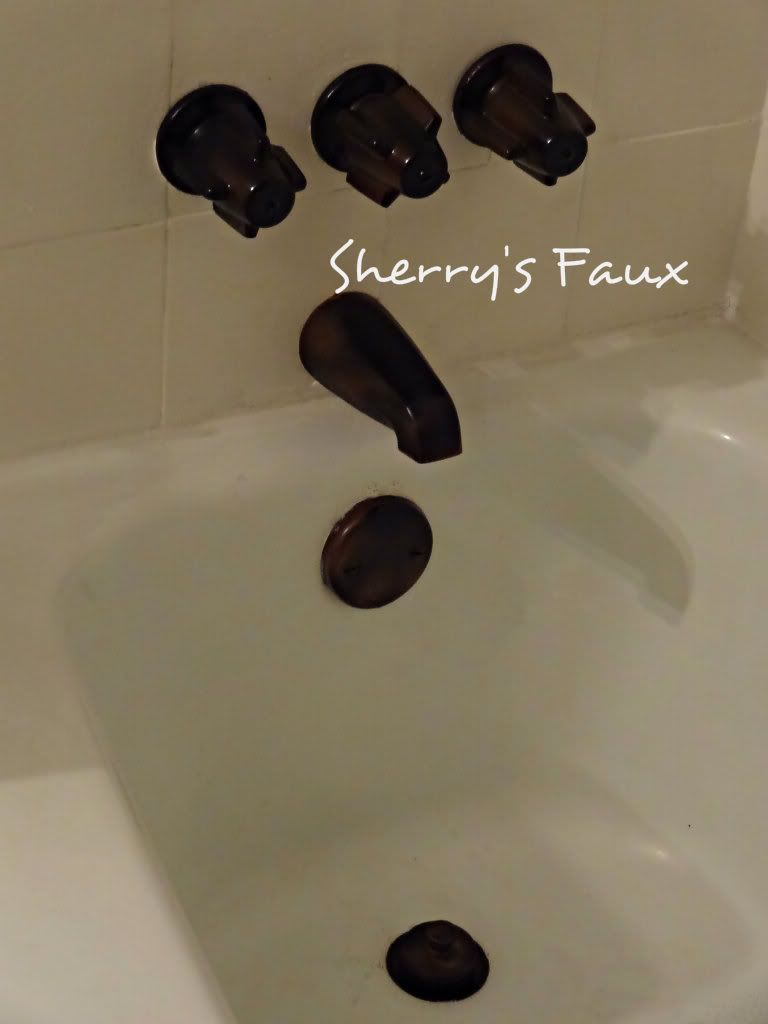
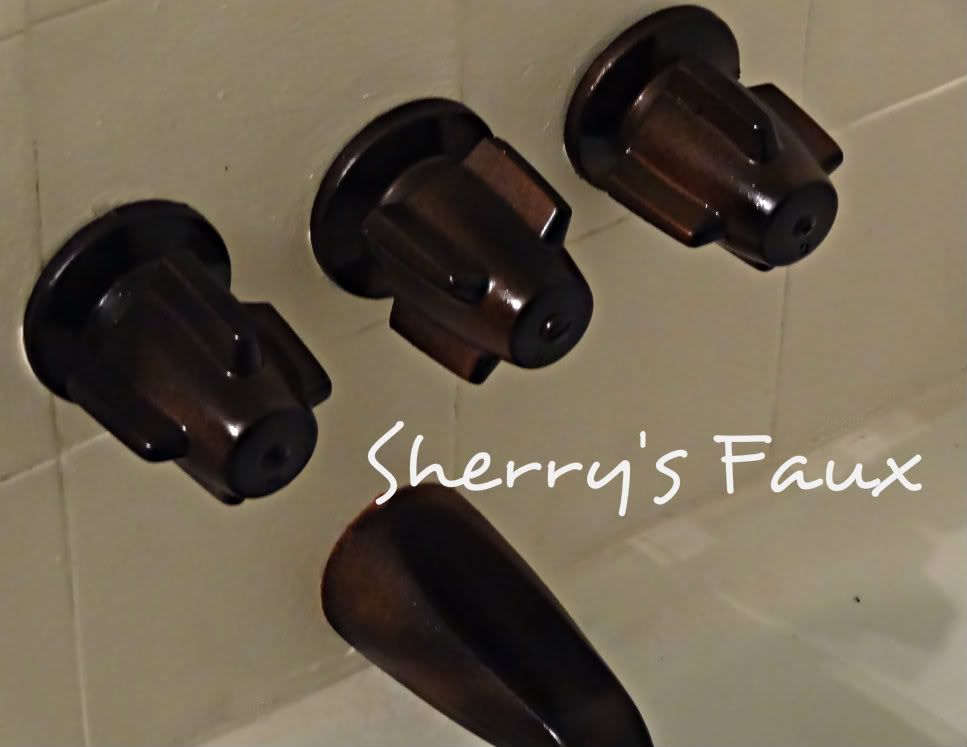
Anyways, to make a long story short, I opted to spray paint my bath faucets instead.  The plumber was afraid to take them off for fear that he might damage them, so I had to spray paint them while they were still on the wall.  All I could think about was I had just painted my tiles (sob).  

But I managed it and this is how they turned out!


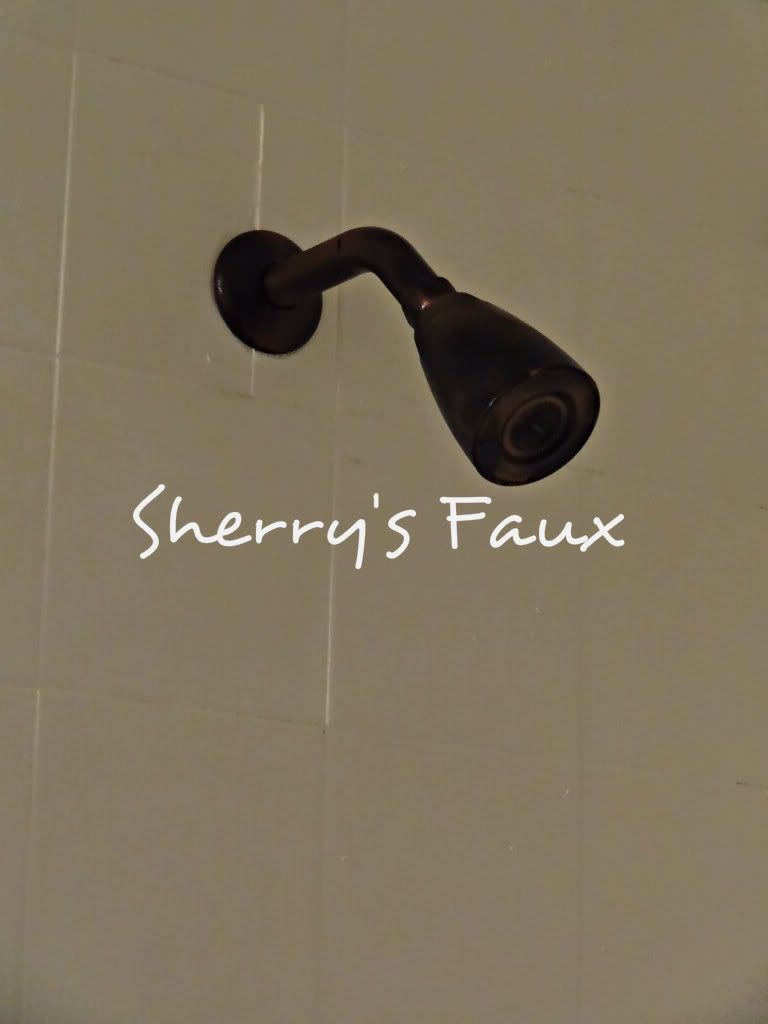
spray painted shower head


spray painted bathtub fixtures / faucet


spray painted bathtub fixtures / faucet


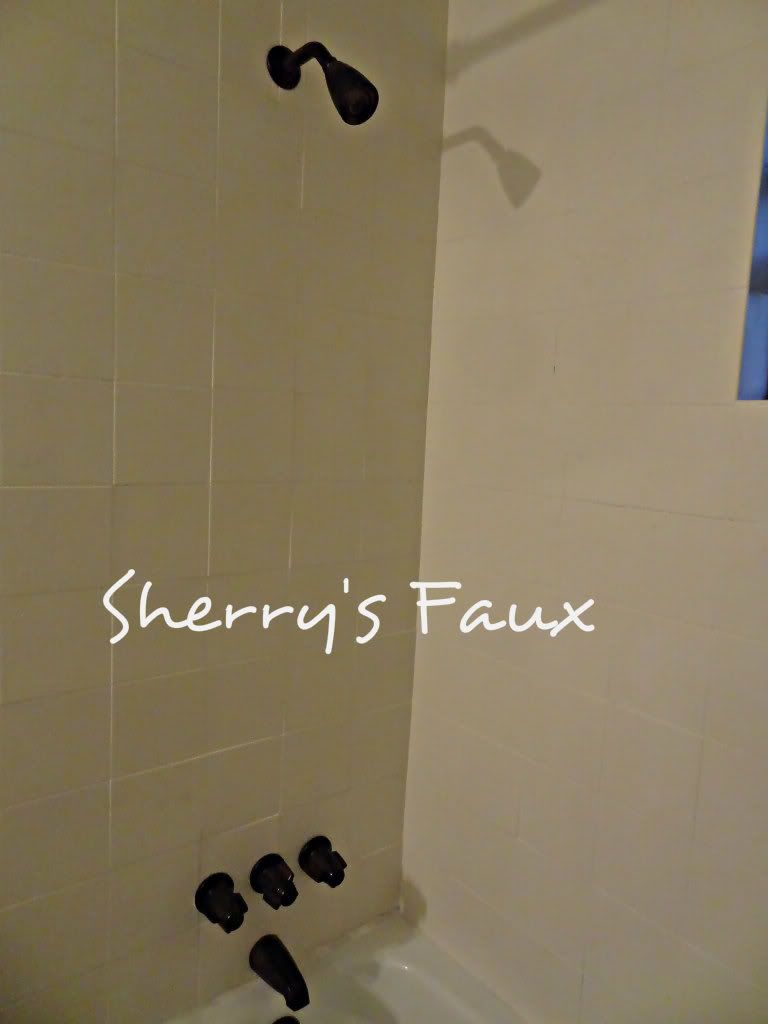
spray painted bathtub faucet / fixtures.  


BEFORE


AFTER


spray painted bathroom fixtures / faucet


No, it's not Moen, it's paint, but it works for me!


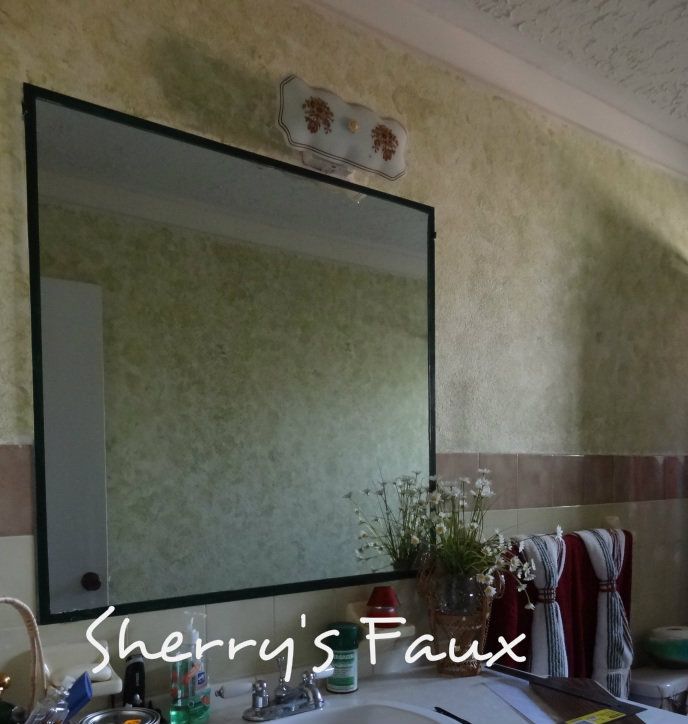
Projects to Complete
  • Paint the wall
  • Paint the wall tiles
  • Paint the vanity
  • Frame the mirror
  • Put caulking at base of tub
  • Change light fixture & faucets
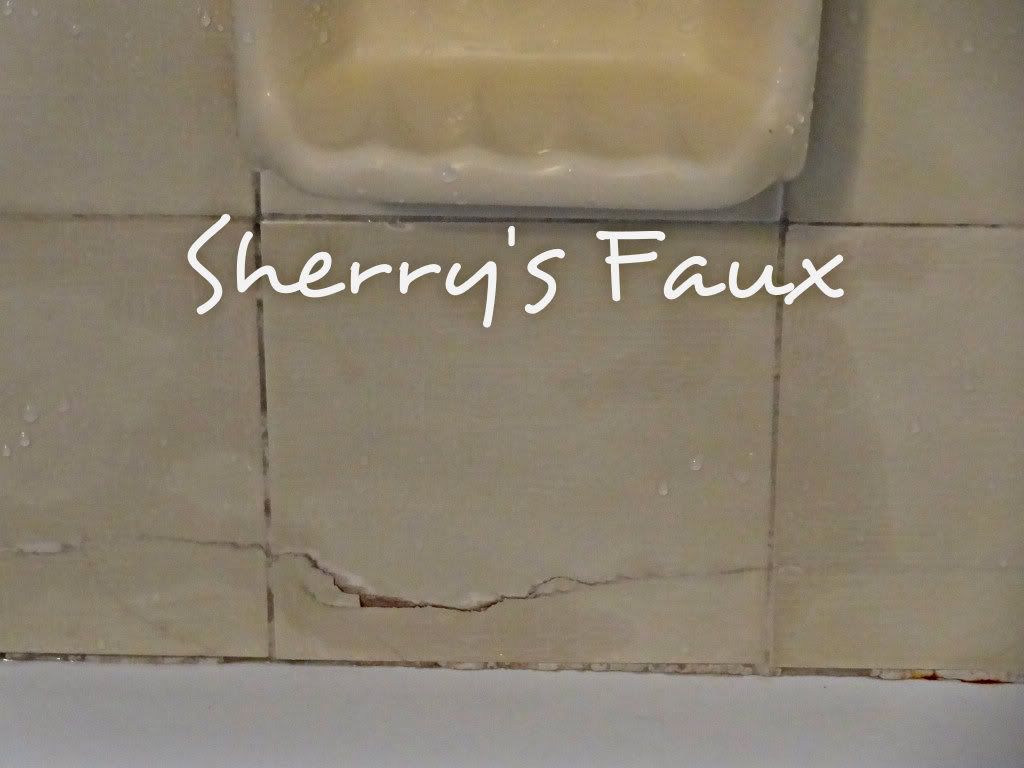
  • Scrape soap off ceiling
  • Change window treatment & accessories

I'm going to give myself a 1-2 day break, get some studying in, and then start working on that frame for my mirror; until then LET YOUR CREATIVITY FLOW!