A lot of times we say we have to use what we have, but we don't always use what we have. Am I making sense? Okay, let me start from the beginning. You're going to hear me say this a lot, so please don't get tired, my house is small and I have very little closet space, I am now trying to utilize every space I have, while keeping the house kind of decent. In one of my earlier blogs (click here) I showed you my file cabinet I had restored.
What I didn't tell you was, that prior to painting this cabinet, I had dissected it and I was able to utilize all of those other pieces to organize my Guest Bedroom Closet.
This is going to be a long blog, and at some point you're going to say 'dang' I didn't know you could do that. Well I didn't neither. So go take a 'pee' break, grab a cup of tea/coffee, elevate your legs and read on.
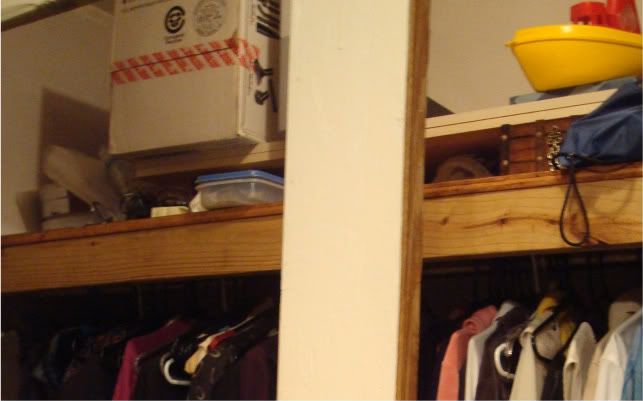
This was the Guest Bedroom closet before - believe me when I say, I thought this looked good at the time, well it was kind of organized anyway.... :-)
The first thing I did was take everything out of the closet, threw away what needed to be thrown away, and then took a good look around to figure out what I wanted needed to do. I knew the shoe rack on the floor was tacky and I wanted to move it but I didn't know where. I also wanted shelves, but I didn't want to have to go and purchase wood or shelving and as usual money is always a never ending issue. So I did, what I normally do when faced with a problem, go in the kitchen, grab some snacks, sit down and watch TV. :-) Really I did!
 |
| Had to remove shoe rack off floor |
After a full hour of TV and a belly full of snacks (along with an additional 5lbs to work off) I got to work. I knew the closet needed to be painted so I tackled that first. The light is low in the closet so I kept the color off-white to give more light. Like I always say, I'm not very creative so it takes a while for anything to kick in, but by the time I finished painting I knew exactly how I was going to do my closet.
Now, let's get back to my file cabinet.
When I had started restoring my file cabinet, I took out the hanging racks (the things that hold your hanging file folders) and I removed the handles. Now, what I didn't know is that when you remove the handles there is a thin flat sheet of metal against the cabinet draw (you don't see this metal unless you're trying to remove the handles), I think the purpose of this metal is to keep the handles firmly reinforced. (sorry I didn't take a picture). I wasn't sure what to do with these sheets of metal, but I knew eventually I would use them, so I set them aside.
After dissecting the cabinet I started on my shoe rack. I pulled it a part and after some toying around I managed to get it joined onto the wall. I realized I needed the rack to have some slack so I couldn't use a regular nail. So after rummaging around in my nail box playing around with screws and hooks I found what I was looking for, hook nails. They allowed the right amount of slack for hanging shoes.
 |
| Crown Hook Nail |
I took the shelving that was at the top of my closet (see picture below) and placed it on top of the hanging file rack that I had placed on the closet floor. Perfect for my pants and jeans. And then it hit me, I knew what I wanted to do with those flat sheets of metal, you know, the ones from the file cabinet.
 |
| The shelving on top shelf removed |
I have four cabinet draws, so I had four of those flat sheets of metal. I had some shelf brackets left over from when I built shelves in my pantry and laundry room. So I rushed to get them and banged them inside the closet. Then I took those same flat sheets of metal and laid them on top of the brackets. It was perfect...I had four cute little shelves!
...and of course I restored my file cabinet and centered it in the closet for additional storage. So let's have a look.
 |
| Metal pieces make perfect little shelves |
 |
| Shoe Rack taken apart and hung on wall |
 |
| Hanging File Rack used to hold shelf (bottom far left) |
I think this is what they mean by using what you have. So the next time you're laying around snacking on chips you can still LET YOUR CREATIVITY FLOW!


No comments:
Post a Comment