I had several queries about raised stenciling when I featured my shoe box on my earlier blog. Raise stenciling is one of the easiest ways to transform something from plain & drabby to creative & elegant! Here's some stuff I stenciled over the years.
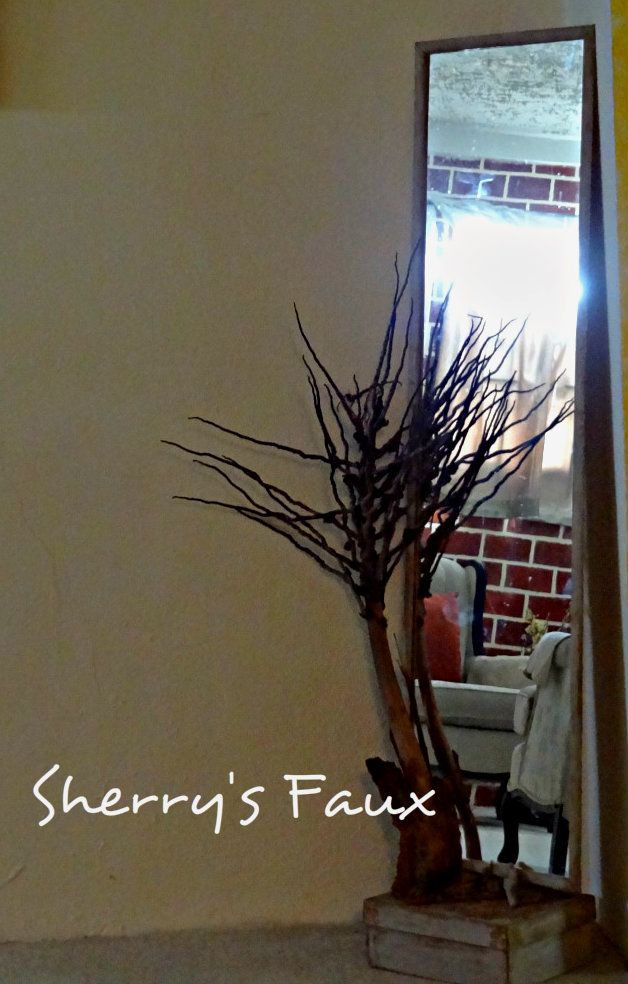
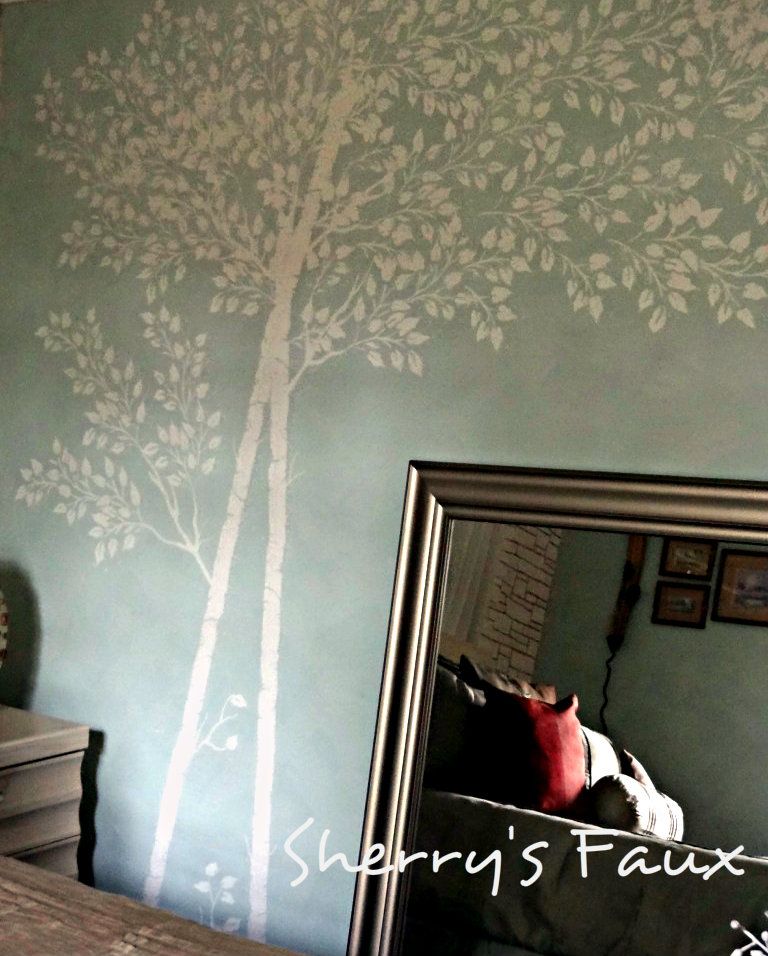
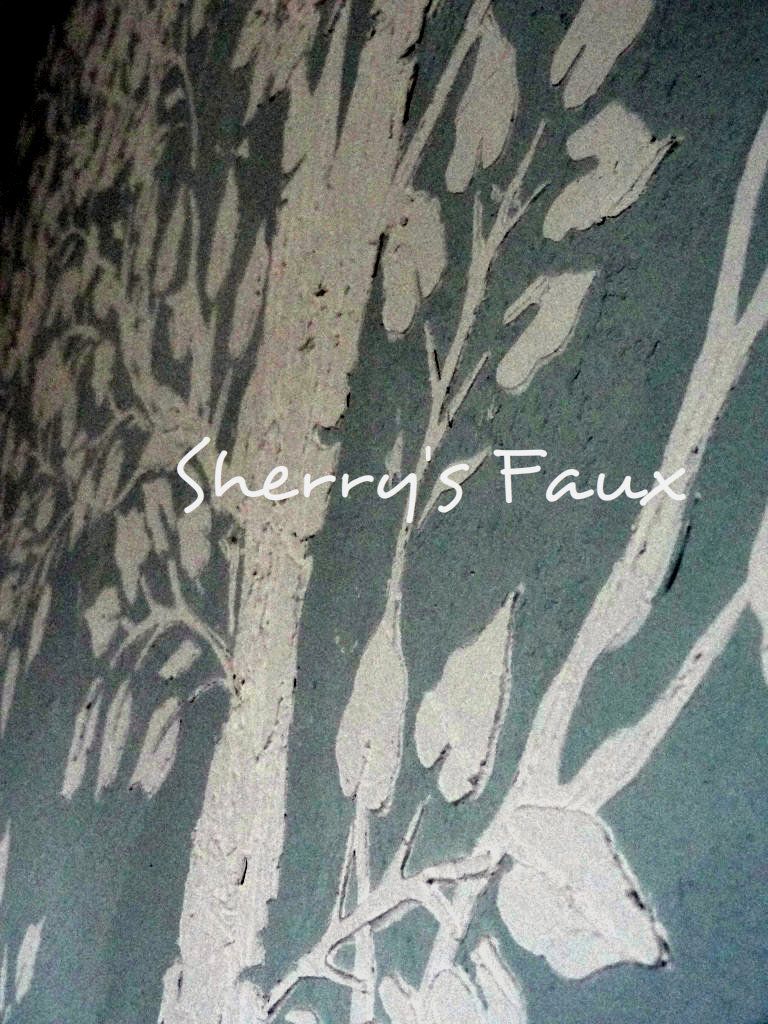
A tree on my bedroom wall
A simple stool


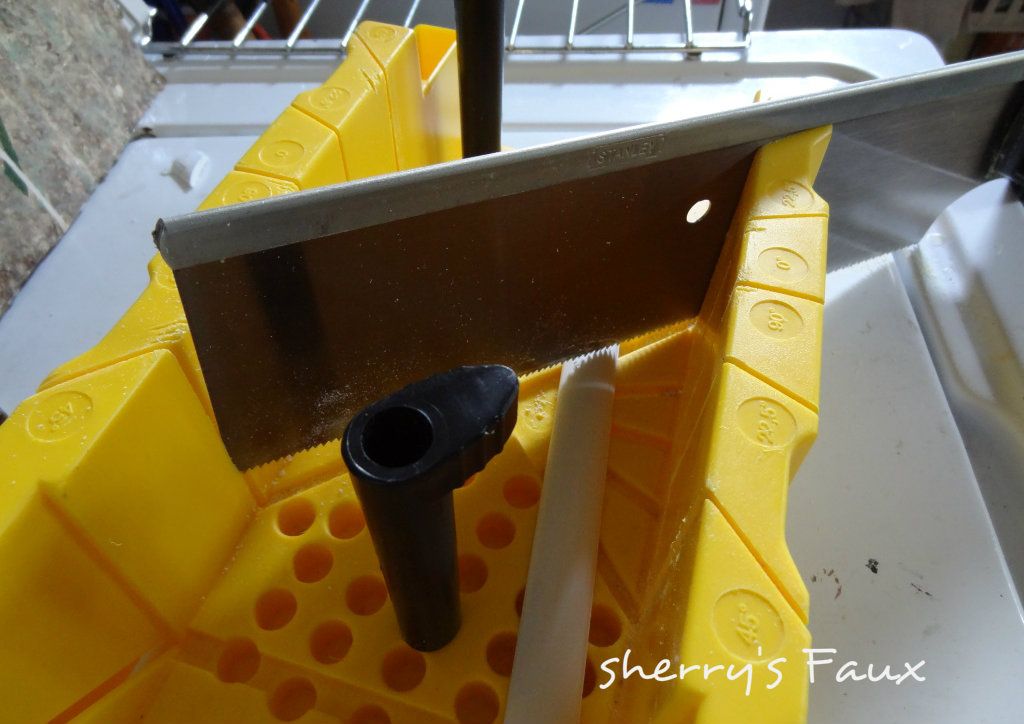
If you want to give this a shot, here's what you'll need to get started
- Ready made Compound (or you can use wood filler)
- Stencil
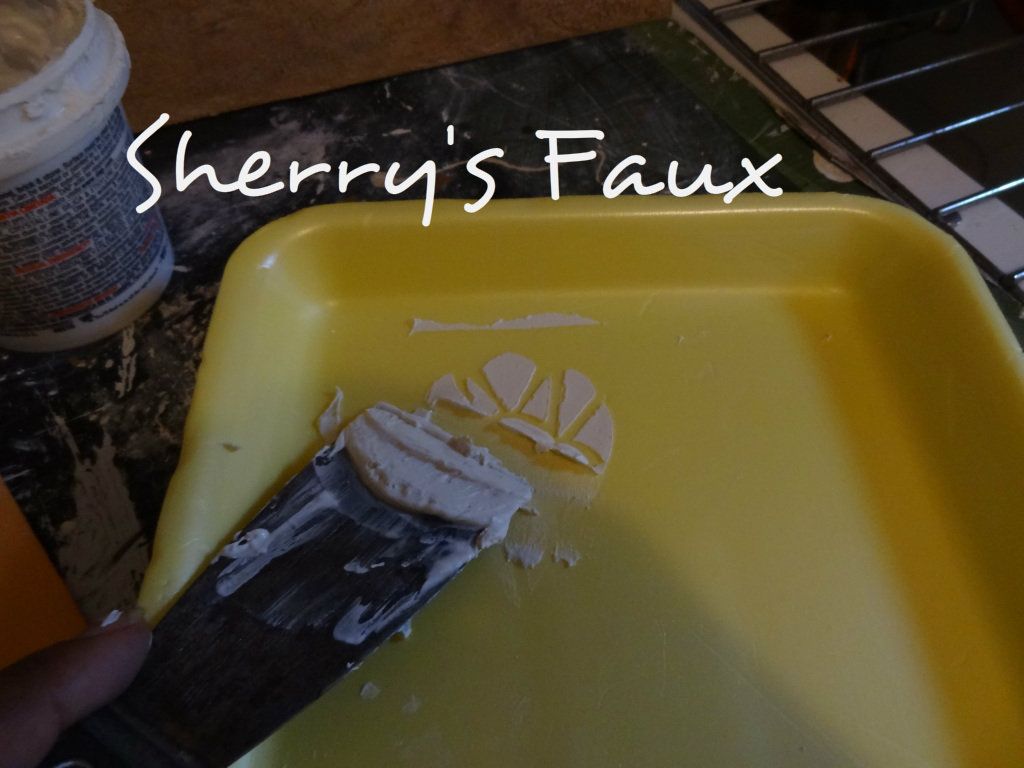
- Flat end trowel
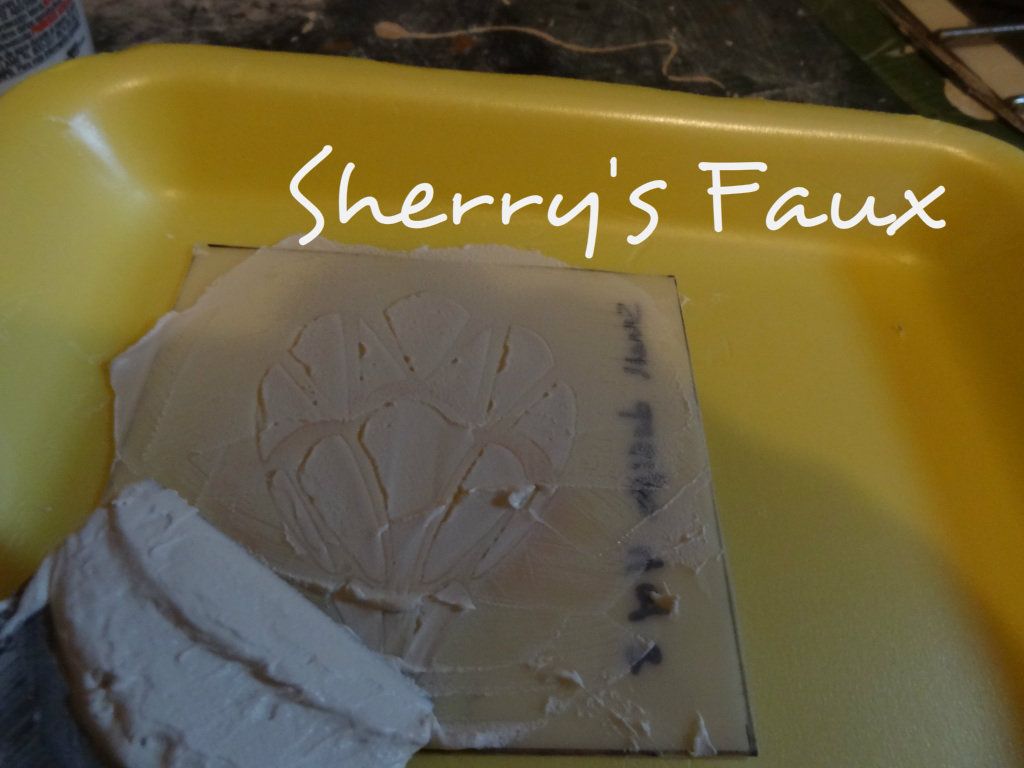
1st place your stencil where you want your design.

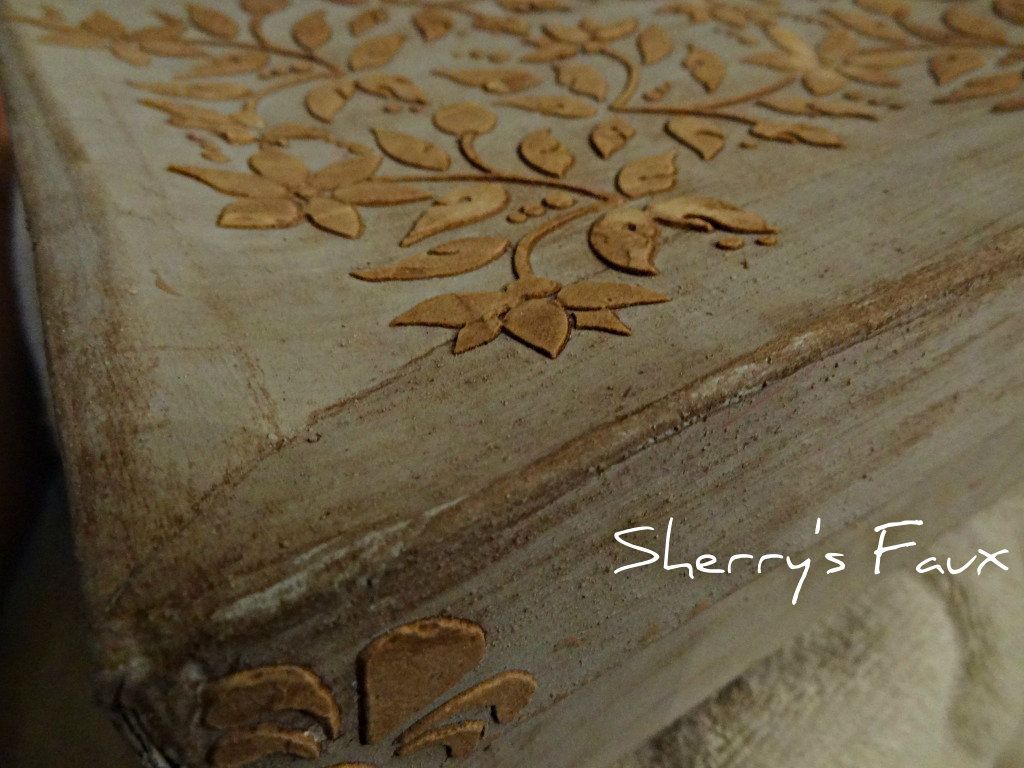
2nd take a little compound and smear it lightly and evenly over the stencil, be sure to hold your stencil firmly to prevent it from moving.
3rd lift your stencil at the edge being careful not to disturb the compound beneath

That's it!
If you have a peak in your design and you don't want it there (I generally like the high's and low's) you can wait until it dry and sand it, or while the design is still wet you can use a toothpick to pat it down (you got to be gentle); you can also use a wet Q-tip to clean up the edges.


The best part about raised stenciling, if you don't like it you can scrape it up and redo it!
If you want to create more depth lay it heavy.


You can add paint to the compound if you want color, but be careful not to add too much or it might become runny and your design won't hold. Also, if you add paint to your compound when it dries the color will be 1 - 2 shades lighter.
Raise stenciling your wall can be lovely - here's my foyer I painted


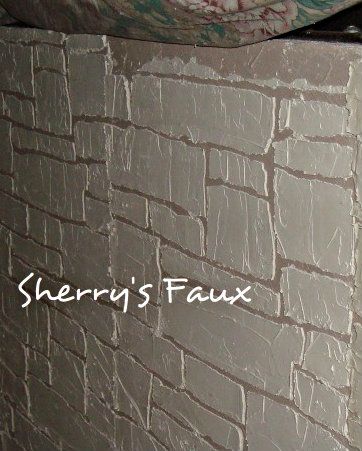
I also did a Stack Stone on my bedroom wall - this was laid heavy to give the appearance of stone.

And here's a Willow tree stenciled on my Living Room wall

Each leaf was hand painted

Once you get started, I'm sure you're going to have fun...

If you decide to give this a shot send me a line and let me know. So, go ahead and LET YOUR CREATIVITY FLOW!