Tuesday, February 28, 2012

No Sew, No Glue Window Treatment!

No, I'm not lazy, and yes I do know how to sew, but what I don't have very much of is TIME.  I'm at the office almost 11 hours a day, 5 days a week so the time I do have (which is very precious little) I try to put to use wisely.

A few post back I showed my no sew curtains, well this time I decided to play around with a No Sew, No Glue window treatment for my dining area. The fabric store was having a terrific sale on their sheer fabric ($5) so I decided to give it a shot.

I bought 5-1/2 yds of a mustard gold sheer fabric


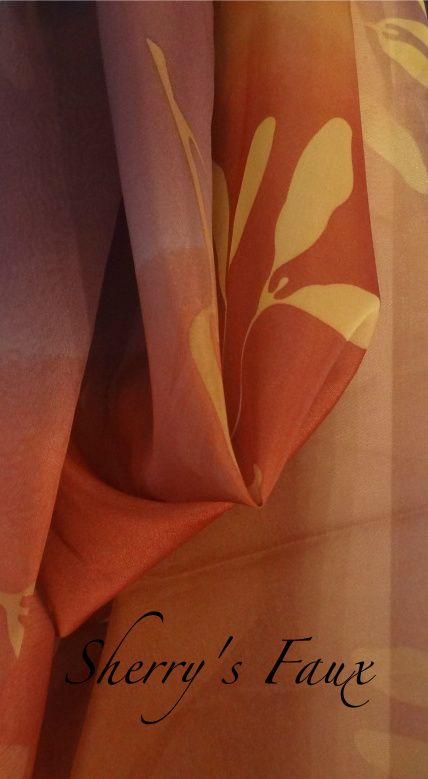
and 5 yds of multi color sheer


The mustard gold fabric was 110" wide, I figured that was too wide for what I wanted so I cut it in half.  Yippie, so now I have 5 1/2 yds of fabric for something else.

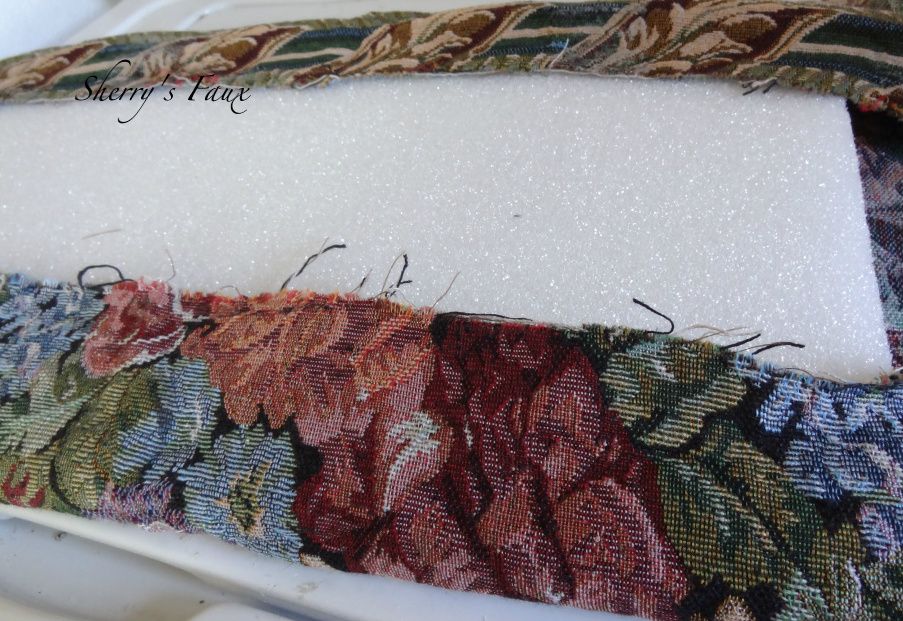
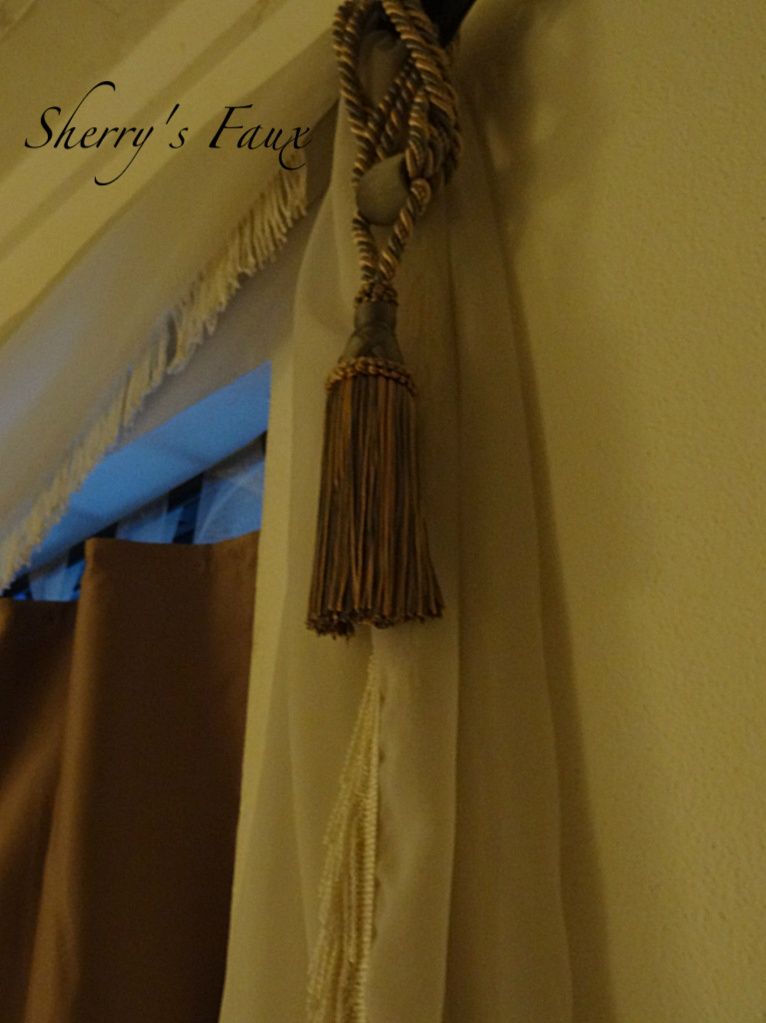
Sorry, when I'm experimenting and it comes out right, I never undo to redo, but this was very simple.  I took the multi color fabric, starting from one end of the rod and draped it over my rods.  I then took the mustard fabric and starting at the opposite end, allowing the fabric to touch the floor I looped that over my rods.  Umm, my directions are always confusing so here's a close up.


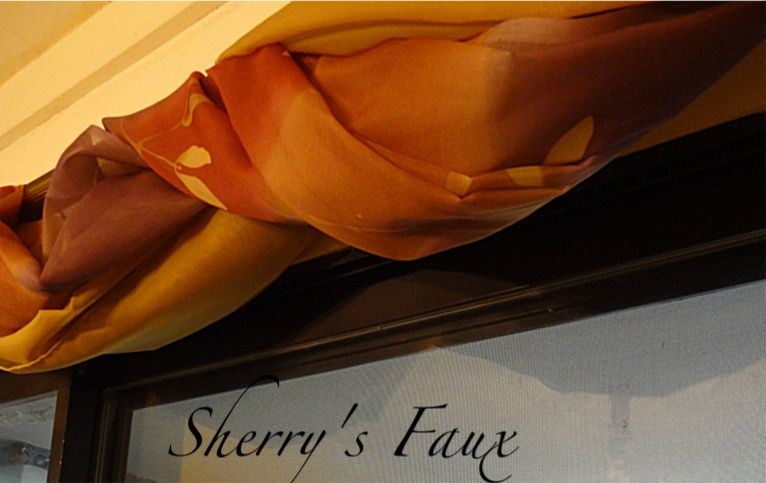
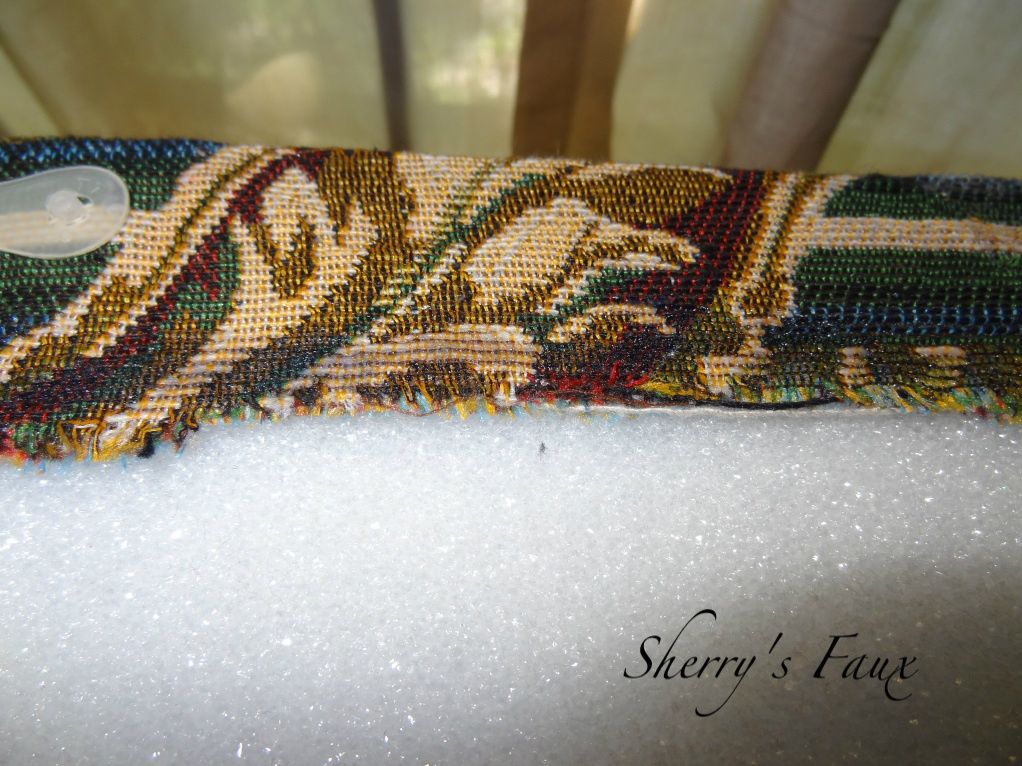
I didn't want the ends to just hang straight down, so I took one end of the fabric and pulled it up until I had a nice puffy look and pinned it with 1 or 2 straight pins.


Once it looks puffy, just stick a pin in it


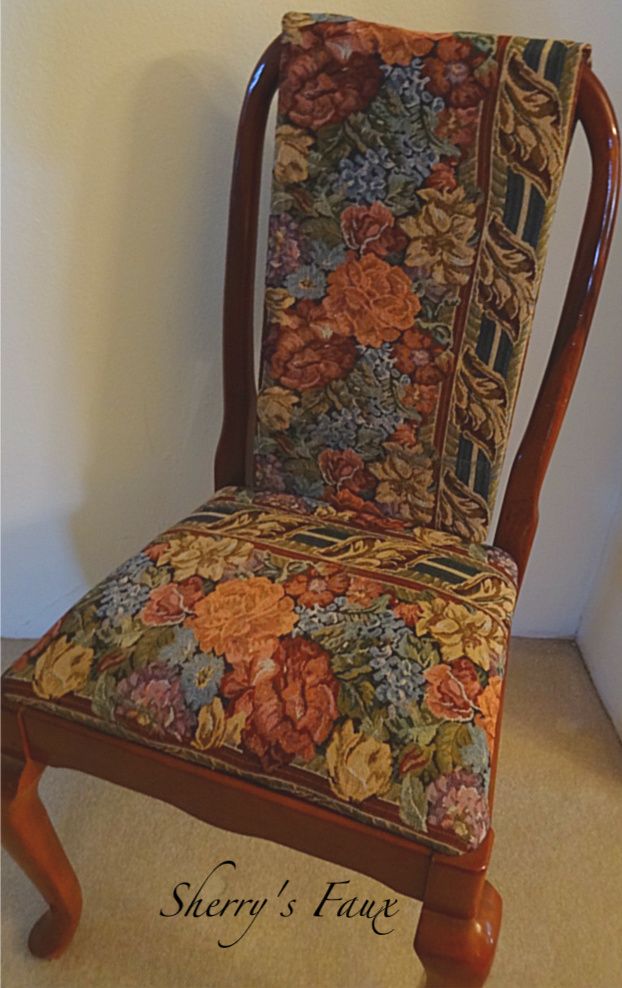
 So, here's the final project.


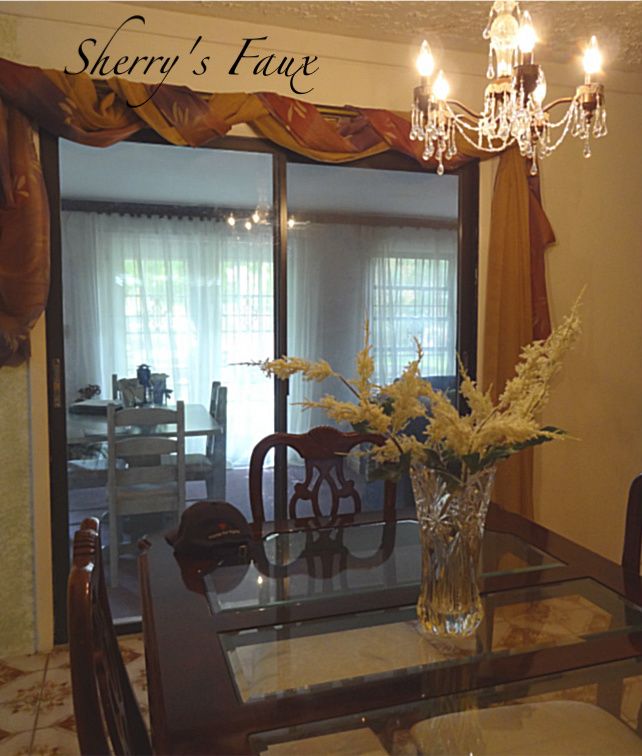
I hung 2 fringed tassels where the fabric hung short, and 1 tassel on the opposite end.


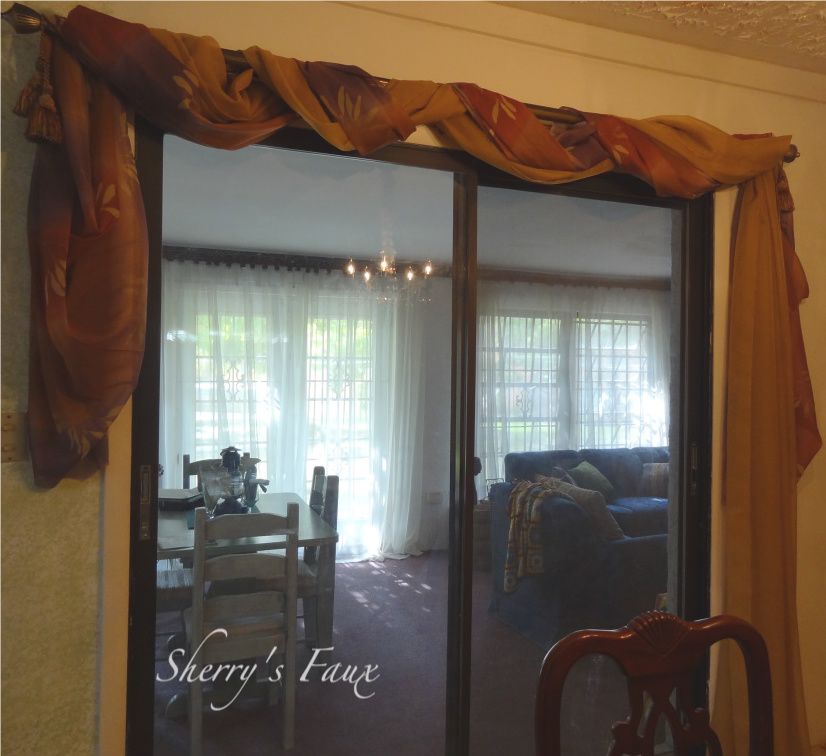
One thing I learned with sheer fabric is that because it's so light weight the raw edges aren't noticeable because they seem to just fold under.

The best part about this is that when I'm tired of this look, I can take the fabric down and do something else with it because it isn't sewn! No Sew, No glue, how nifty, how simple, how economical is that!

If you're looking for an easy, simple window treatment just LET YOUR CREATIVITY FLOW!

Wednesday, February 22, 2012

Painted Vase

A friend asked me to paint a vase for her, sorry, I don't have a before picture but it was one of those plain clear vases similar to this.


She wanted something earth tone, or in her words, something beigy, browny, rusty, creamy, etc.   I gave it some thought and decided to base coat it with some ivory spray paint. 


I then pulled out some paint and played around with some other colors - caramel, beige & forest green - until I got the design I wanted.  Satisfied I finished it off with urethane.


At another angle


Once finished, I wrapped it in netting and presented it to her.


I think she was pleased with both the vase and the presentation.  Don't forget to LET YOUR CREATIVITY FLOW!

Thursday, February 16, 2012

STYRO + FABRIC MAKES CHAIR

For years I had this chair sitting in a corner trying to figure out what to do with it.


Finally one day it dawned on me that I had some fabric left from a window treatment in my bathroom that I had taken down years ago, yeah I know crappy...

 
So, I used it to cover my chair cushion and it turned out nice but not what I was looking for...


I wanted something a little more decorative like these


But I only had a small piece of fabric left over. :-(

Well, if you know anything about me you know I love to improvise, hey, with this economy in the shape it's in I have no other choice.  So, after sitting quietly for  awhile I remembered I had a piece of Styrofoam, ummm I wonder...

I took the styro and wrapped the fabric around it...


I wasn't sure how this was going to turn out so I left the raw edges alone for now


Because the fabric wasn't wide enough to wrap completely around the styro I sewed some elastic on both sides and slid the fabric over on top of the styro.


After getting this far I figured what I wanted to do was going to work, so I used STOP FRAYING around the edges to prevent raveling.


This stuff works magic, whoever Aleene is I need to kiss her, between the NO SEW and this STOP FRAYING  she saved me the agony of having to pull out my sewing machine!  See how clean those edges are.


Once that was completed I had some fasteners (I don't remember the name) that I placed at the end of the fabric - I think velcro would have worked better but I didn't have any.


Once done it looked like this. 


folded in half (styro covered on top remaining fabric hanging in back)

And I just placed on the back of my chair and clipped it in the back to stay in place

The part with styro is in front, plain fabric hangs in back & fastened


What do you get when you have a small piece of fabric, styrofoam and an imagination?


A beautiful decorative chair!


If you have something sturdier to use for the back you can use it.  I placed the chair behind my sofa.  Also, this design will be so easy to switch to something else when I get bored with it after a few years.


So, if you have some styro laying around just LET YOUR CREATIVITY FLOW!

Monday, February 13, 2012

No Sew Window Treatment

In a previous blog I showed where my son assisted me by taking down borders over the holiday. 


 The dark borders along with dark curtains made the room dreary...So I decided it was time to change my window treatment.  I didn't want to spend a lot of money which meant I would have to whip up something myself.  Thankfully Home Fabric was having a terrific "Buy 2 yards get 1 yard free".  I found some lovely fabric for $5 a yard so a purchase of 6yds only cost me $20 then I bought 6 yds of ribbon for $5.  So, with my $25 purchase I was ready to get started. 


My first thought was to whip out my sewing machine but then I remembered how well the No Sew glue worked on my pillows, so I decided to give it a go...  Because it's so hot in the summer I knew I was going to keep the curtains short which allows for a better flow of air.  After taking measurements glued the sides and hem.


I then cut the ribbon in 7" strips and folded it over and glued at top.  Rather than using clips I will be using the ribbon to hang curtains.


That was it!  Once everything was dry it was time to hang them.

I decided to keep my  old sheers...


I had already had some tassels that I had taken off of another window treatment, so I decided to use them here.


I have about 1 yard of fabric left, so I'll be whipping up some decorative No Sew Pillows soon!  Not bad for a $25 purchase...

Have Fun and don't forget to LET YOUR CREATIVITY FLOW!

Friday, February 10, 2012

I'm Blog Hopping!


Today I'm joining in on the Blog Hop!

What is a blog hop?


A blog hop is a linky list that is SHARED ON MULTIPLE BLOGS. When several blogs put the same linky list code on their blog, the exact same list appears on each blog. Blog visitors can submit their entries on any blog that contains the list. The entries will appear on each blog where the list resides.


Blog readers see the same list on each blog, and can "HOP" from blog to blog seeing the same list of links to follow:  Get the code here


Monday, February 6, 2012

Repainted Vase

Some years ago I had a plain globe vase that I painted.  No, this isn't the vase, but it was similar


 And this is how I painted it, during that time I was experimenting with crackle, and it didn't do very well, but I liked the lacy affect.


so I stuck an arrangement in it and moved it here...


That was then, this is now.  

I've since changed my color scheme, so I decided to repaint it...

I primed both the vase and flower with some spray primer I had left over


I liked how I could still see all of the irregular formations in my vase, and how the colors still popped through in the flower.

I then painted the vase a Grey Blue


Then chalked and later stressed it (you can see the specks of gold peeking through).


I placed it on the floor in my bedroom along with a mirror I had leaning against the wall, and after some thought decided to let the flower lean over into the mirror.


Enjoy your day and don't forget to LET YOUR CREATIVITY FLOW!