I hope everybody had a blessed and happy Thanksgiving Holiday! I was fortunate to spend the holiday in Georgia with my sister, her family and my son (who's attending school over here), for the feast and we had a beautiful time.
During our special bonding period, we decided on the perfect gift for our siblings - 8 in total - Family Candles. Okay, so what is a Family Candle? Actually it's something we made up... my older sister is the historian in the family who we're always calling to find out about birthdays, deaths, etc. So to eliminate this annual question of birthdays we decided to put it on a candle!
Sorry, I don't have very many pics but it's easy to follow:
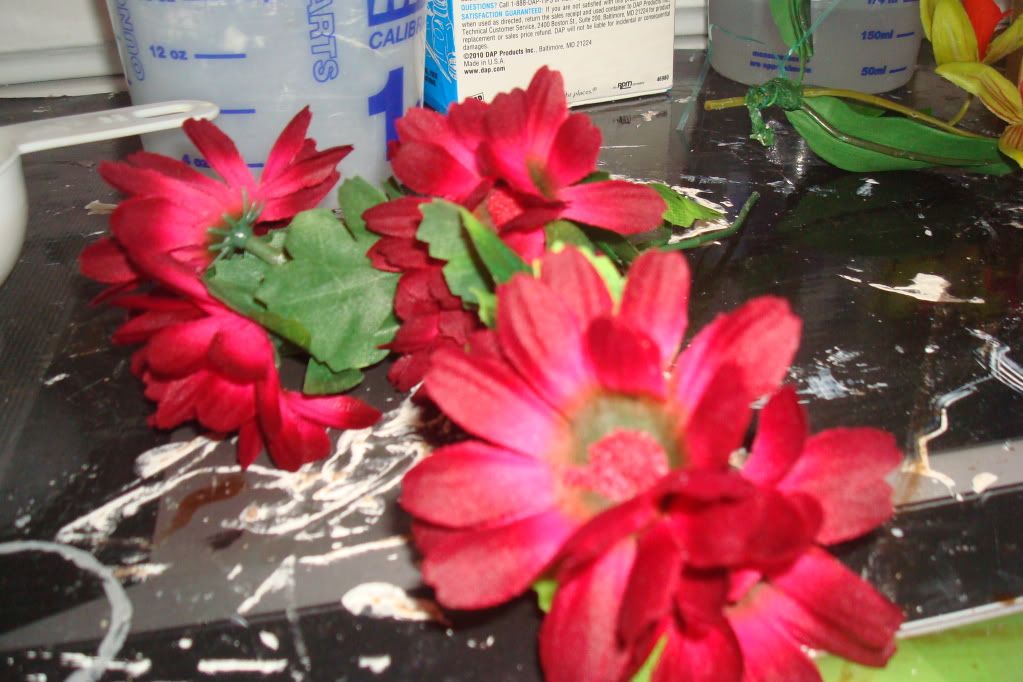
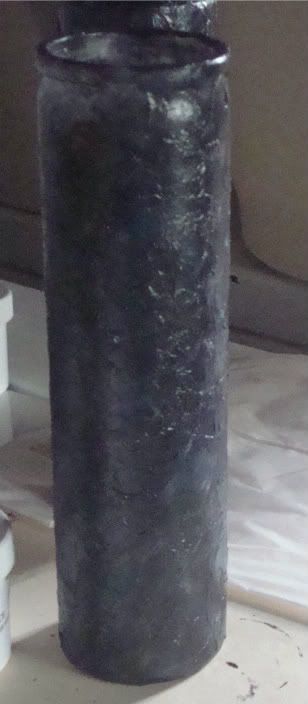
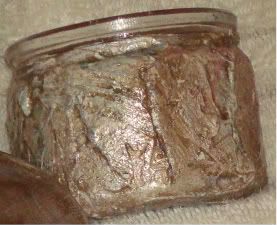
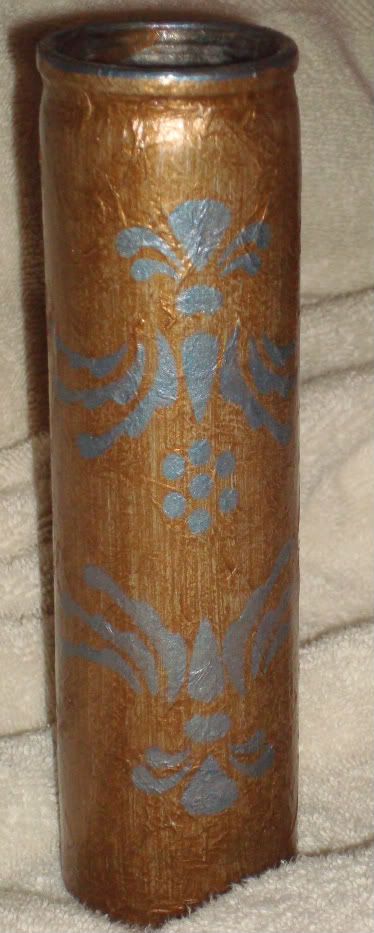
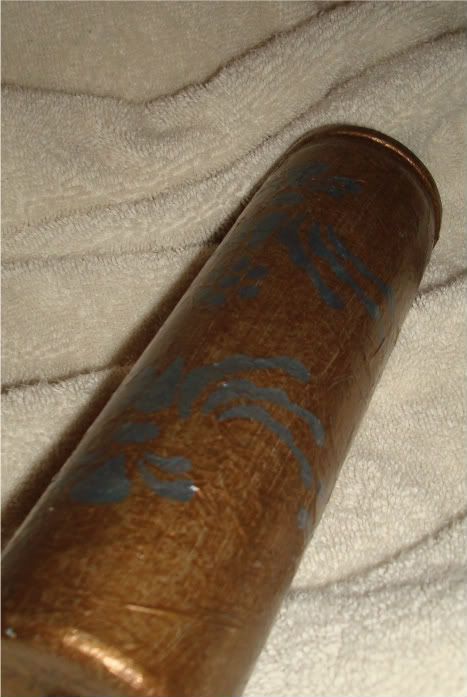
First we identified the pictures we wanted to use and printed them on tissue paper. We found the best way to do this was to tape the tissue paper along the corners and edges on top of plain paper. I think it's better to print your pictures first to make sure your candles will be the correct size.
We then took plain candles and glued the pictures on them. I used mod podge for this.

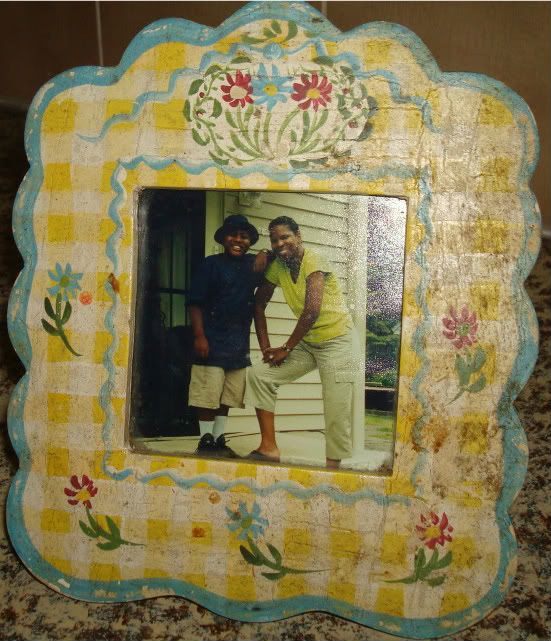
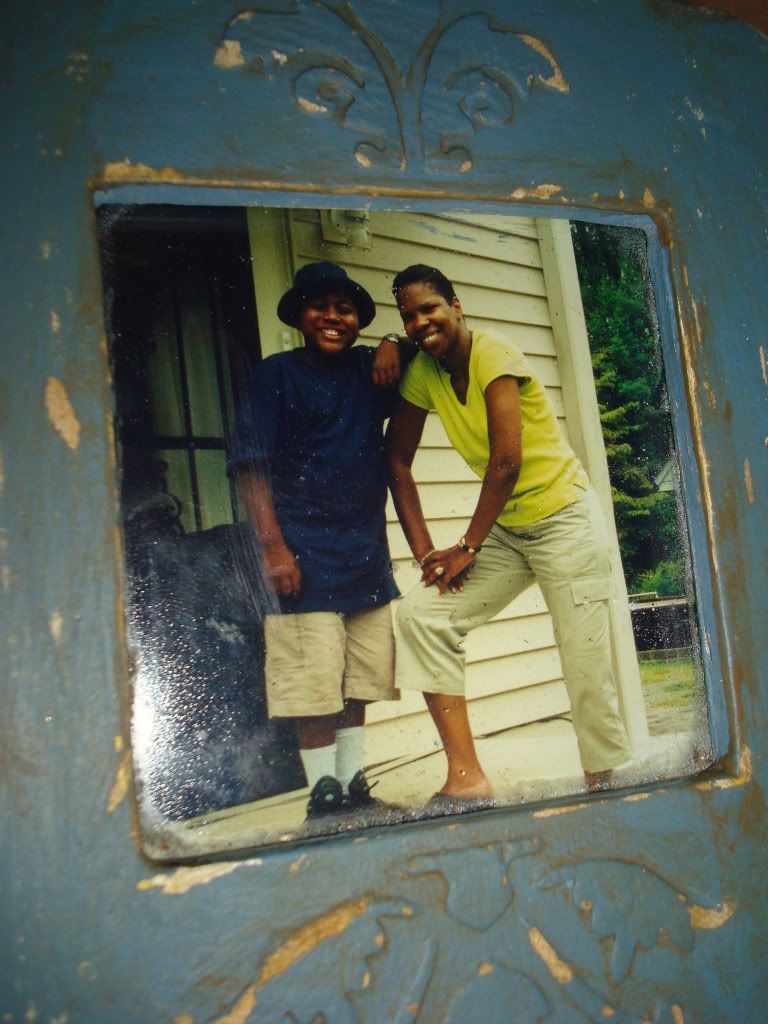
So this is my family

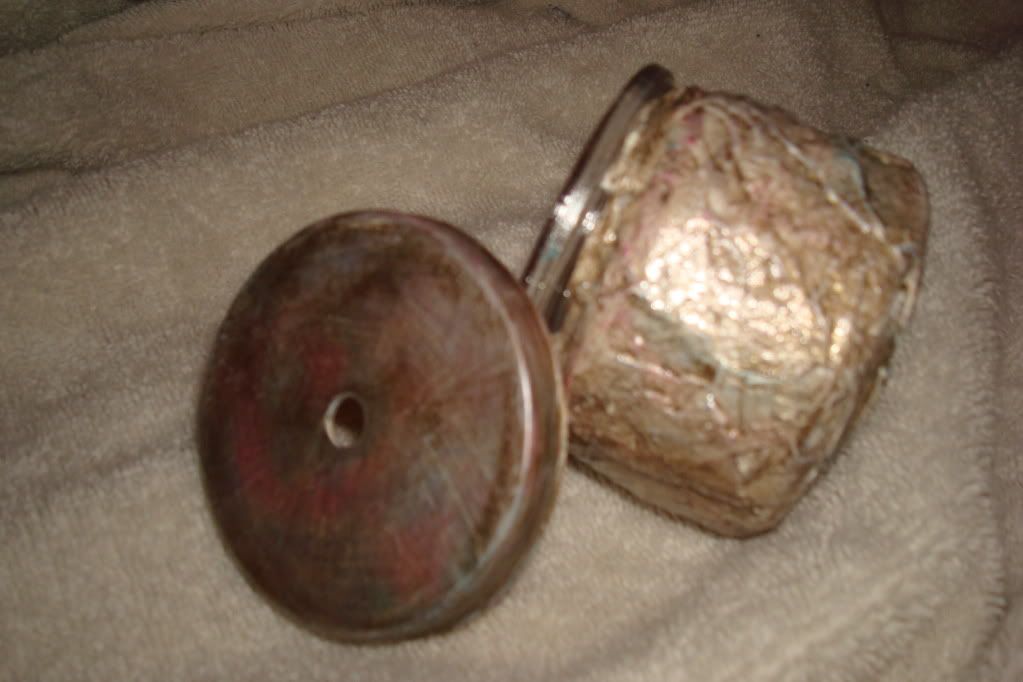
Well, remember I said we can never remember each other's b'day... we also typed the date of birth for each sibling and glued it to the back of the candle, because there were so many of us we were always dubbed The Rolland Clan (smile).

We didn't stop there...my parents died at a very early age and none of us (excepting my sister Teresa the "historian") could remember their date of birth or death. So we purchased additional candles to include my parents.

And then we included my grandmother (on my father's side) who played a major role in our upbringing. I remember taking this picture of her when I first started playing around with black & white photography. Although she enjoyed dressing up, on those hot,blistery Georgia summer days she was known to sit on the porch with her hair wrapped in a scarf. When I showed her this picture she was quite upset...but I always loved it.

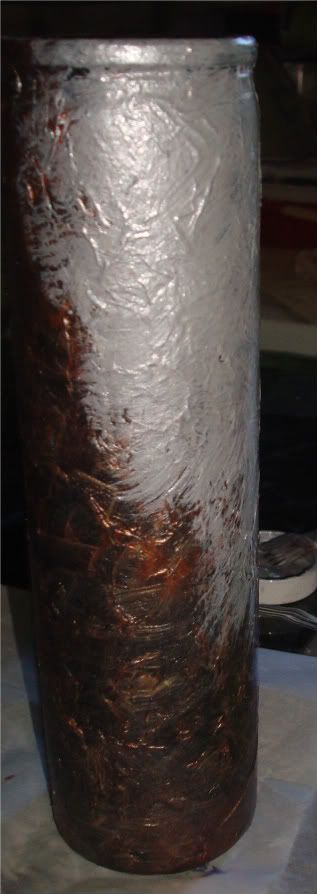
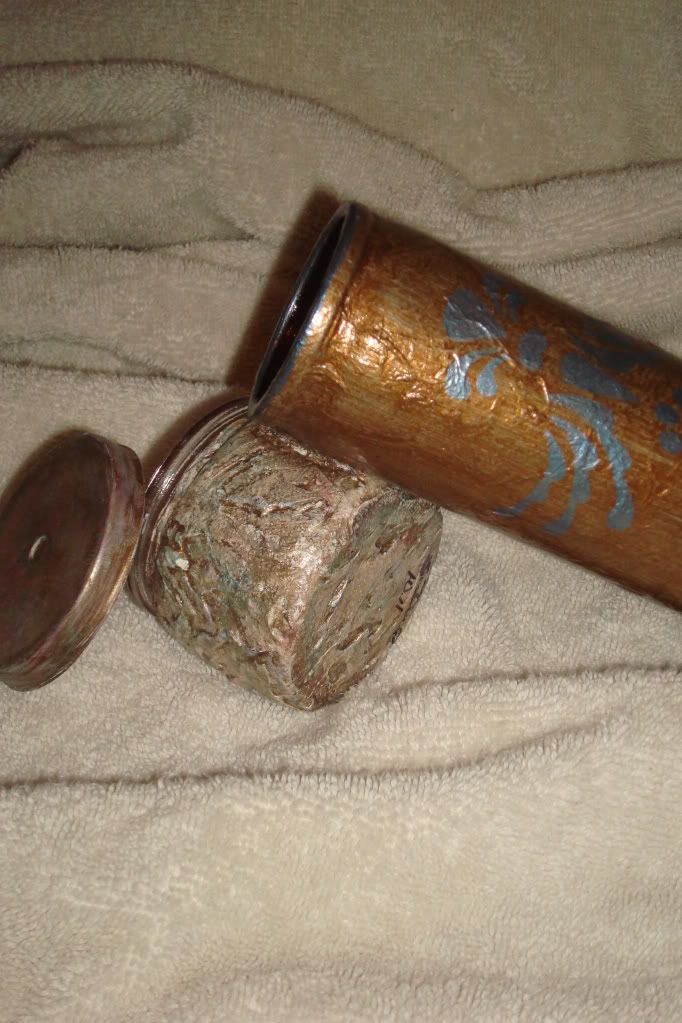
This is the first of our Family Candles.

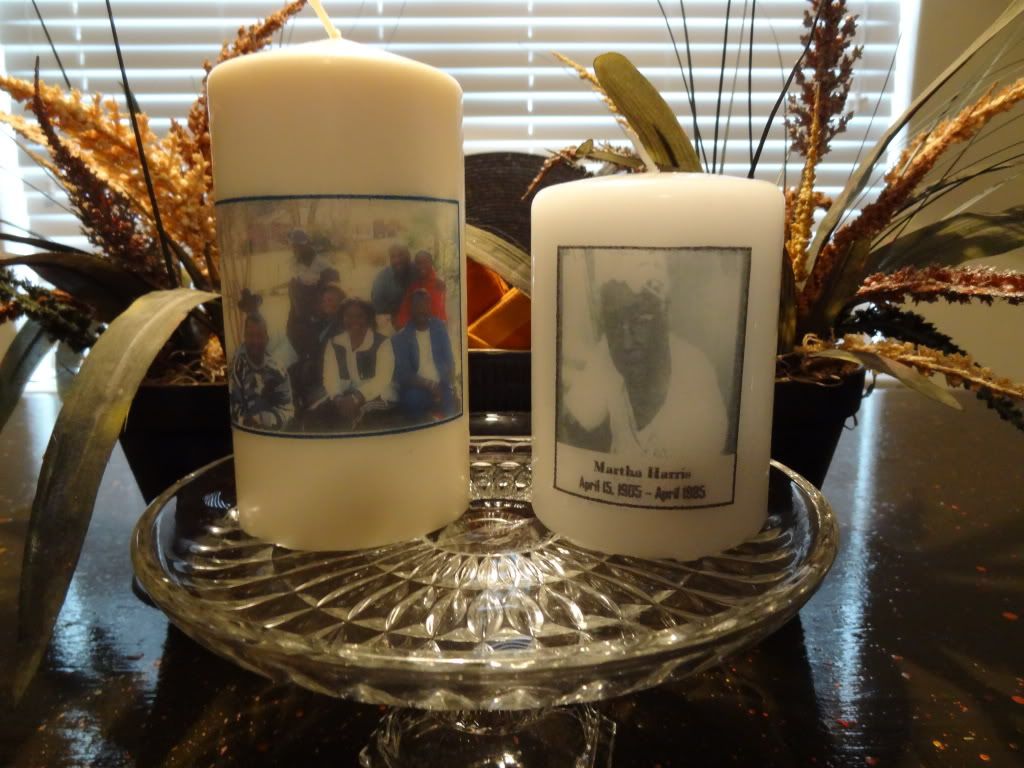
Although it's difficult to tell from the pictures the candles used were creamy yellows (siblings) and white (parents).


I was so impressed with how these candles turned out I decided I would try to do a family line using candles. They make a beautiful display plus they'll provide a good source of reference for my son when he's ready to trace back his family line.
Because I'll be leaving in a few days, I'll be giving each of them their Family Candles early. But I'm hoping we will never have to call the "historian" for birth dates again (smile).

Now its your turn to LET YOUR CREATIVITY FLOW!
During our special bonding period, we decided on the perfect gift for our siblings - 8 in total - Family Candles. Okay, so what is a Family Candle? Actually it's something we made up... my older sister is the historian in the family who we're always calling to find out about birthdays, deaths, etc. So to eliminate this annual question of birthdays we decided to put it on a candle!
Sorry, I don't have very many pics but it's easy to follow:
First we identified the pictures we wanted to use and printed them on tissue paper. We found the best way to do this was to tape the tissue paper along the corners and edges on top of plain paper. I think it's better to print your pictures first to make sure your candles will be the correct size.
We then took plain candles and glued the pictures on them. I used mod podge for this.
So this is my family
Well, remember I said we can never remember each other's b'day... we also typed the date of birth for each sibling and glued it to the back of the candle, because there were so many of us we were always dubbed The Rolland Clan (smile).
We didn't stop there...my parents died at a very early age and none of us (excepting my sister Teresa the "historian") could remember their date of birth or death. So we purchased additional candles to include my parents.
And then we included my grandmother (on my father's side) who played a major role in our upbringing. I remember taking this picture of her when I first started playing around with black & white photography. Although she enjoyed dressing up, on those hot,blistery Georgia summer days she was known to sit on the porch with her hair wrapped in a scarf. When I showed her this picture she was quite upset...but I always loved it.
This is the first of our Family Candles.
Although it's difficult to tell from the pictures the candles used were creamy yellows (siblings) and white (parents).
I was so impressed with how these candles turned out I decided I would try to do a family line using candles. They make a beautiful display plus they'll provide a good source of reference for my son when he's ready to trace back his family line.
Because I'll be leaving in a few days, I'll be giving each of them their Family Candles early. But I'm hoping we will never have to call the "historian" for birth dates again (smile).
Now its your turn to LET YOUR CREATIVITY FLOW!


 "
"