Sometime ago I read on Karen's blog about her
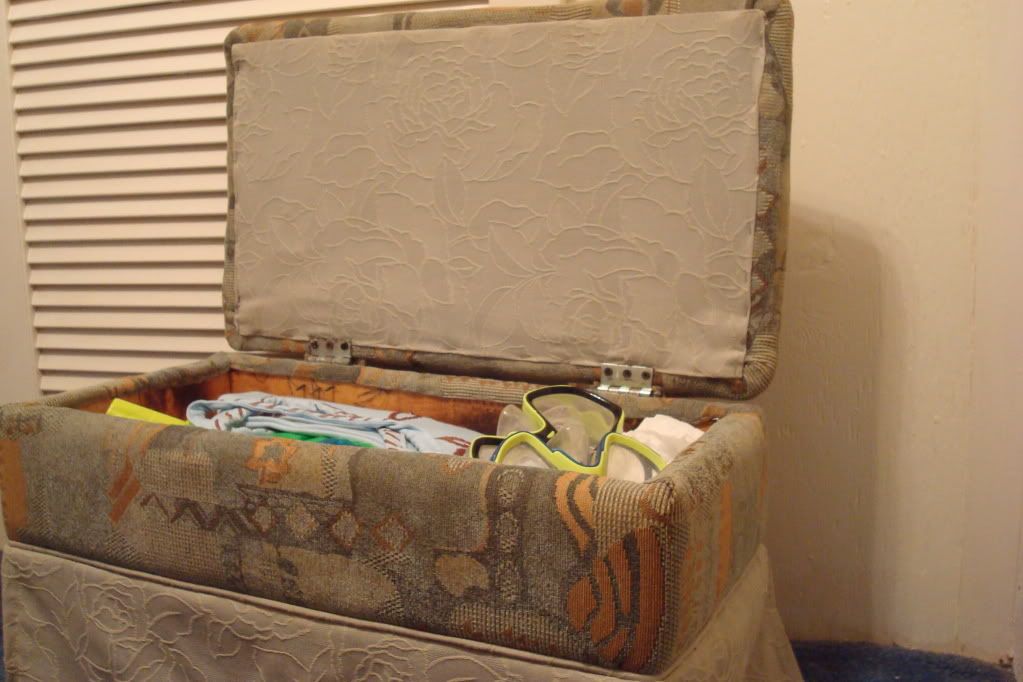
No Sew Ottoman Slip Cover. Although I don't own an ottoman, I do have a chest that my son had made when he was in preschool (yeah, like he really made it), actually I think the teacher or one of the assistants built it, but they probably let him bang on a nail or something... this is the chest
Yeah, I know, horrifying. It didn't always look like this, but years ago when I had my sofa upholstered they told me that they could upholster the chest free of charge with the remaining remnants. So, this is what you get when it's free. I was ready to dump it, but it was made by my son over 15 yrs ago, and I'm a sentimental fool, plus it did have good storage space, something I can always use.
It was a eye sore so I kept it knocked about in the Guest Bedroom.
While browsing the blogs I came across
Karen's blog about the no sew ottoman cover and a light bulb lit up. I was ready to give this a shot but first I couldn't make it to the fabric store then I decided I didn't want to spend any money. So I searched in my storage containers and I came across some kitchen curtains that I no longer had use for. They look white in the photo but they're actually ivory. Please forgive my make-shift window (smile)
The curtain is 5 pieces in total (1 valance, 2 side panels & 2 bottoms).
So, now I was ready to start...
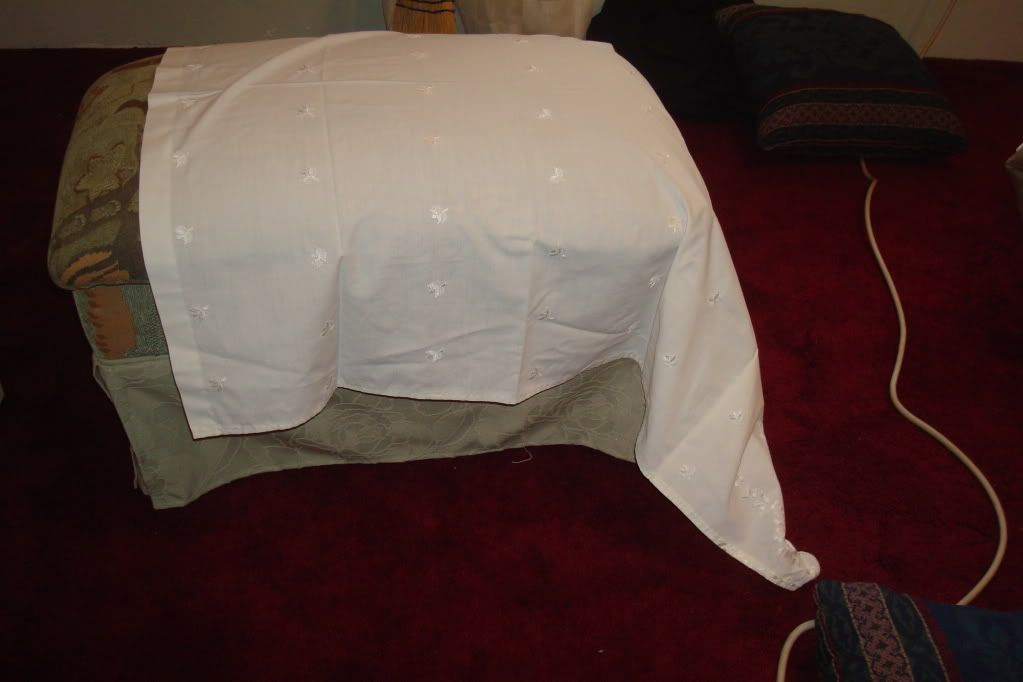
I took the bottom curtain (which was the longest) and adjusted it on one side of the chest (the scalloped edges hung on the side of the chest)
Then I did the same for the other side, I was careful to adjust them to make sure they were even on both sides.
Satisfied, I started gluing the curtains while they were still on the chest. Actually I only glued it partially, then I removed the curtains laid them flat on the floor and finished gluing.
While that was drying (about 5 min) I took one of the side curtain panels and adjusted it on the back of the chest.
I then took the panels that I had already glued and placed them back on top of the chest, on top of the panel that I had just placed on the back. I adjusted the curtains to make sure they were even, used straight pins to make sure they didn't slide and then proceeded to glue them while still on the chest.
 |
| Back |
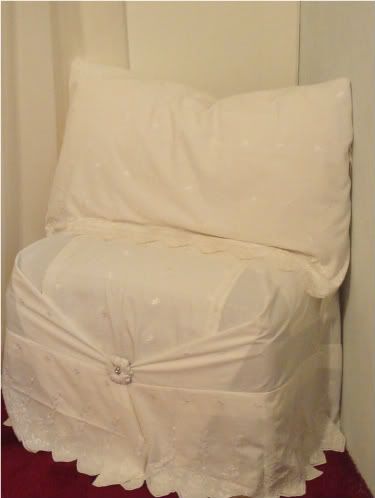
This is what the Front looks like - I just realized I didn't take any pictures of the back, but in the above picture you can figure out what the back looks like.
 |
| Front |
I then pulled the two sides together and pinned them in place
Well that's pretty much it. If you want you can add a ribbon or nice button or something in the front. I remembered I had two shoe clips that I no longer used - the buggers hurt my toes like crazy. I did try using clip on earrings, but the grip isn't strong enough.
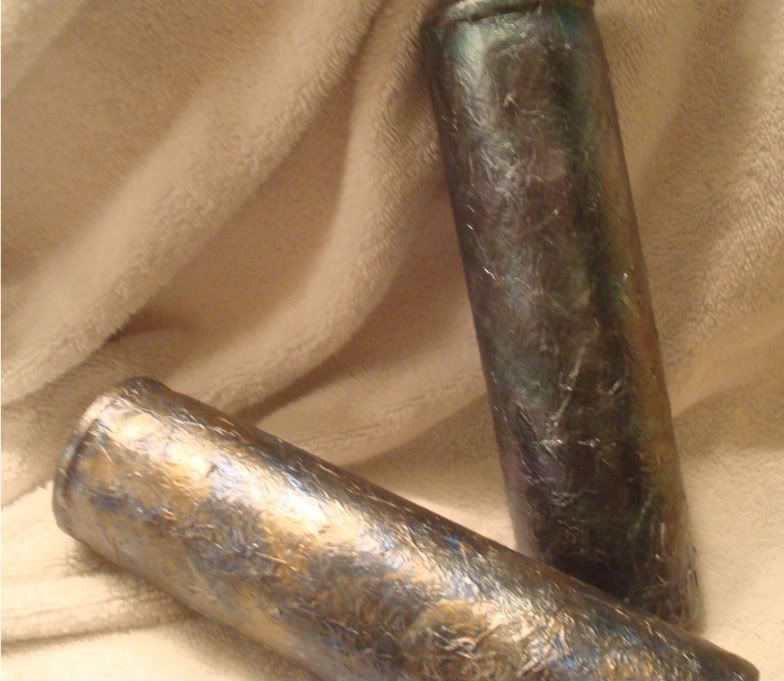
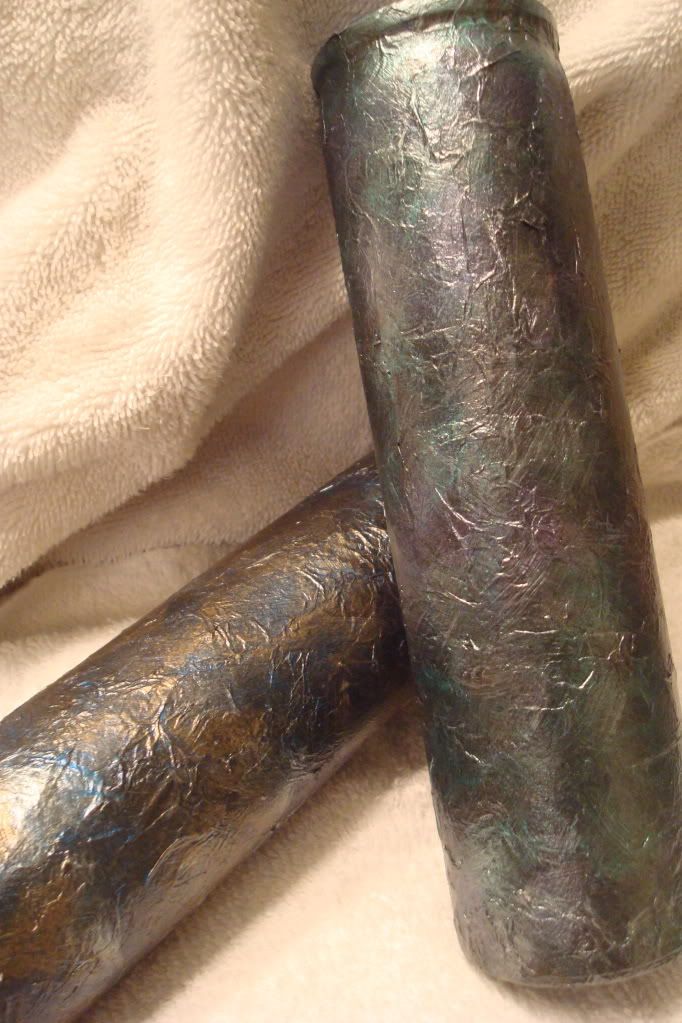
 |
| Shoe Clips |
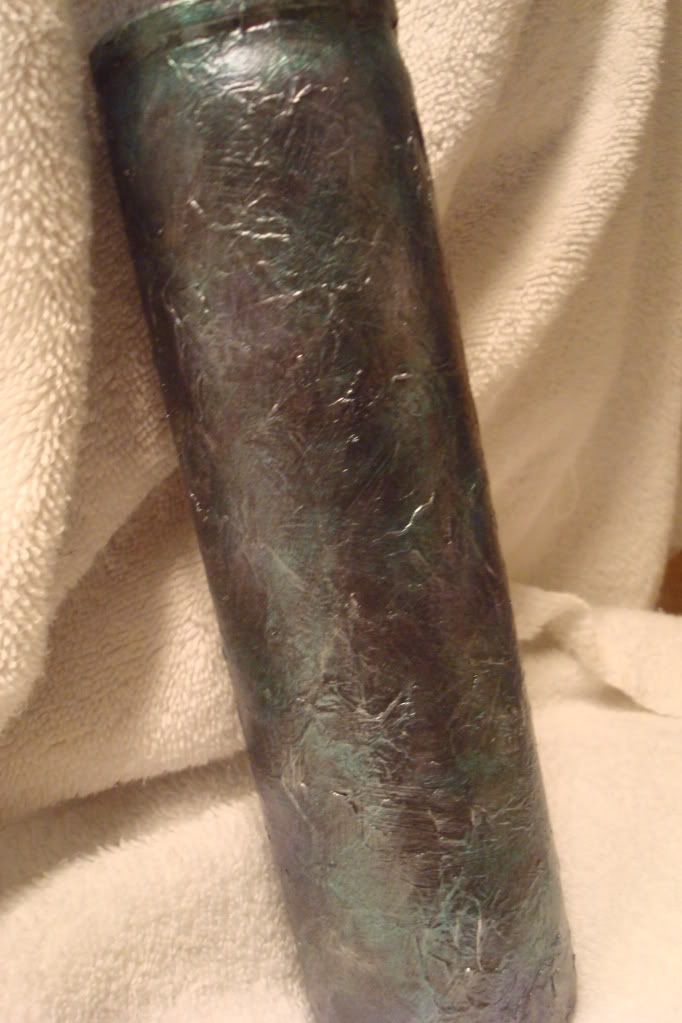
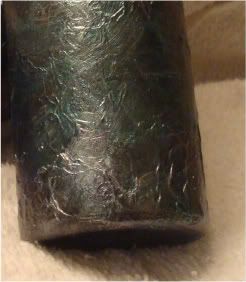
I liked the gold shoe clip, but it was a bit gawky....
I remembered I had chalk paint so I painted it - I only used one coat because I kinda wanted some of the gold to peek through.
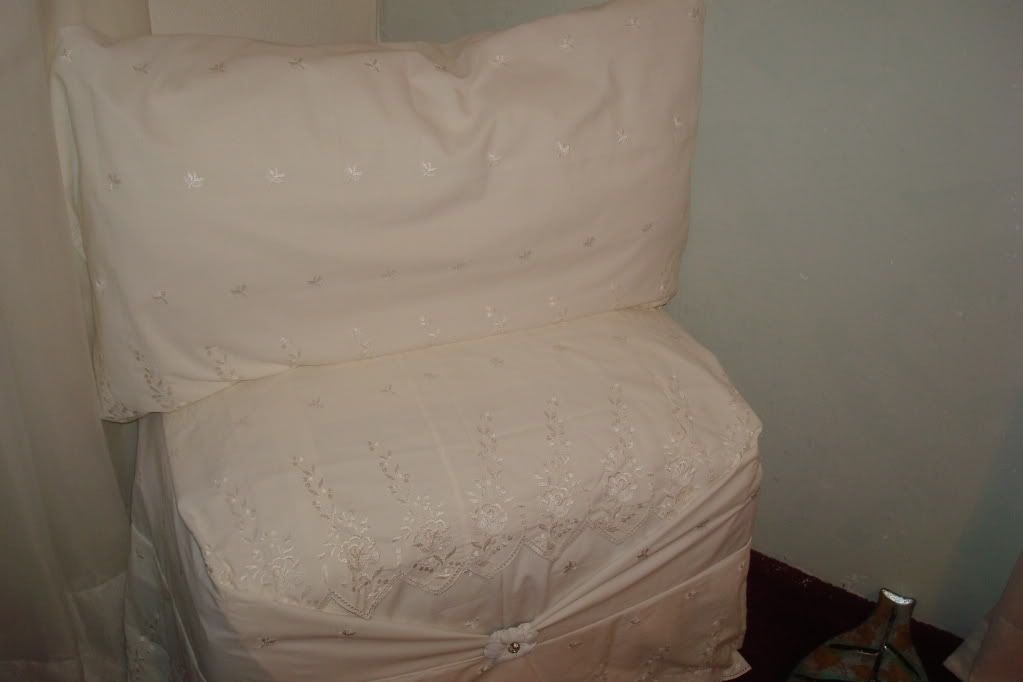
Well, that would have been it, but I still have 2 pieces left so I decided to make a partial pillow cover (didn't have enough material for the back, so it could only be partial (smile)).
Using the other side panel, I folded it over about 6" from the top and glued the sides. Now this is where I lied, you do have to sew, but it's really called tacking. I found some elastic and tacked the ends down on both sides of the panel (this is to keep the pillow in place when you slide it in).
 |
| Pillow slid into back of pillow case |
This is the chest with the pillow
I could have left it like this, but I didn't like that you could see the overlap (you don't have to worry about this if using darker or heavier fabric). So I decided to add the valance on top.
There you have my No-Sew Cover for a toy chest. If I hadn't told you, would you have known it was a toy chest????
BEFORE
AFTER
This is what happens when you LET YOUR CREATIVITY FLOW!
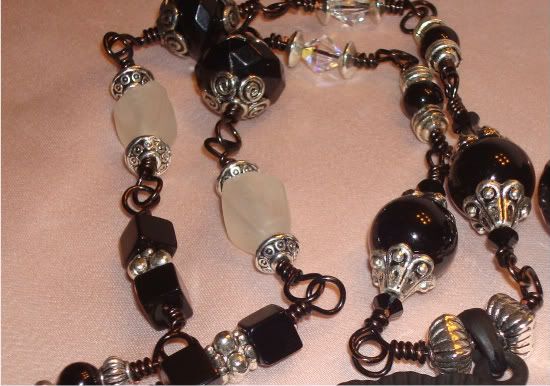
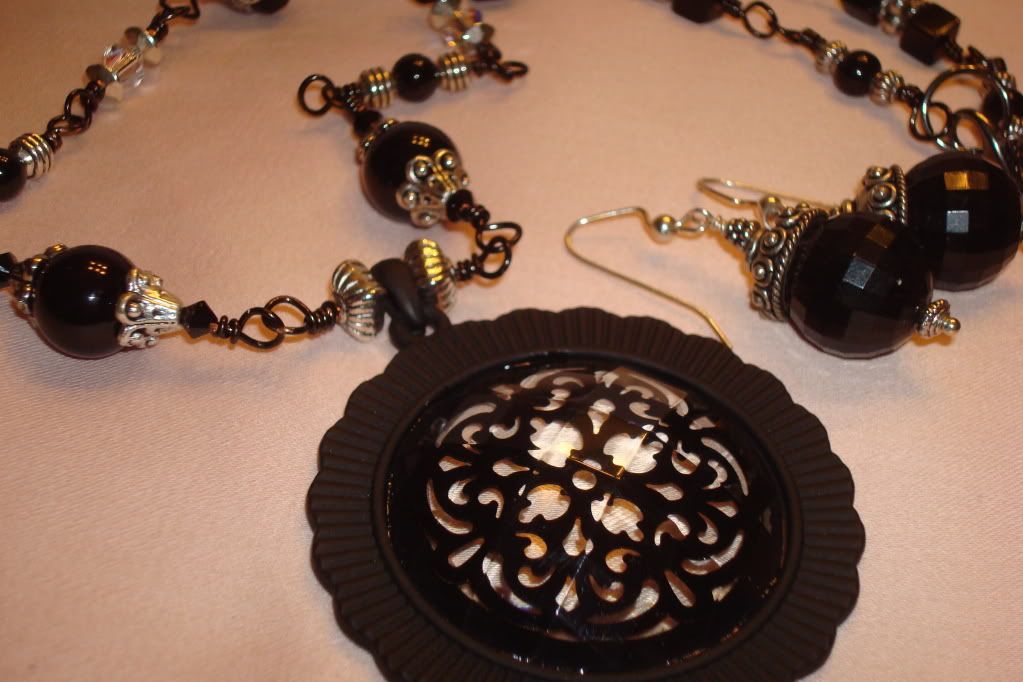
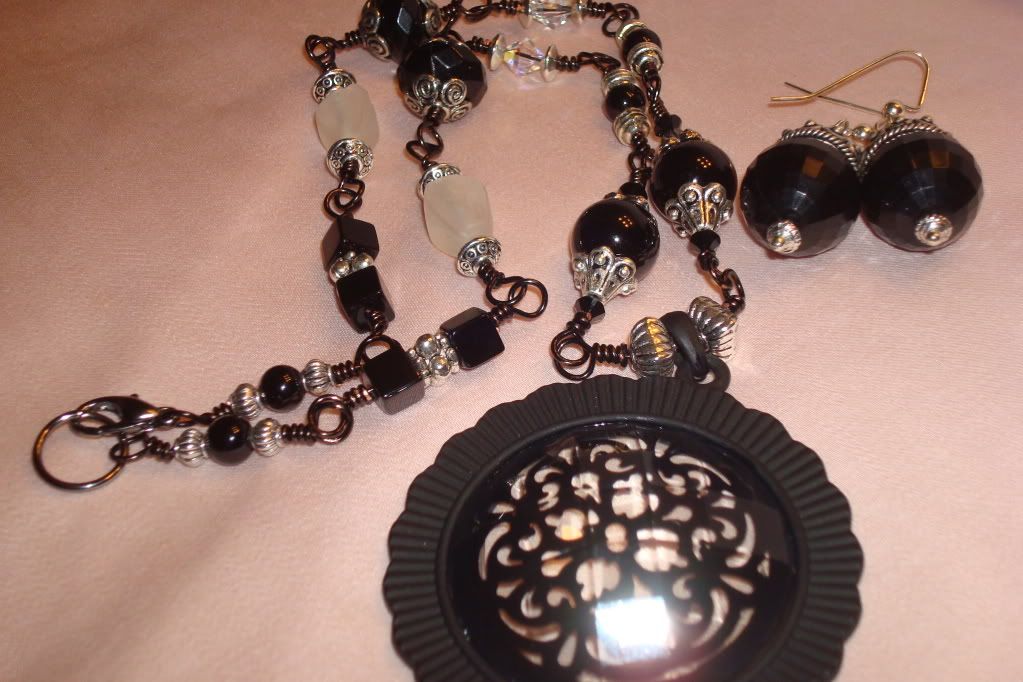
 Earlier in the month I was notified by Peggy of Pear Tree Design that I was the winner of a beautiful necklace and earrings. I don't generally win anything, so you can imagine my excitement at this surprising news.