Showing posts with label closet. Show all posts

Monday, September 5, 2011

Closet Makeover - Guest Bedroom

A lot of times we say we have to use what we have, but we don't always use what we have.  Am I making sense?  Okay, let me start from the beginning.  You're going to hear me say this a lot, so please don't get tired, my house is small and I have very little closet space, I am now trying to utilize every space I have, while keeping the house kind of decent.  In one of my earlier blogs (click here) I showed you my file cabinet I had restored.

What I didn't tell you was, that prior to painting this cabinet, I had dissected it and I was able to utilize all of those other pieces to organize my Guest Bedroom Closet.

This is going to be a long blog, and at some point you're going to say 'dang' I didn't know you could do that.  Well I didn't neither.  So go take a 'pee' break, grab a cup of tea/coffee, elevate your legs and read on.

This was the Guest Bedroom closet before -  believe me when I say, I thought this looked good at the time, well it was kind of organized anyway.... :-)


The first thing I did was take everything out of the closet, threw away what needed to be thrown away, and then took a good look around to figure out what I wanted needed to do.  I knew the shoe rack on the floor was tacky and I wanted to move it but I didn't know where.  I also wanted shelves, but I didn't want to have to go and purchase wood or shelving and as usual money is always a never ending issue.  So I did, what I normally do when faced with a problem, go in the kitchen, grab some snacks, sit down and watch TV.  :-)  Really I did!


Had to remove shoe rack off floor
After a full hour of TV and a belly full of snacks (along with an additional 5lbs to work off) I got to work.  I knew the closet needed to be painted so I tackled that first.  The light is low in the closet so I kept the color off-white to give more light.  Like I always say, I'm not very creative so it takes a while for anything to kick in, but by the time I finished painting I knew exactly how I was going to do my closet.

Now, let's get back to my file cabinet.

When I had started restoring my file cabinet, I took out the hanging racks (the things that hold your hanging file folders) and I removed the handles.  Now, what I didn't know is that when you remove the handles there is a thin flat sheet of metal against the cabinet draw (you don't see this metal unless you're trying to remove the handles), I think the purpose of this metal is to keep the handles firmly reinforced. (sorry I didn't take a picture).  I wasn't sure what to do with these sheets of metal, but I knew eventually I would use them, so I set them aside.
 

After dissecting the cabinet I started on my shoe rack.  I pulled it a part and after some toying around I managed to get it joined onto the wall.  I realized I needed the rack to have some slack so I couldn't use a regular nail.  So after rummaging around in my nail box playing around with screws and hooks I found what I was looking for, hook nails.  They allowed the right amount of slack for hanging shoes.
Crown Hook Nail

I took the shelving that was at the top of my closet (see picture below) and placed it on top of the hanging file rack that I had placed on the closet floor.  Perfect for my pants and jeans.  And then it hit me, I knew what I wanted to do with those flat sheets of metal, you know, the ones from the file cabinet.
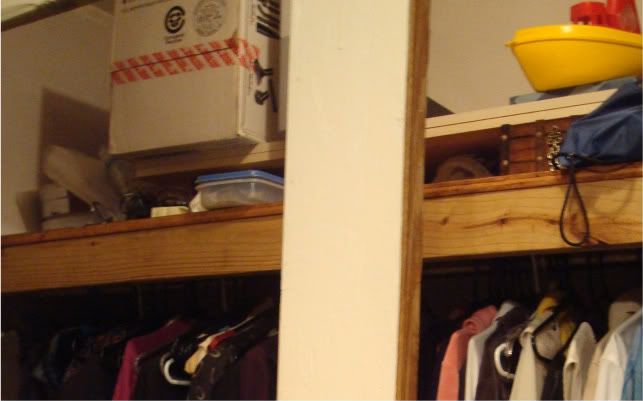
The shelving on top shelf removed
I have four cabinet draws, so I had four of those flat sheets of metal.  I had some shelf brackets left over from when I built shelves in my pantry and laundry room.  So I rushed to get them and banged them inside the closet.  Then I took those same flat sheets of metal and laid them on top of the brackets.  It was perfect...I had four cute little shelves!

...and of course I restored my file cabinet and centered it in the closet for additional storage.  So let's have a look.
Metal pieces make perfect little shelves
Shoe Rack taken apart and hung on wall
Hanging File Rack used to hold shelf (bottom far left)

I think this is what they mean by using what you have.   So the next time you're laying around snacking on chips you can still LET YOUR CREATIVITY FLOW!

Sunday, September 4, 2011

My Bathroom Makeover

About 2 years ago I was fed up with my bath and decided to change it.  I was just beginning to experiment with decorative painting so I wasn't sure how everything was going to turn out but felt anything was better than what I had.

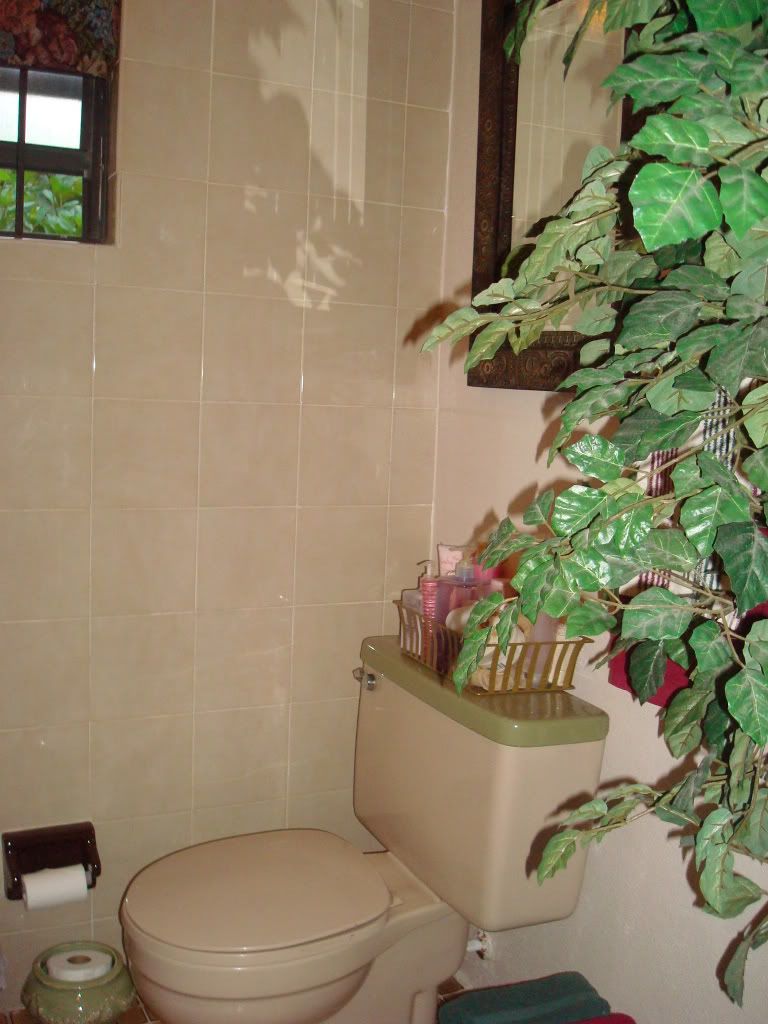
Here are the before pictures. Okay, when I look at these BEFORE pictures I ask myself, "Did it really look this bad?"


Phew, I still can't get over how horrid it looked!  Where was I?
Okay, so I started the makeover, it didn't "POP" as my sister Sharon would say, but it was a big improvement.  My biggest mistake was the paint.  I had purchased it from the "oops" section read more here about that.  I didn't like the color of the paint but to keep expense down I opted to use whatever paint I had on hand.

I painted the door frames cranberry & off-white.  The cabinet was painted off-white and then stained. The ceramic tiles above the vanity were painted using a combination of colors - brown, egg-shell & cranberry.  I'm not an artist so felt something abstract was my best bet.  Once the tiles were painted I started working on the counter top.  I primed, then used a high enamel brown paint.  Then the fun part, I took some thread and a tiny piece of sponge and started dabbing colors.  It took me several hours to get the look I was looking for but eventually I was satisfied.  I used polyurethane for the top coat.


I didn't like that the mirror was plain so decided to do a raise stencil to give it a little more definition, I also changed the faucet. 


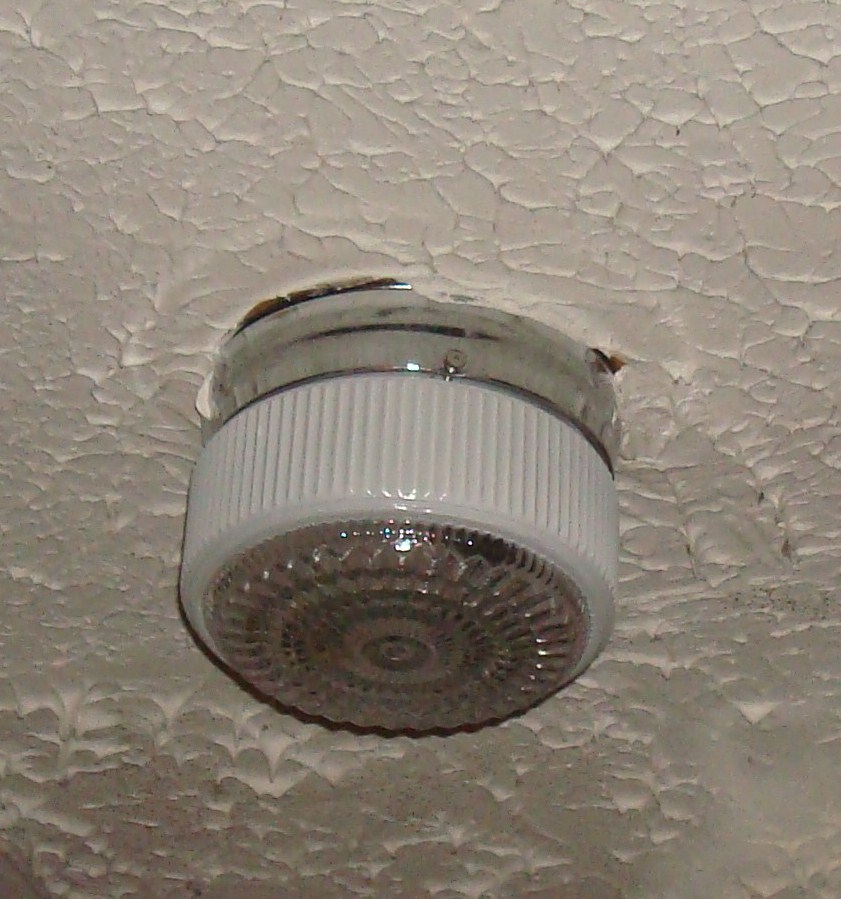
For the second portion of the bath I wanted a nice elegant lighting fixture, but of course, money was tight so I decided to put my on thing together.  I found some trim at Home Fabric and decided to wrap it around the fixture using a glue gun.


I was quite pleased with my mini chandelier :-)


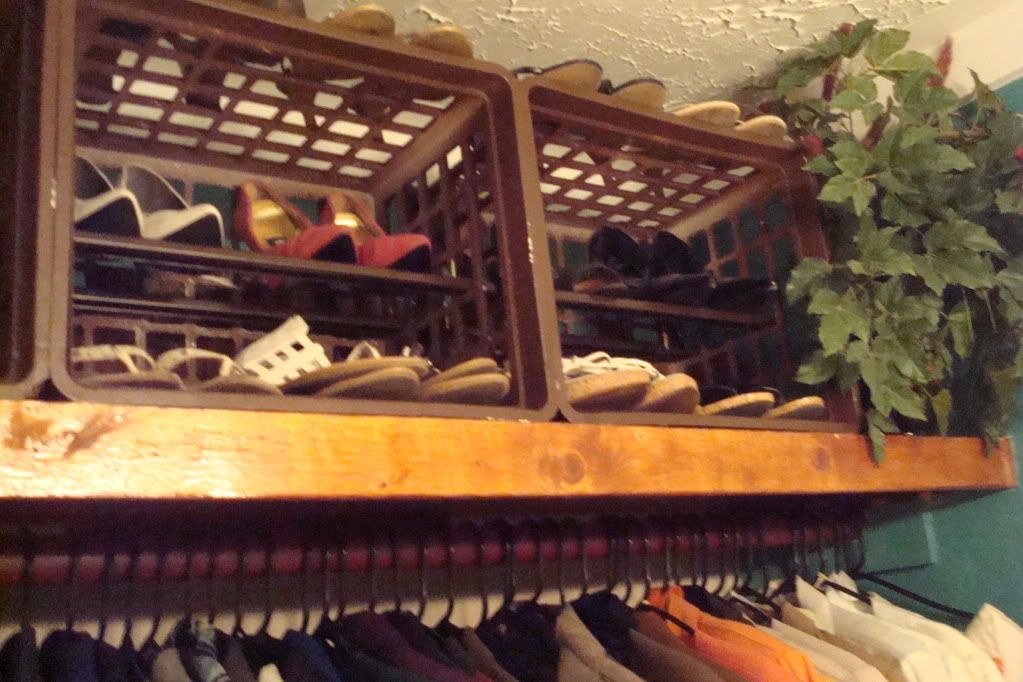
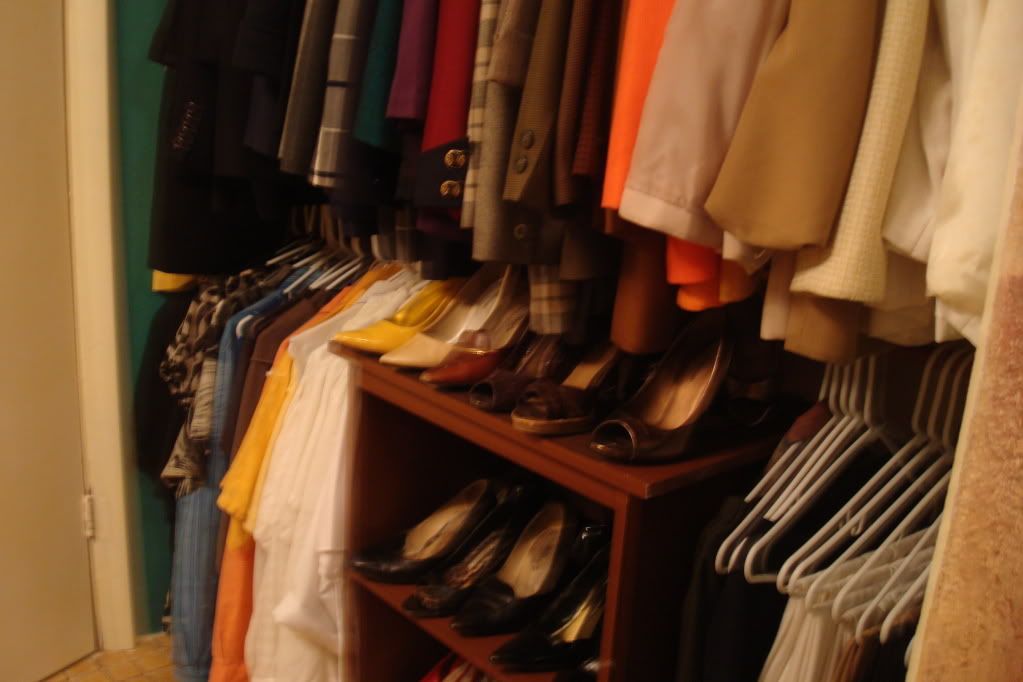
And then the closet.  My closet is extra tiny and I wasn't sure how to handle it.  After looking around the house I remembered a small bookcase in the guest bedroom that wasn't being utilized.  Decided my shoes would go perfect on it and painted it.  I moved all of the junk from the crates overhead, found two long pieces of metal and converted it into a shoe rack.

Crates stacked to station shoes & purse

This was a major makeover compared to earlier but still it didn't "Pop", I wasn't happy with it.  I'm not naturally creative so it takes a while for me to decide on what I want or how I want it.  So I decided to wait.

And wait....

Finally, a whole year later it hit me.  It was the color. I hated the color, but at the time I used what I had because I had purchased gallons of 'oops' paint that I was trying to get rid of.  So, I started skimming through magazines to identify a color I could relate to something I would be happy with.  Eventually I found it... Turquoise, I fell in love with turquoise.

Getting started all over again...

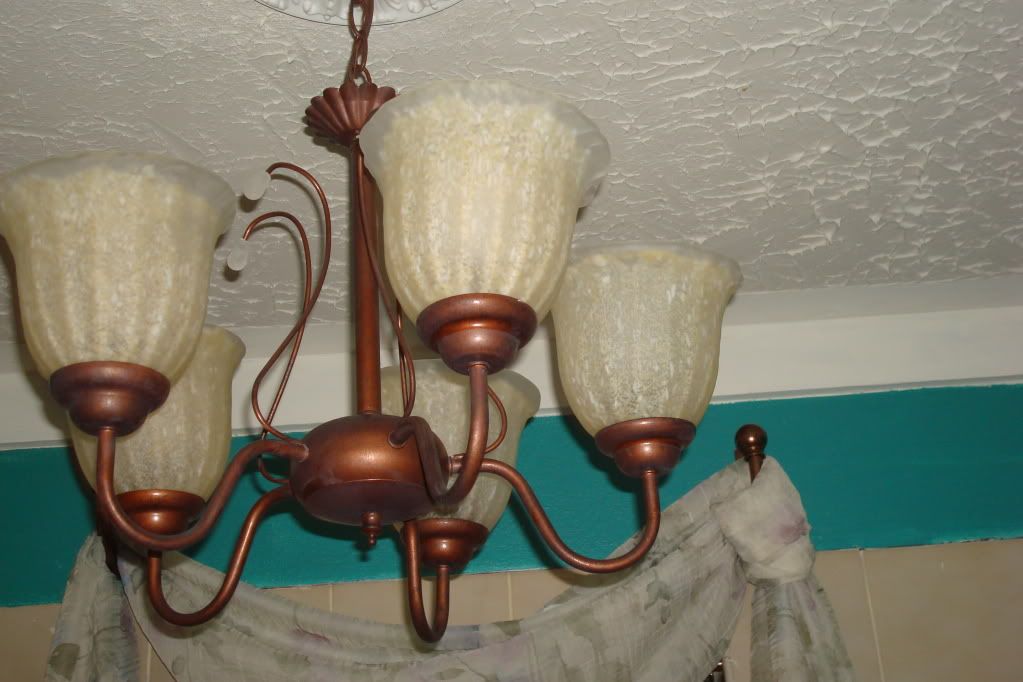
I knew I had to change the light fixture, I was proud of my mini chandelier but with a small bath I needed something a little more dramatic. Here's the new light fixture.


Plus I needed a window treatment that could make a statement.  I found some fabric from Home Fabric, the width for 110".  Bought 2 1/2 yds; cut it in half lengthwise and hung it over the rods I purchased from Kelly's.  The sheers were extremely long but rather than cut and hem (I'm extremely lazy at times) I folded it in half.  Love how it has a little pounce.


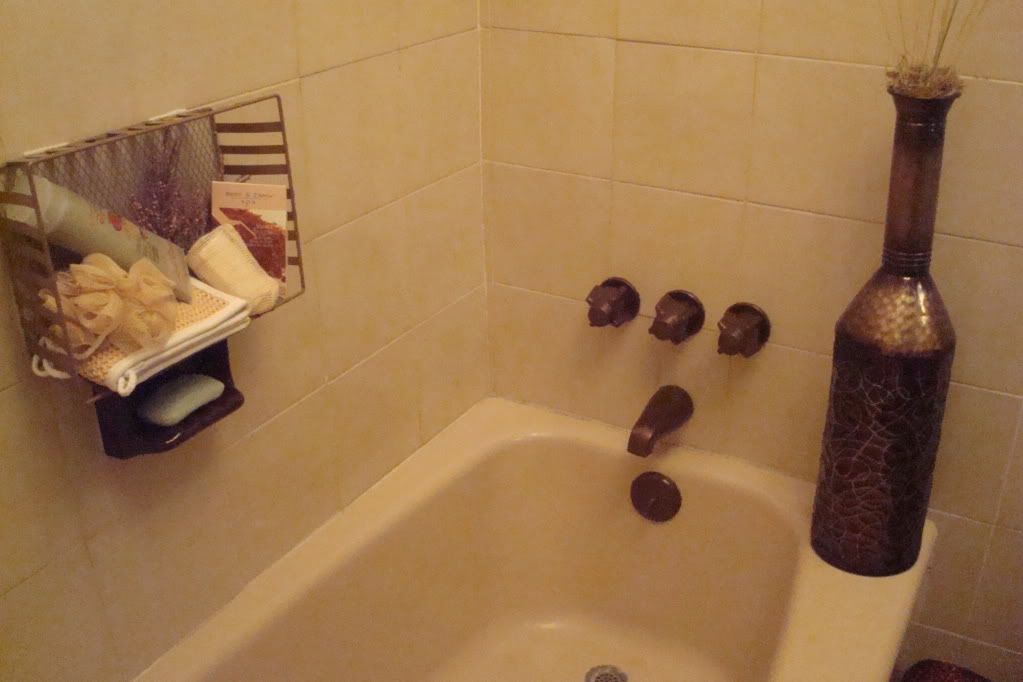
The brass vase on the tub was an afterthought.  I think it adds elegance to the whole thing.


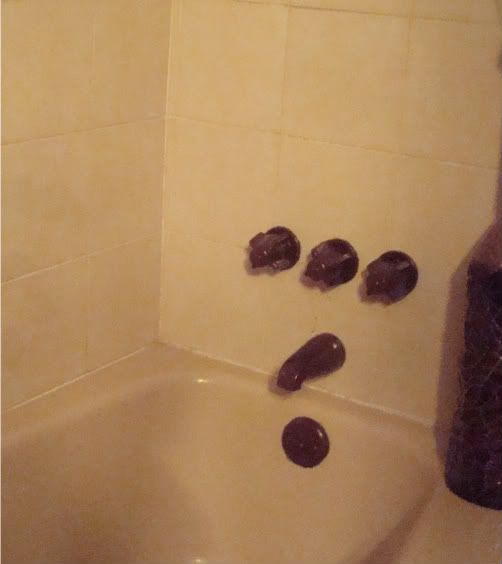
I liked my counter I had painted, so I knew I wasn't going to change it but I decided I wanted bronze fixtures.  I looked all over and couldn't find what I wanted (or couldn't find what I could afford).  So, when I was explaining my dilemma to my sister she simply said "Why don't you paint it?" I don't need to tell you about the bells and whistles going off in my head... lol

I Primed...
 Then I painted...


I Primed

Then I painted
I decided to add detail to the door frames to make it look like wood carvings


 The stencils on the mirror were painted bronze
So, here's my bathroom and every time I look at it, it Pop's!  :-)

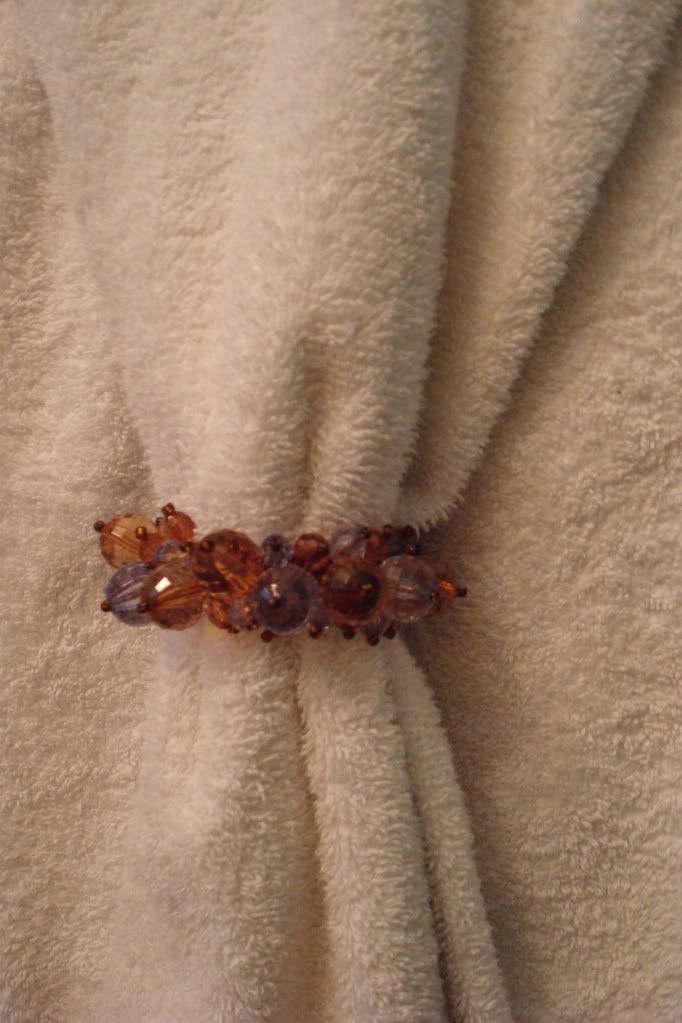
If you don't have money for fancy towels, you can still add some pizazz to them by using napkin rings.  I found these at Kelly's for $7.99.


 Sometimes a soap dish hanging over a tub can look, lonesome.  My son had given me a bath basket sometime ago so I decided to hang it over the soap dish and fill it with some stuff I had left over.  I like how it looks picturesque.


How many of us have a toothbrush holder that we no longer use?


I decided to dramatize it with this... yep, it's the cardboard from toilet paper.


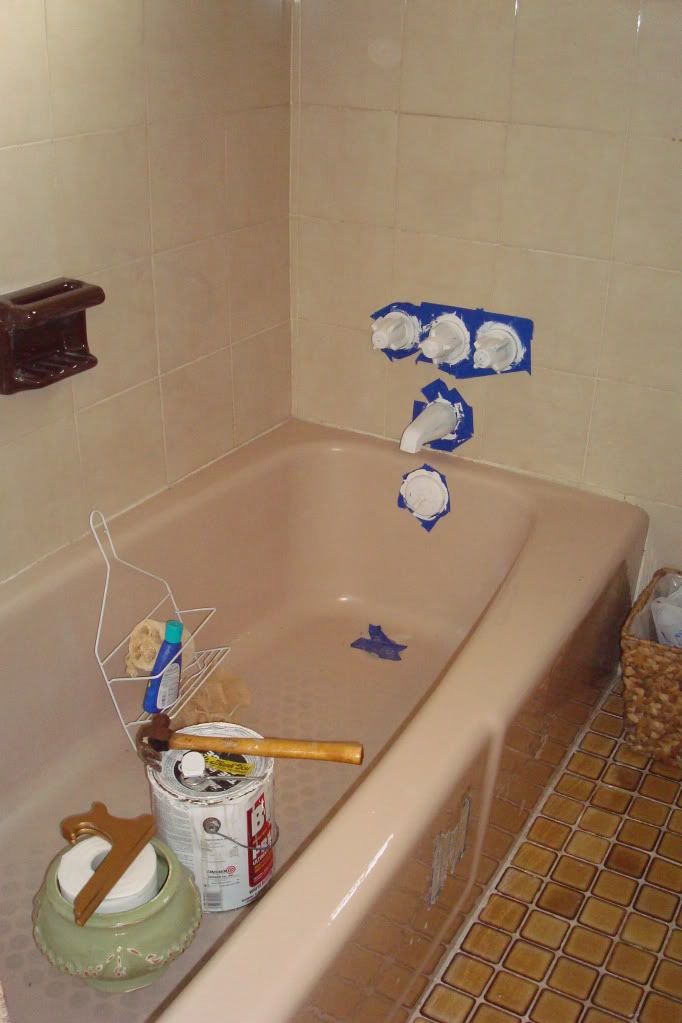
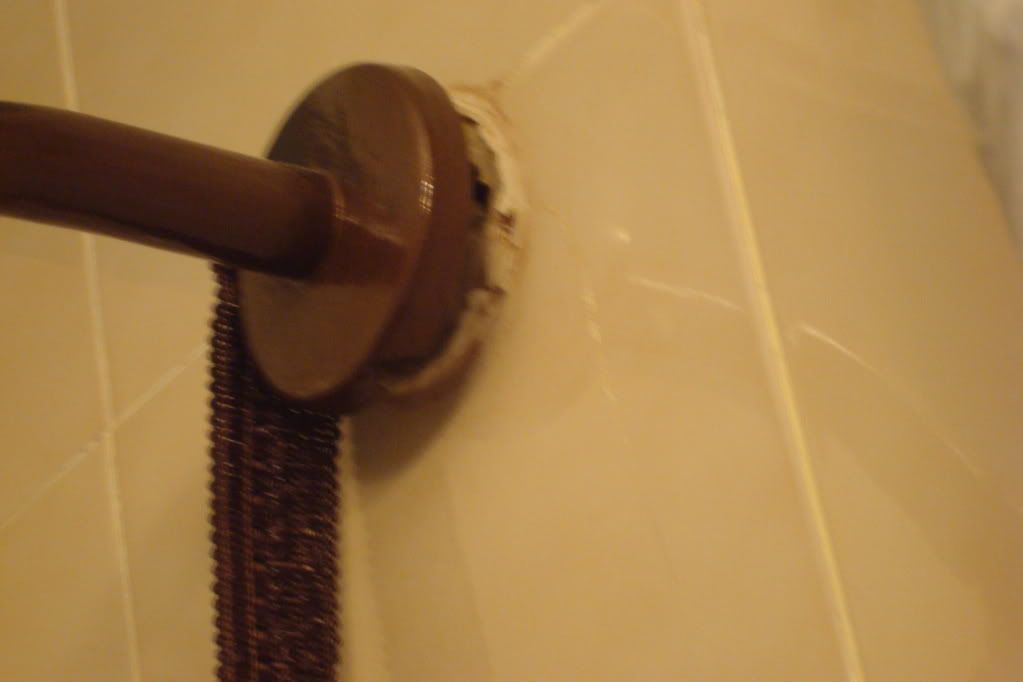
This was my biggest problem, some years ago the plumber explained he couldn't get the shower fixture on properly for some reason or the other...
I found some trim and wrapped it around.  When you think about it I'm the only who takes a bath in my tub so who else will notice????

There wasn't very much I could do to my closet.  I repainted the crates, then added a plant to give the ceiling some height.


And then I moved my shoes from the end of the closet to the middle of the closet.  That helped to separate my clothes and keeps the closet from looking clustered.  My next step is to change all of the hangers to black.   :-)


Well while I was doing all of this I looked at my door and realized something else needed to be painted.  Yep, you're right my door knob.  The silver clashed with the bronze.  When I check out the price for a new door knob the cheapest was $20 and that was for the 'yilkie bright gold'.


 Isn't this much better?


What did I learn from this?  If you don't like something (like the paint) don't use it because you're saving money; in the long run it's your time that you're wasting; and sometimes, it's okay to take your time before making a decision.

Now, if I can do this, so can you, go LET YOUR CREATIVITY FLOW!