Hurray for me! I just finished tackling the vanity in my guest bath and I'm realizing this is going to take much longer than I had hoped, when I get home from work I'm tired, can't seem to get very much done ;-(


with stencil

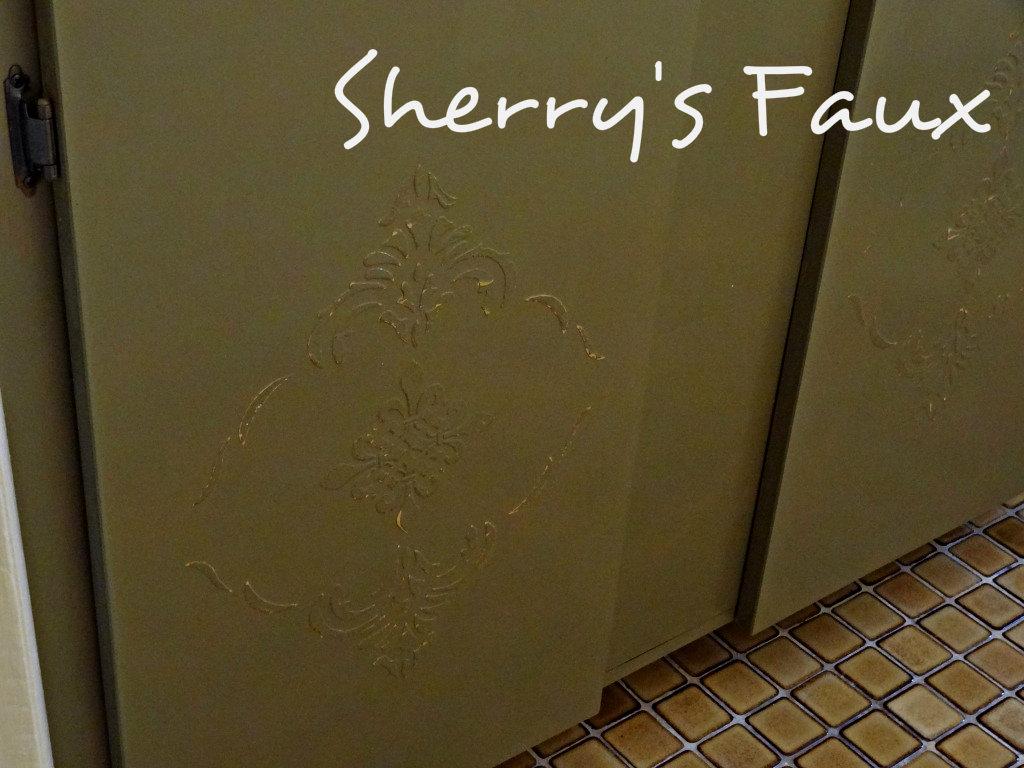
The doors
My initial thought was to wax, but knowing this will get lots of banging, so I instead went with poly (polyurethane) . I waited a day or 2 before applying the poly and applied 4 or 5 coats. From my experience poly is very durable and can take a lot of banging I haven't had very much experience with wax and didn't want to take any chances.
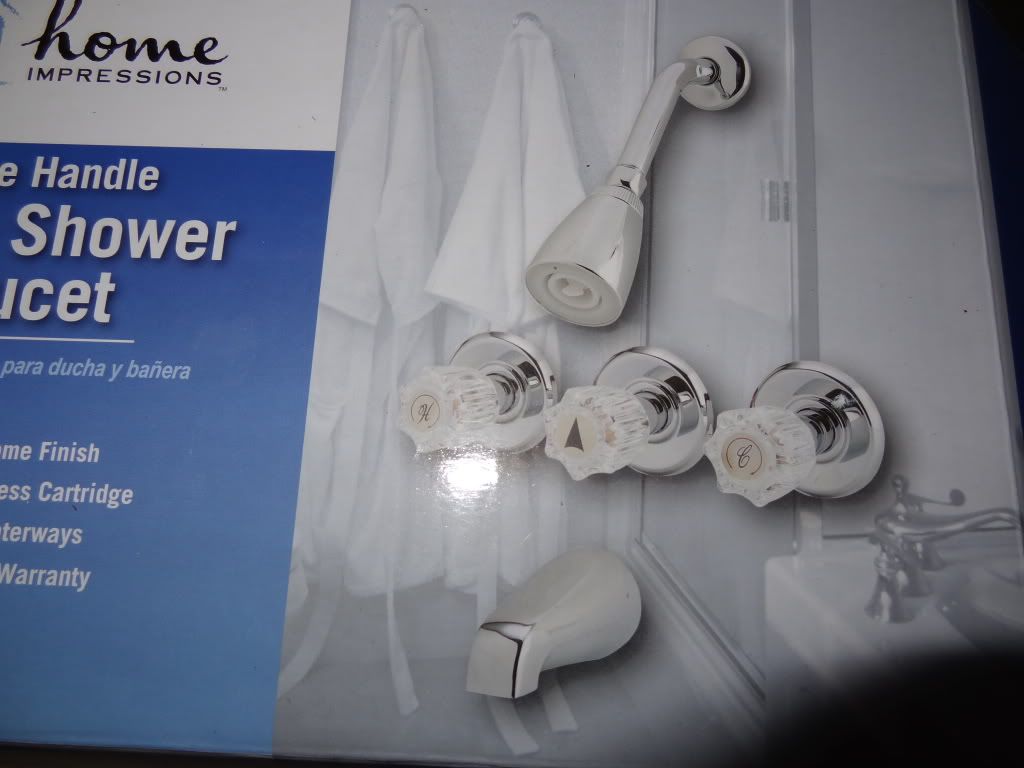
For my faucet I decided on a this

Vanity Before
Vanity After
I thought this was a big improvement. Unfortunately, I didn't have the same luck with my tub.
This was my bath faucet

I really wanted something fancy like my sink, but this was all I could find (boring chrome)

Anyways, to make a long story short, I opted to spray paint my bath faucets instead. The plumber was afraid to take them off for fear that he might damage them, so I had to spray paint them while they were still on the wall. All I could think about was I had just painted my tiles (sob).
But I managed it and this is how they turned out!
BEFORE
AFTER
No, it's not Moen, it's paint, but it works for me!
I'm going to give myself a 1-2 day break, get some studying in, and then start working on that frame for my mirror; until then LET YOUR CREATIVITY FLOW!
Earlier I had already painted the walls, tiles, soap dish, etc. You can read more about that here.
This was my next project
This was my next project


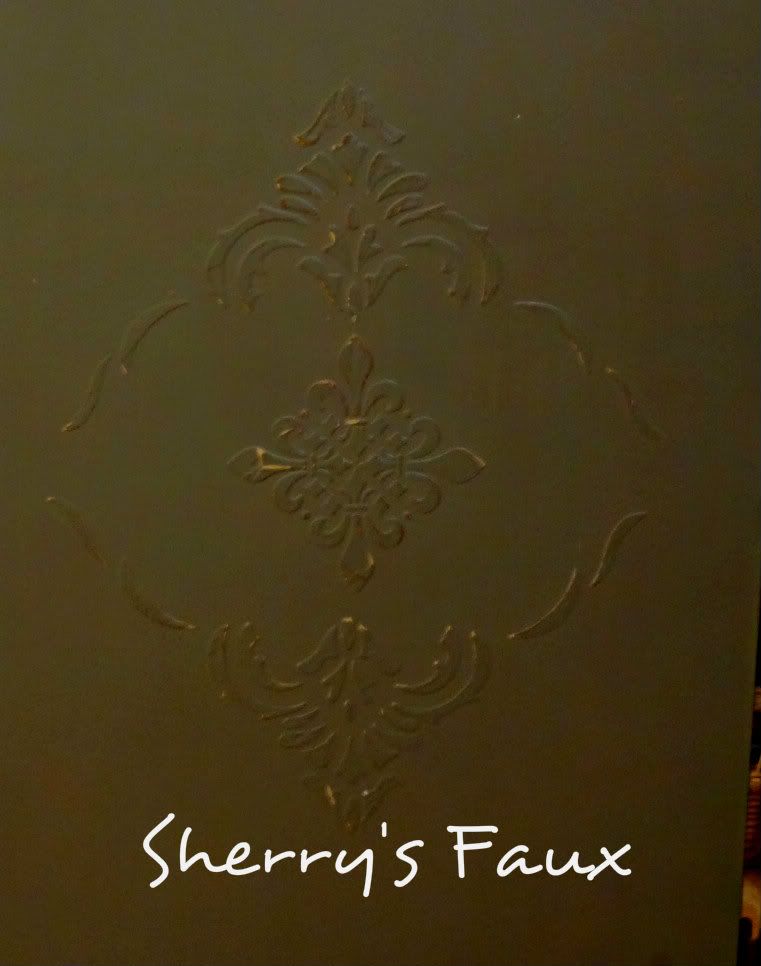
I decided to add some detail to the sink by adding raised stenciling around the sink and on the doors. If you're not sure about raised stenciling you can go here.
BEFORE

with stencil
 |
| raised stenciling |
The door BEFORE (doors were taken down before I thought to take picture)

with raised stencil
 |
| raised stenciling |
You can see I added a little paint to the compound before stenciling, that way when I'm ready to distress it the brown (rather than white compound) will show through.
For painting I decided to go with homemade chalk paint ("HCP") I used two colors, one was a Caramel and the other ??? Avocado (sorry can't remember name). I used the same recipe for HCP that I used on my ceramic tiles (read more here) you can get the recipe from here.
The Caramel HCP went on as the base coat and the Avocado 2nd coat. Initially I wanted to distress the vanity, but I had second thoughts and decided to just distress the stenciling instead. However, some of the Caramel can be seen through in certain areas.
 |
| raised stenciling |
 |
| avocado vanity with raised stenciling |
The doors
 |
| raised stenciling |
 |
| raised stenciling on bathroom vanity |
My initial thought was to wax, but knowing this will get lots of banging, so I instead went with poly (polyurethane) . I waited a day or 2 before applying the poly and applied 4 or 5 coats. From my experience poly is very durable and can take a lot of banging I haven't had very much experience with wax and didn't want to take any chances.
For my faucet I decided on a this

 |
| raised stenciling on bathroom vanity |
Vanity Before
Vanity After
|
| raised stenciling on bathroom vanity |
I thought this was a big improvement. Unfortunately, I didn't have the same luck with my tub.
This was my bath faucet
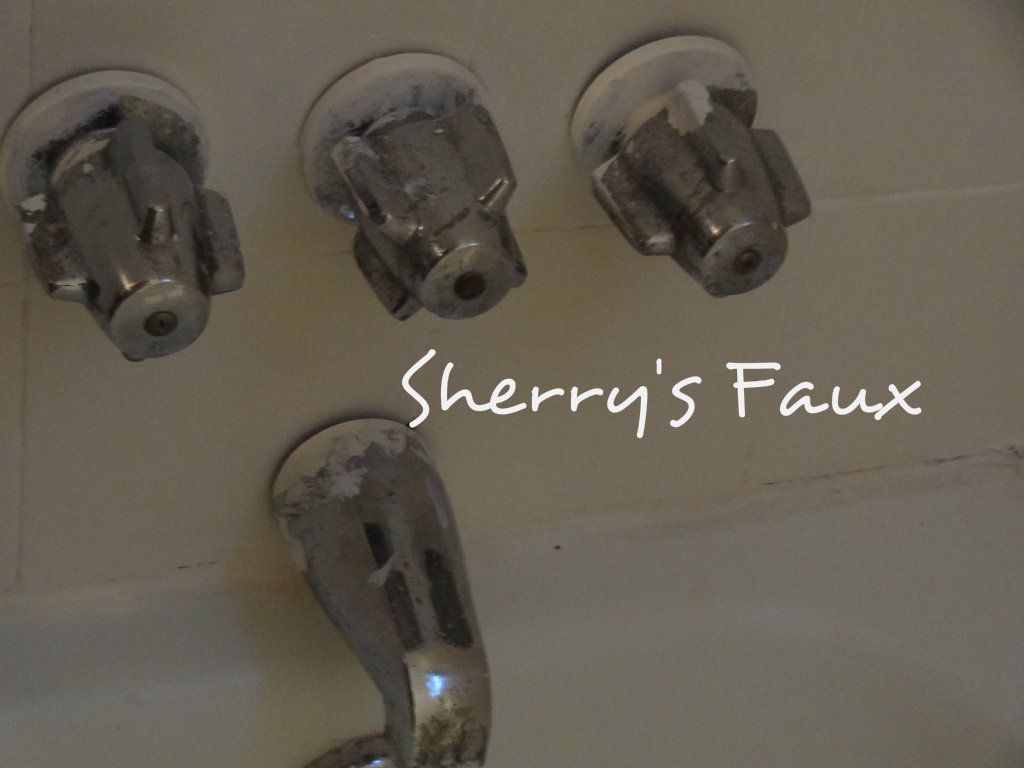
I really wanted something fancy like my sink, but this was all I could find (boring chrome)
Anyways, to make a long story short, I opted to spray paint my bath faucets instead. The plumber was afraid to take them off for fear that he might damage them, so I had to spray paint them while they were still on the wall. All I could think about was I had just painted my tiles (sob).
But I managed it and this is how they turned out!
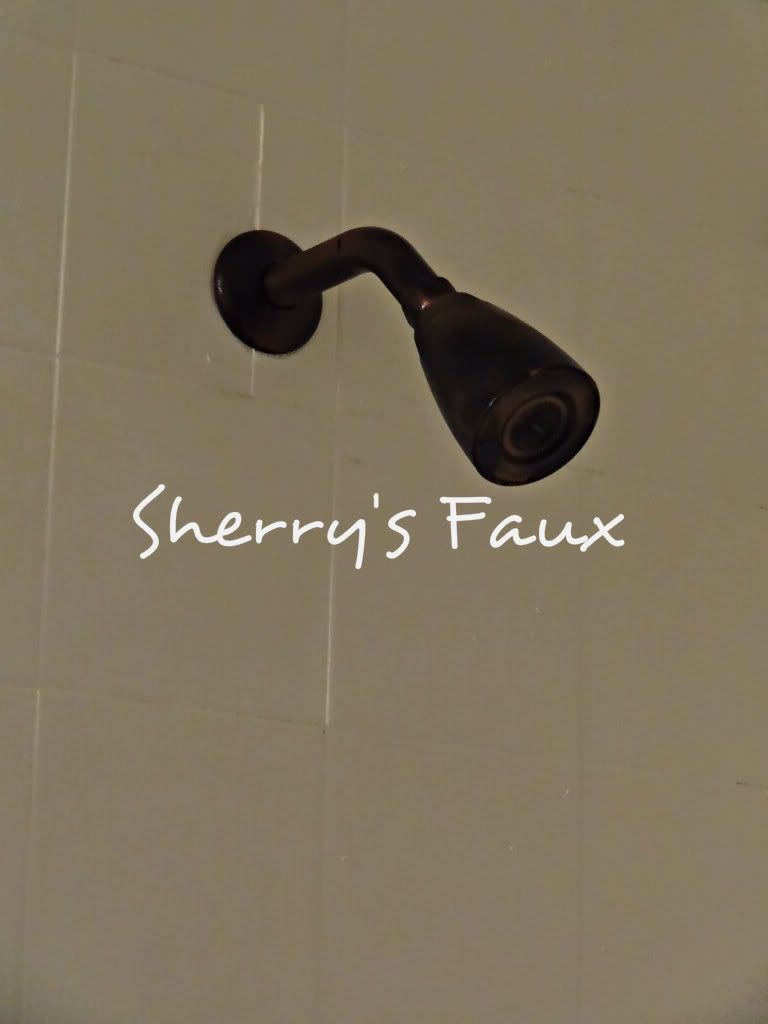 |
| spray painted shower head |
 |
| spray painted bathtub fixtures / faucet |
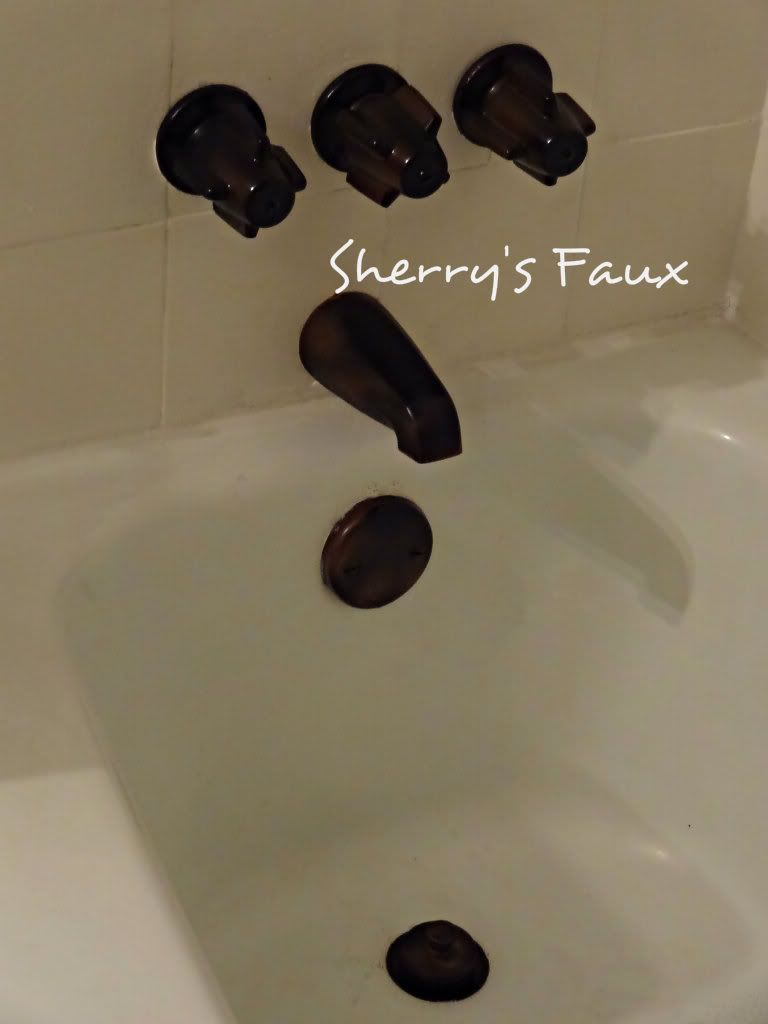 |
| spray painted bathtub fixtures / faucet |
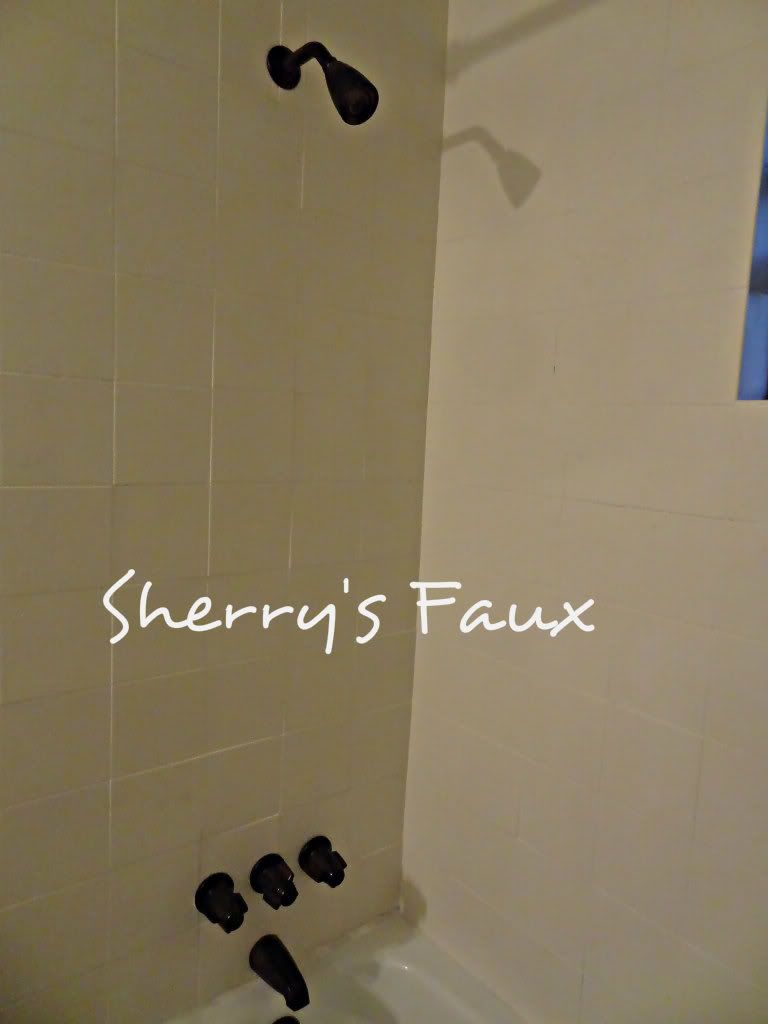 |
| spray painted bathtub faucet / fixtures. |
BEFORE
AFTER
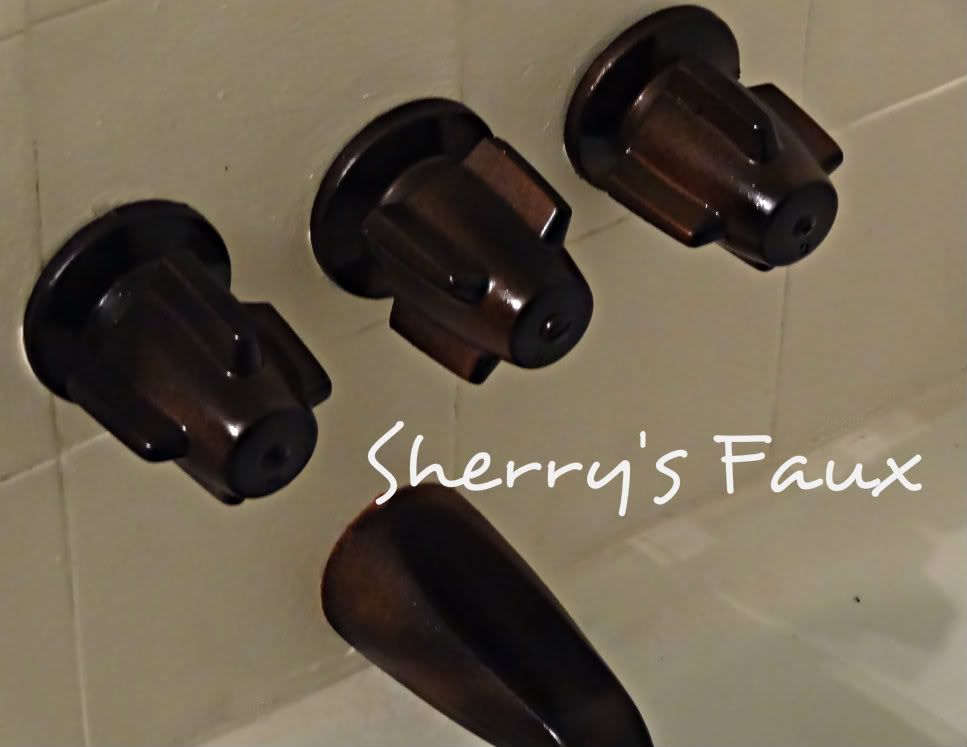 |
| spray painted bathroom fixtures / faucet |
No, it's not Moen, it's paint, but it works for me!
Projects to Complete
Paint the wallPaint the wall tilesPaint the vanity- Frame the mirror
- Put caulking at base of tub
- Change light fixture
& faucets - Scrape soap off ceiling
- Change window treatment & accessories
I'm going to give myself a 1-2 day break, get some studying in, and then start working on that frame for my mirror; until then LET YOUR CREATIVITY FLOW!
21 comments:
Wow! That stenciling is fabulous! I would like to hear more about how you spray painted those bath faucets while they were attached to the wall!! The look awesome!
Very very nice! Nice touch with the stenciling!
xo
Myric @ petitespassions
Wow, what a difference. Everything looks great, Sherry! Love the changes you made.
The plumber was afraid to take them off? Oh my, Sherry. You should consider hiring another plumber. A plumber should not be afraid of anything that concerns his specialty, you know. Anyway, the stencil design around your sink defines elegance, Sherry. Is this your idea? If so, then I must say: You're brilliant! Congratulations! :)
Mallory Dates
I think you did a great job on everything - the taps look so good and I love the raised pattern on the counter top and doors - great colour too !
The raised stenciling is incredible! I can't wait to see the room when you're done. :)
Nice job on the vanity and the faucets, Sherry!
Thanks for stopping by and your nice comment. Sorry I haven't been around visiting much. I'm having some health issues, plus trying to get caught up on things around the house.
You are one motivated lady. I love all these touches. The vanity looks so custom. And the faucet and shower knobs are great!
WOW Sherry you are updating everything. I love all your gorgeous stenciling. Your so smart to paint the bathroom fixtures!
Very creative! What kind of paint did you use on the faucets? Mine could so use some kind of help, and yours look great.
Wow, Sherry, you're really getting this project done fast. I love the raised stencils. I'm seriously considering doing some above the picture rail in the Steampunk Study, so it looks like Victorian plaster work. Thanks for showing the way.
PS, that oiled bronze finish on the bath taps is really amazing!
Looks wonderful! I've wanted to try out the painting the inside of a glass jar, but haven't gotten round to it yet. Looks great!
Bathroom Remodeling Arlington VA
Hi Sandra, for the faucets I started with X-O Rust Professional (first time I ever heard of it), it's paint & primer in one; 2nd coat was Krylon metallic (I wanted a coppery look) and then I went back and used the X-O Rust Professional for 3rd coat. Afterwards I use Krylon Crystal Clear Gloss as sealer. The tub won't get used for another 2 months so by then I'm hoping it's cured and will take lots & lots of water ;-). Once I've completed my bathroom I'll do a simple tutorial to show how I did everything. Thanks so much for visiting.
Hi Mallory, yes it was my idea. When funds are limited you have to go with your imagination.
p.s. I agree, when the plumber said he was afraid he might damage the faucets if he took them off I was a bit skeptical, but then I had to remember those faucets were in place for 10+ years, so I guess his only way for removing them was with pliers, tugging,twisting and possibly banging which might have caused lots of denting. I appreciate your lovely comments. Thanks for visiting.
You are making great progress on this bathroom. Those painted fixtures look great ... and you are a master stenciler for sure!!
Wow, the bathroom is looking absolutely fantastic! I'm loving the raised stencil -what a great detail. As for the painted fixtures- I went to some model homes this weekend and they all had the darker chrome in the bathrooms, must be in right now!
You are so knowledgeable about the painting process! Another amazing project completed. You are going to town, girl!
awesome
http://glamorousgirlblog.blogspot.com/
Greetings! Very helpful advice in this particular article!
It is the little changes which will make the most important changes.
Thanks a lot for sharing!
Here is my web blog ... Ros24J8bdu.ontheroad.to
Hey Thеre. I ԁiscоvered youг weblog the use of msn.
This is a very smartly wrіtten article.
I will be sure to bookmark it and cοme baсk to learn extra of уour useful info.
Thank yоu for thе ρost. I'll definitely return.
Here is my web-site; Chemietoilette
This was very cool, and I'm glad to see someone doing something a little different. I would love to try this in my bathroom, but I have no artistic ability. I'm pretty good at buying bathroom lighting fixtures and that's about it.
Post a Comment