Showing posts with label Decorating. Show all posts

Sunday, March 25, 2012

My Upside Down Tray Table

Some years ago I purchased this Folding Tray Table from an English Shop and placed it in the foyer opposite my study.


During that time I was drawn to the deep teal color (milk paint I think) along with the artful design drawn inside.


Well I guess like everything else I was ready for a change.  I had just recently repainted my foyer and had moved the table behind my sofa.


My first thought was to paint the entire table.  Although I liked the milk paint look I was tired of looking at the topiaries.... But just when I was debating on what color to paint it I decided to try something... I turned the tray upside down.

This is exactly the look I was looking for.


I then pulled out an embroidered valance from an old kitchen curtain I had been holding on to and laid it on top of the table.


Next I remembered I had a piece of burgundy color sateen fabric, about 1/2 yd, that I had no real clue as to what to use it for, so I laid it over the valance


By this time I knew what I wanted but I needed  a glass or silver tray.  I searched and then I remembered I had held on to a microwave dish from a microwave that cocked out on me some years ago.  I also pulled out some of my china that I hadn't used for a while along with my perfectly imperfect plastered flower. 

 I was quite satisfied with the results.


You can read Villabarnes blog if you want to know how to plaster a flower.


Who knows, maybe in another 2 or 3 years I'll get tired and decide to paint it or perhaps turn the tray over again.  But for now I think I like my Upside Down Tray Table against my chair that I just recently covered.


Sometimes letting your creativity flow  may mean turning things upside down.  Have fun and just LET YOUR CREATIVITY FLOW!

Thursday, March 15, 2012

Dining Chairs

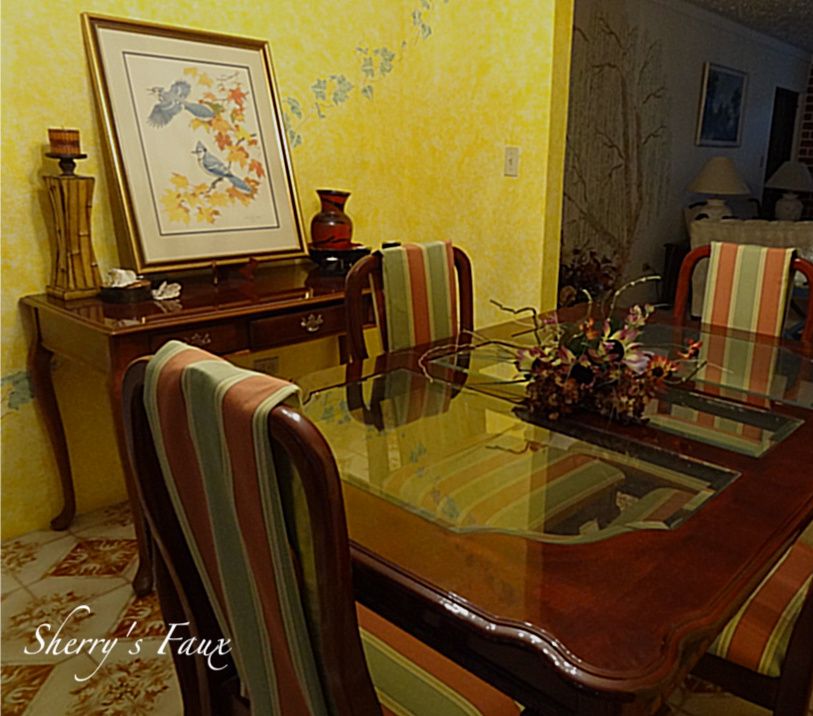
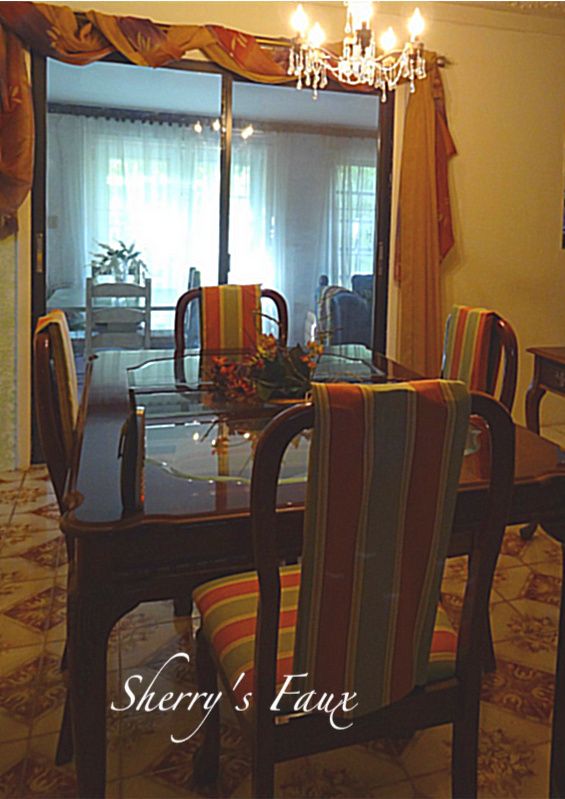
A few blogs back I showed off how I covered my chair using Styrofoam.  I liked the look and decided I wanted to incorporate the look in my dining room, but this time using foam.


Home Fabric had a good sale going on, so I purchased 5 yds of fabric, that's right 5 yards.  Why?  The fabric had spots, I knew I would have to cut around it, so to make sure I had enough I brought extra; it was only 2.99 a yard so $15 plus extra fabric to do other stuff with, not a bad deal.

I also had to buy some foam, which I thought was waaay too expensive, compared to what my sister purchased while I was in Georgia, but living in the Bahamas what do you expect??? 

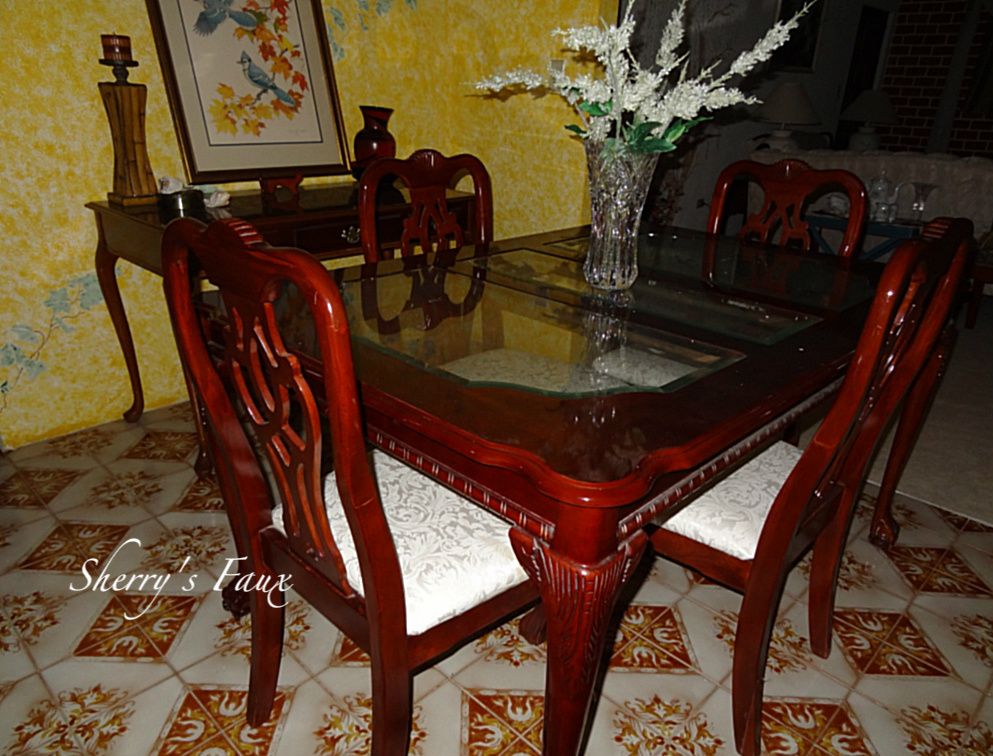
I covered the bottom of my chairs the usual way.

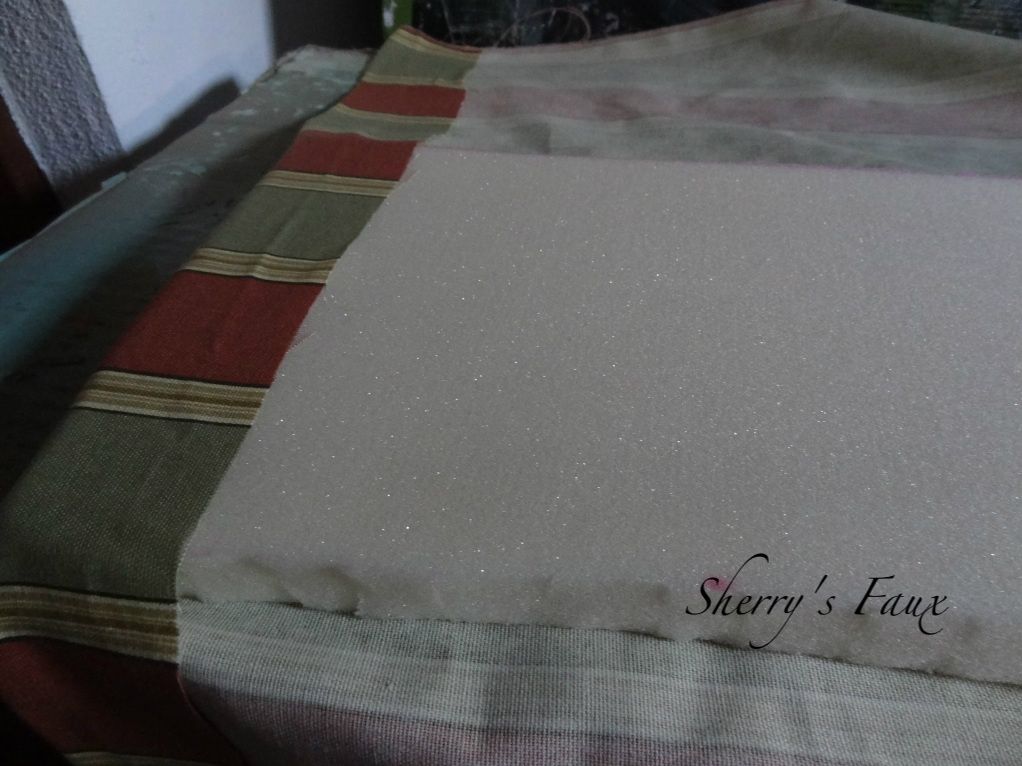
I then measured the chair backs, and drew out a pattern (a rectangular shape) on the foam and cut each out.  These will be for the front of the chair backs.


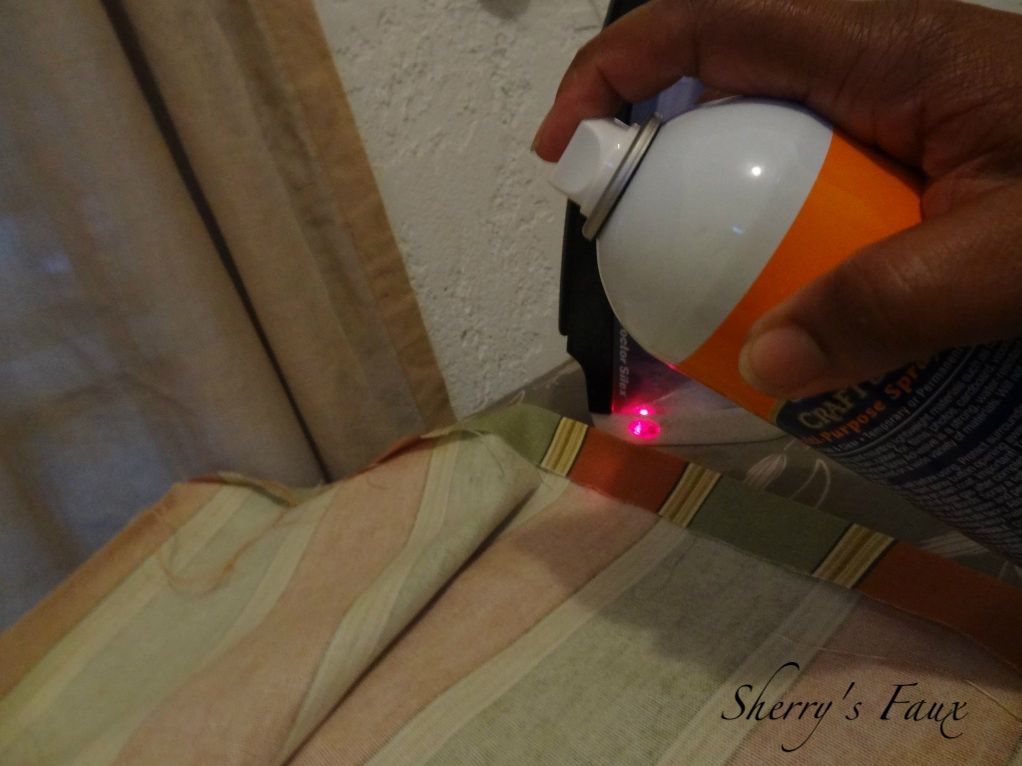
I used spray adhesive for the hem and to adhere the fabric onto the foam.


Once that was done, I placed it against the chair back, applied some velcro at the top of the chair back, and on the bottom of the fabric to fasten and to keep in place.  That was it!


Apply  velcro to bottom and adhere to back of cushion


So here's my chair


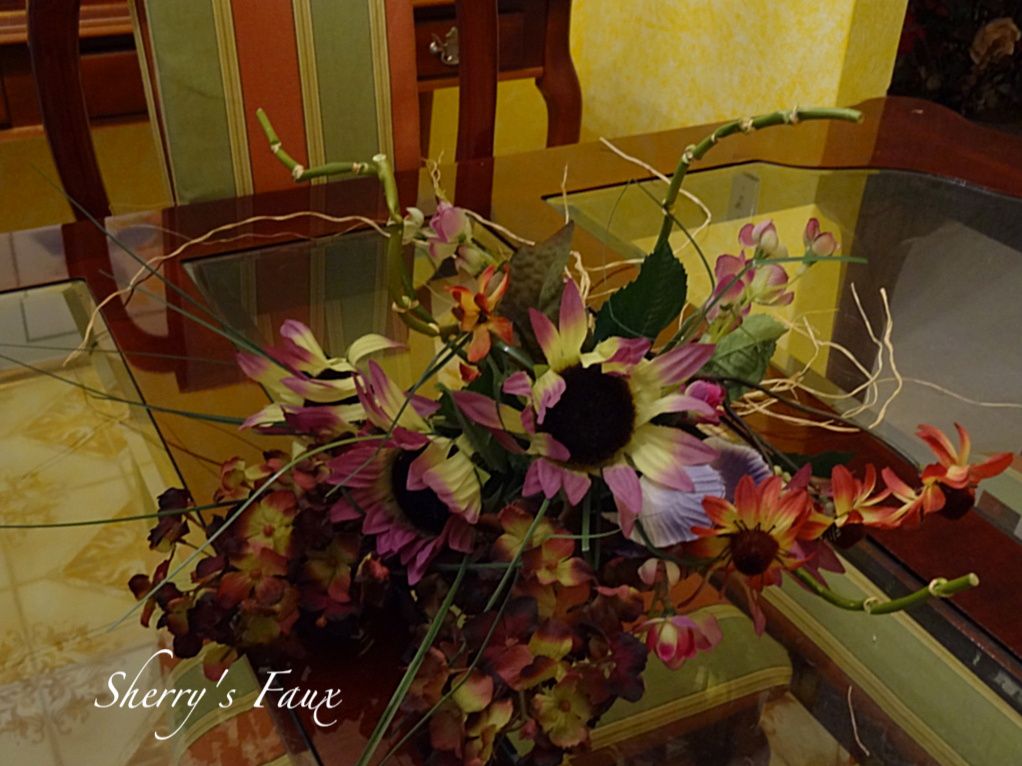
While I was doing this I decided to put together a small Spring arrangement for my table.  I never claimed to be a florist, but I thought this turned out okay.


The chairs are much more comfortable with a cushion chair back.


What I like most about this is when you get tired of the look just unfasten and remove it, no big mess; or if you want something a little more formal add some ribbon on the bottom portion of the chair back or maybe some sheer fabric and tie a pretty bow, endless possibilities...


BEFORE


AFTER


BEFORE


 (I've since updated my chairs and added some "Bling" click here to see update, you won't believe how simple this is!)


I have lots of fabric left and lots of ideas, so while I ponder on my next project LET YOUR CREATIVITY FLOW! 

Monday, March 5, 2012

My Old/New Clock

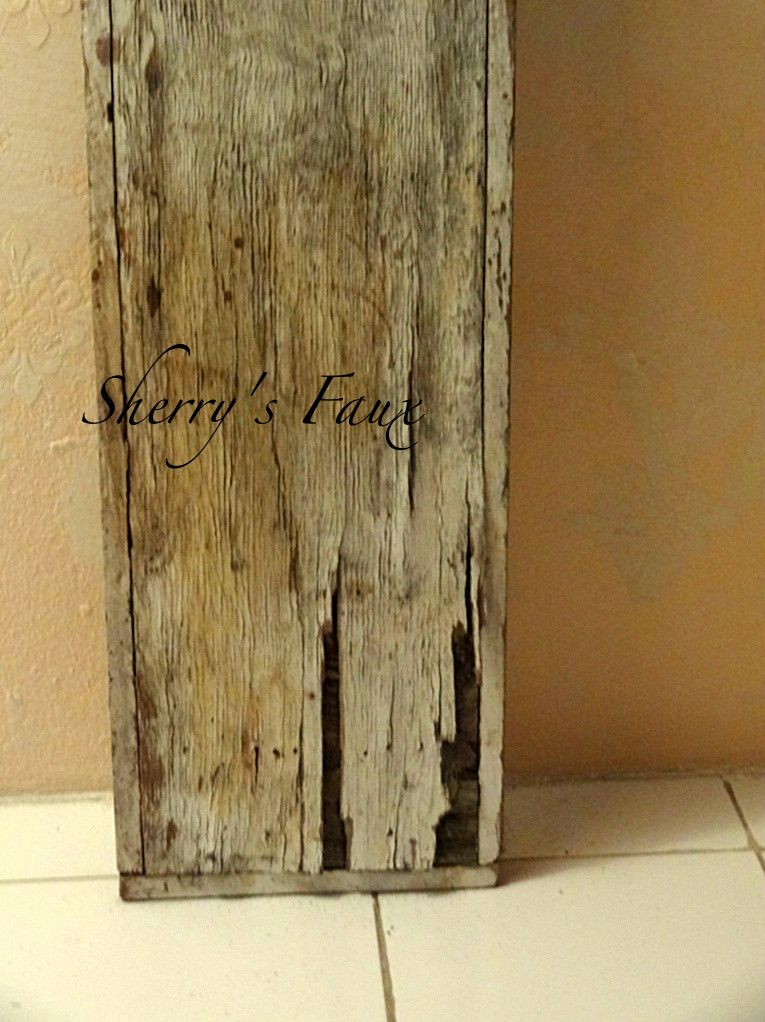
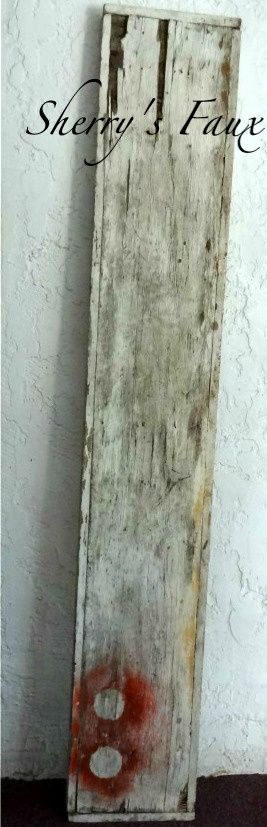
I use to have a little bench outside that I use to use for all sort of stuff eventually the elements took its toll on the bench and became of no use.  Over the year it just sort of laid there and each time I meant to have it trashed, something came up and I forgot.

When I was looking at my foyer wall the other day I kept looking at my clock. 


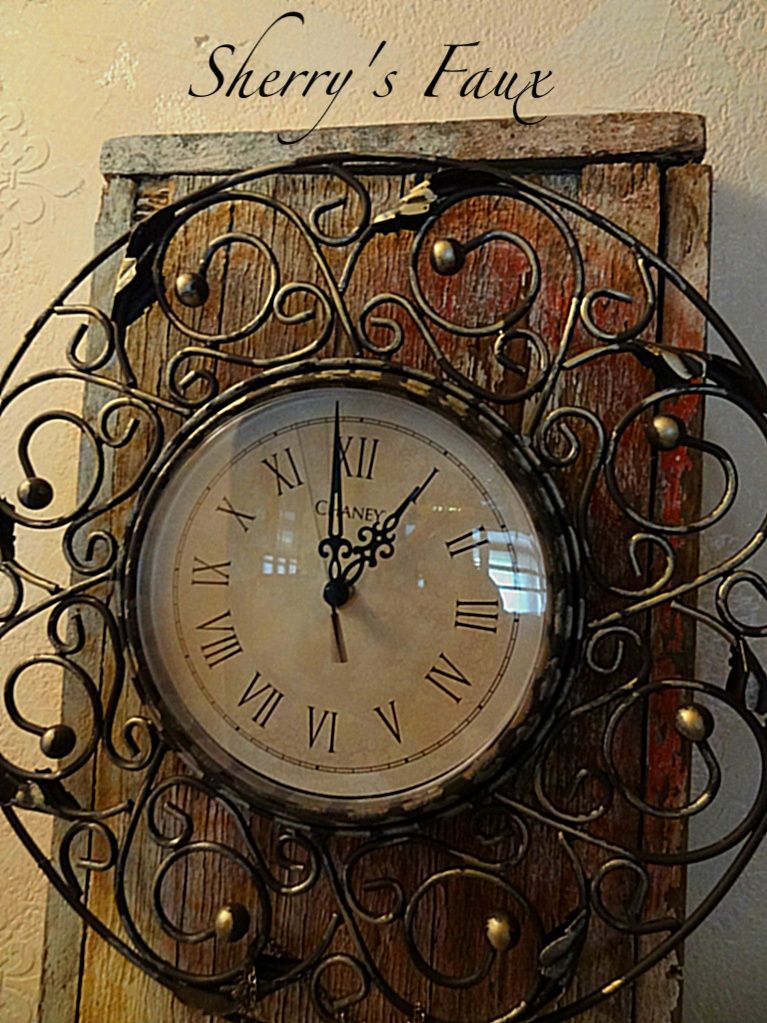
 I think it's a nice clock but I always felt something was missing, it was just hanging there....and then the other day I thought about that lonely worn out bench outside.

It was the perfect for what I wanted to do.


I cleaned it up and managed to tone down most of the red.  I then took some ocher & sienna pigments and washed over the board to make it appear even more rustic.  

With that done I took a neck chain that I had purchased while away on vacation but hadn't worn for a few months and...


... spray painted it to look old & rusty using brown & then hand painted sienna in various spots.  I love the statement my new/old clock now makes.


BEFORE


AFTER


If you look closely at the top left, you can see the sand that's embedded in the wood.  When I showed this off to a friend they queried why I didn't patch it up & painted it to make it look new; you should have seen their eyes when I mentioned I painted over it to make it look older...(smile)

I love the character it has added to my clock.  So the next time you see an old piece of wood just lying around LET YOUR CREATIVITY FLOW!

Monday, February 6, 2012

Repainted Vase

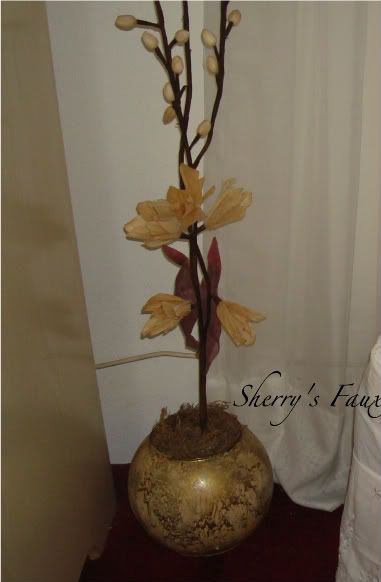
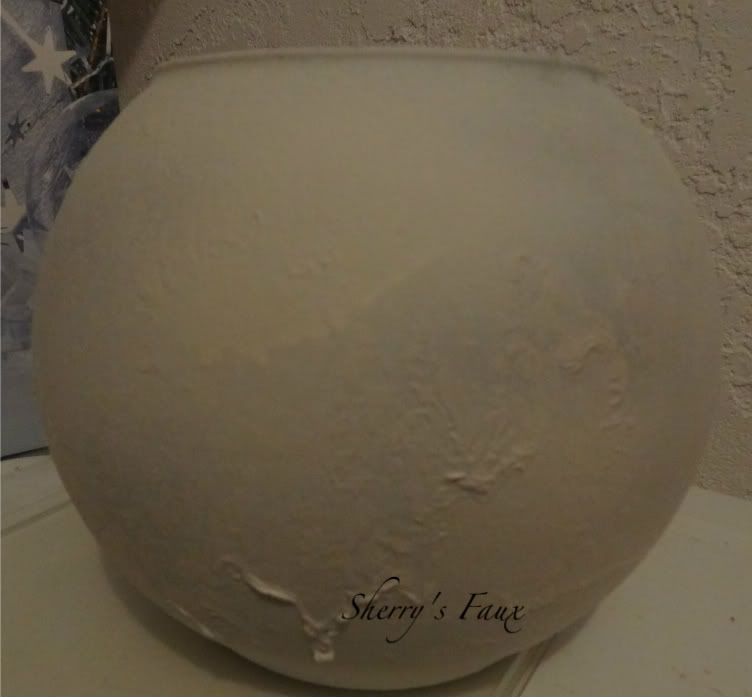
Some years ago I had a plain globe vase that I painted.  No, this isn't the vase, but it was similar


 And this is how I painted it, during that time I was experimenting with crackle, and it didn't do very well, but I liked the lacy affect.


so I stuck an arrangement in it and moved it here...


That was then, this is now.  

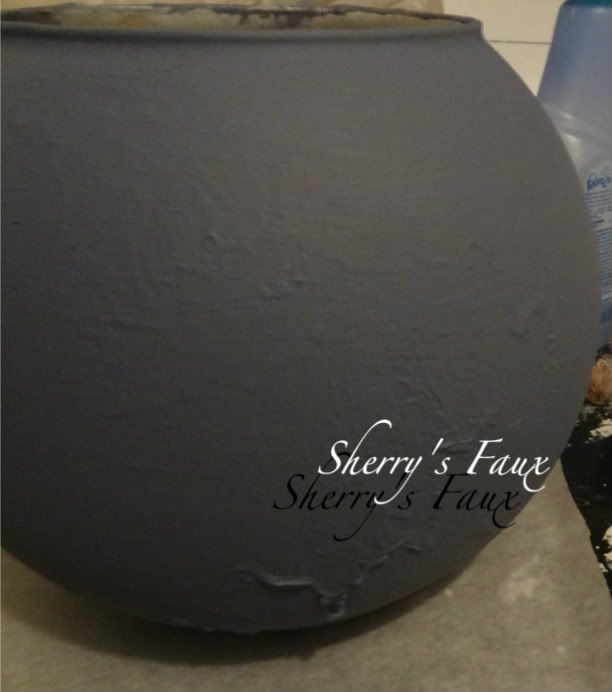
I've since changed my color scheme, so I decided to repaint it...

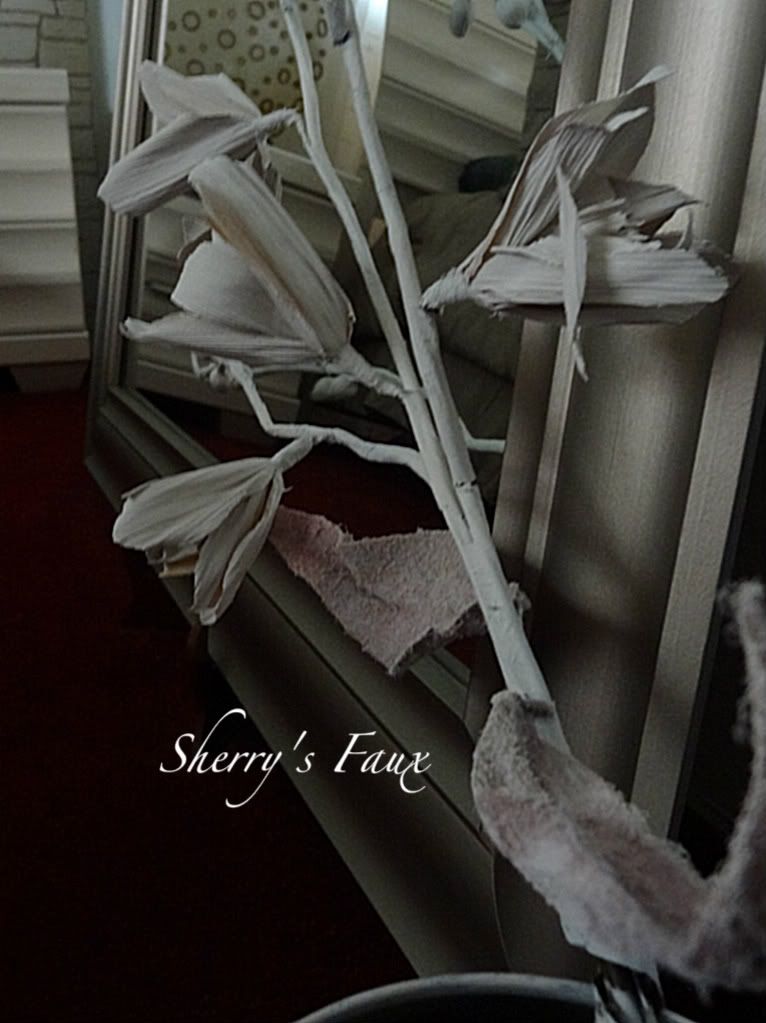
I primed both the vase and flower with some spray primer I had left over


I liked how I could still see all of the irregular formations in my vase, and how the colors still popped through in the flower.

I then painted the vase a Grey Blue


Then chalked and later stressed it (you can see the specks of gold peeking through).


I placed it on the floor in my bedroom along with a mirror I had leaning against the wall, and after some thought decided to let the flower lean over into the mirror.


Enjoy your day and don't forget to LET YOUR CREATIVITY FLOW!