I fell in love with bath trays every since I spied this.
So while I was redoing my spare bath I knew I had to have one. What I didn't know was that these trays can be expensive, so I did the next best thing; make my own.
I needed wood unfortunately I don't own an electric saw and I don't know of anyone who has a saw to cut wood for me so I shopped around for a substitute.
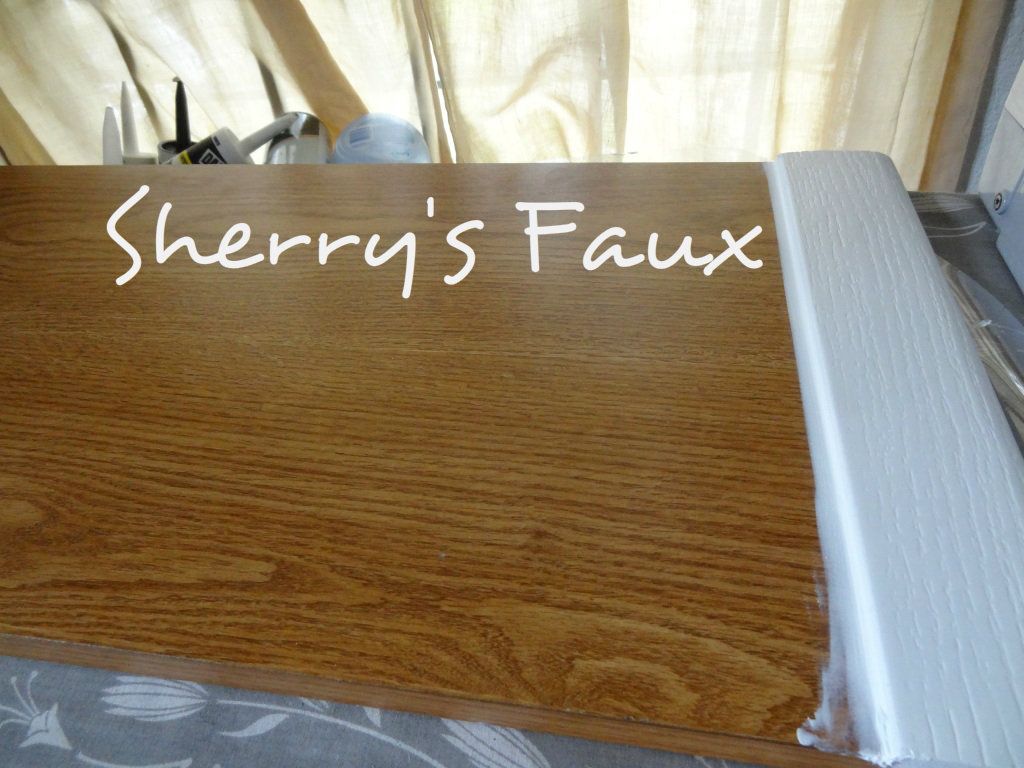
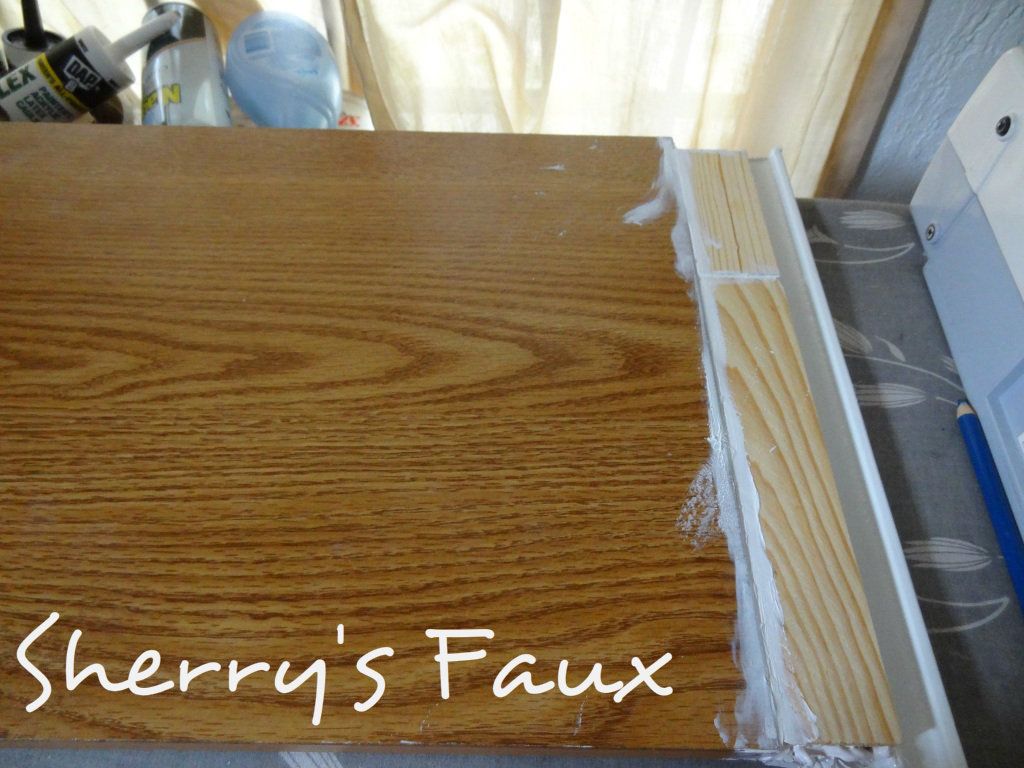
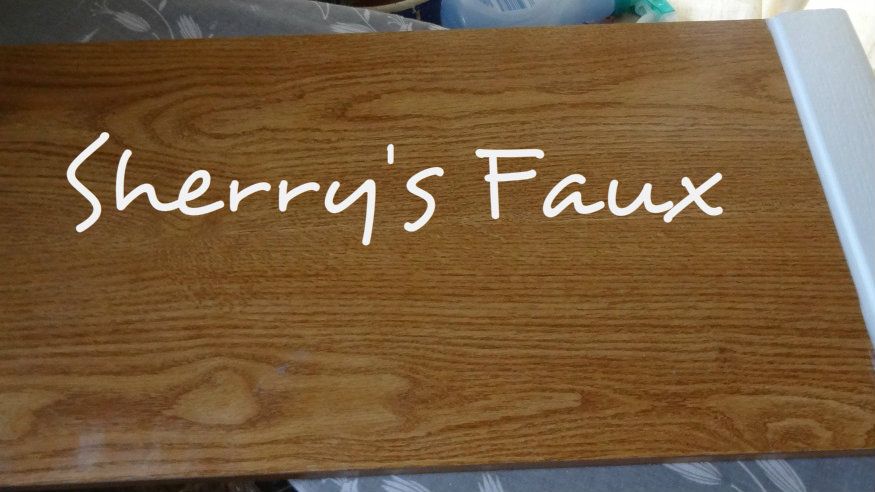
At Kelly's I came across boards 12" x 24", although this was a shy bit too short I decided to improvise. I had some spare molding laying around and shims so decided to give it a try. It worked out perfect!
For adhesion I used wood glue; caulking was used to fill in the crevices.
For my Spare Bath I kept it white and added raised stenciling for detail, sealing it with poly.
This also makes for nice shelving for tub accessories
This is a terrific way to beautify a tub and accessorize.
For my bath I was inspired by a bronze & silver metal vase I keep on top of my tub.
So I used metallic paints.
By candle light.
Have fun and LET YOUR CREATIVITY FLOW!
 |
| Source: Indulgy.com |
So while I was redoing my spare bath I knew I had to have one. What I didn't know was that these trays can be expensive, so I did the next best thing; make my own.
I needed wood unfortunately I don't own an electric saw and I don't know of anyone who has a saw to cut wood for me so I shopped around for a substitute.
At Kelly's I came across boards 12" x 24", although this was a shy bit too short I decided to improvise. I had some spare molding laying around and shims so decided to give it a try. It worked out perfect!
For adhesion I used wood glue; caulking was used to fill in the crevices.
For my Spare Bath I kept it white and added raised stenciling for detail, sealing it with poly.
This also makes for nice shelving for tub accessories
This is a terrific way to beautify a tub and accessorize.
For my bath I was inspired by a bronze & silver metal vase I keep on top of my tub.
So I used metallic paints.
By candle light.
Have fun and LET YOUR CREATIVITY FLOW!


