Showing posts with label decorative box. Show all posts

Thursday, July 19, 2012

Armoire Update - I'm getting there

In my earlier blog I was trying to get my Armoire organized, well I'm realizing it's taking up much more time then I realized, but I'm making progress.

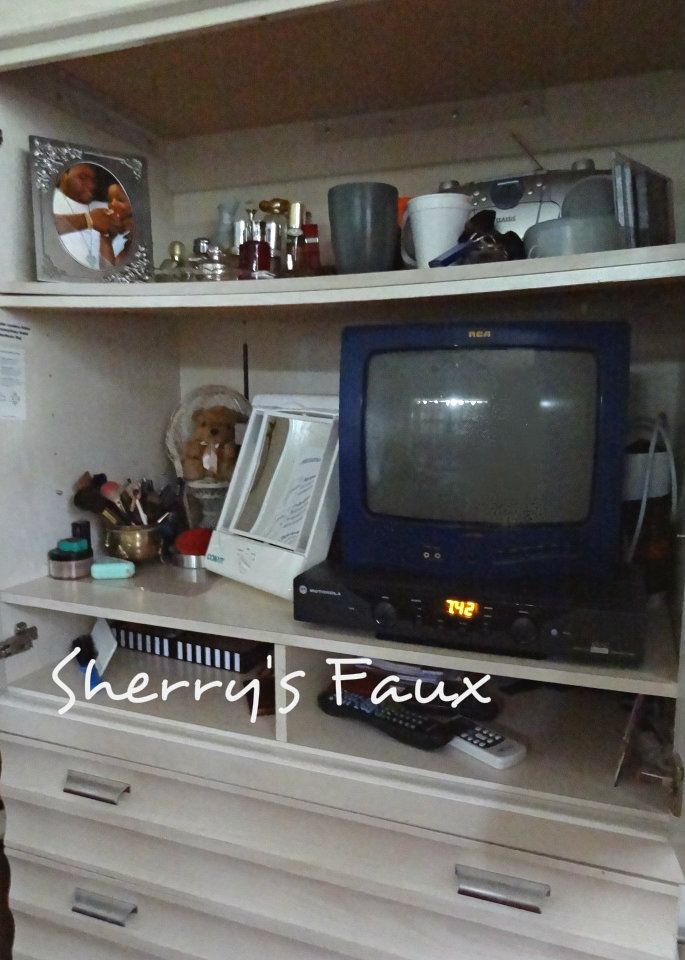
This is the BEFORE


These are the pictures that inspired me


This is what I've done so far

Earlier you will remember I transformed 3 boxes from this...


...to this


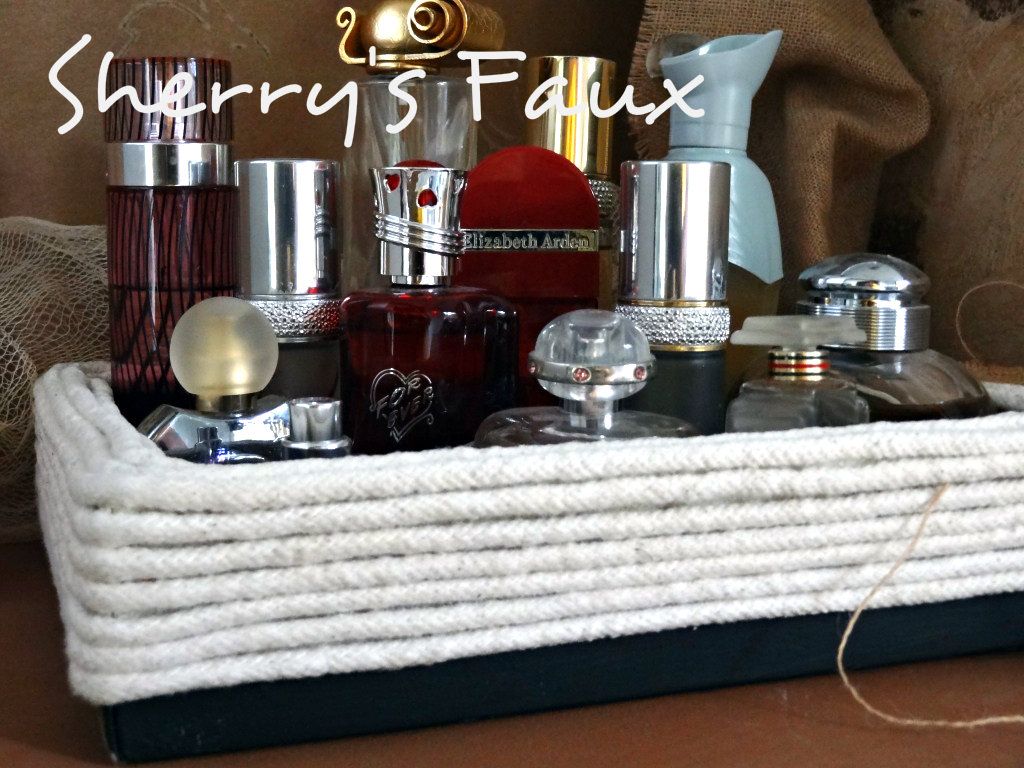
After some thought I decided I wanted something to hold organize my perfume, so I took another box


Lined it with the same fabric I used for the earlier boxes...


...painted the exterior black and then wrapped and glued twill around it.


However I felt something was missing -  I wanted it to "pop" a bit more.  I remembered I had a plastered flower, that I learned to make from Villabarnes earlier, so I decided to glue it on top.


Gotta admit that looks much better!


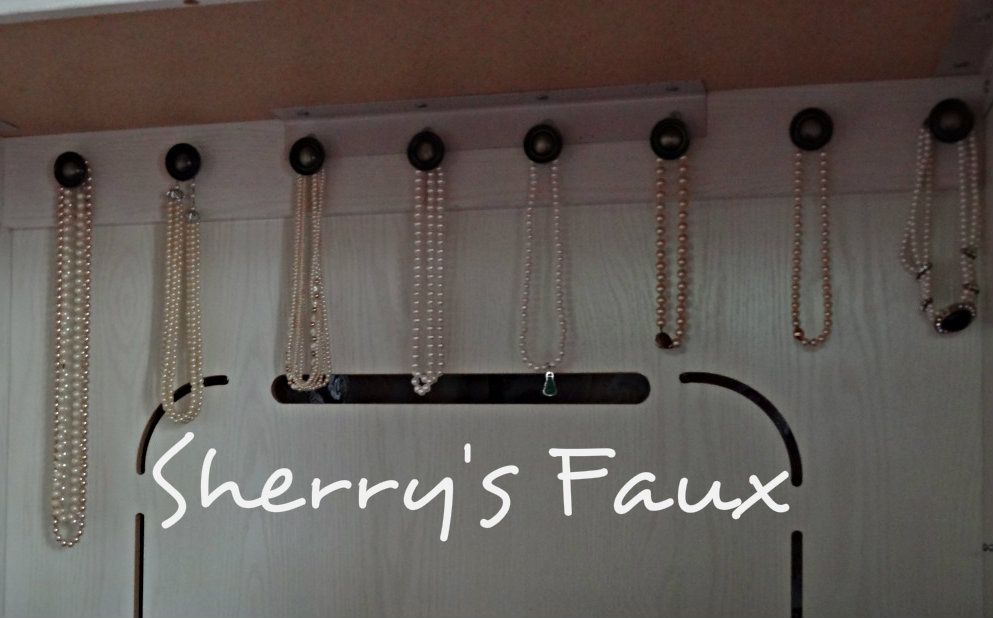
Earlier in one of my blogs you may remember I made a Jewelry Organizer, unfortunately I don't use it for my pearls.  I keep all of my pearls dumped inside a box, I generally wear the same strands repeatedly because it's too time consuming digging through all of them.  Then I thought, "Why not display them so I could easily select one when ready to wear?"  So while at Kelly's House & Home I saw these cute bronze cabinet knobs.  I bought several, attached them inside my Armoire, at the back, and hung my pearls over them. (Sorry, the picture isn't too clear).


Although I seem to be working at a snail's pace, I'm happy everything is coming together.


What I'm working on now...

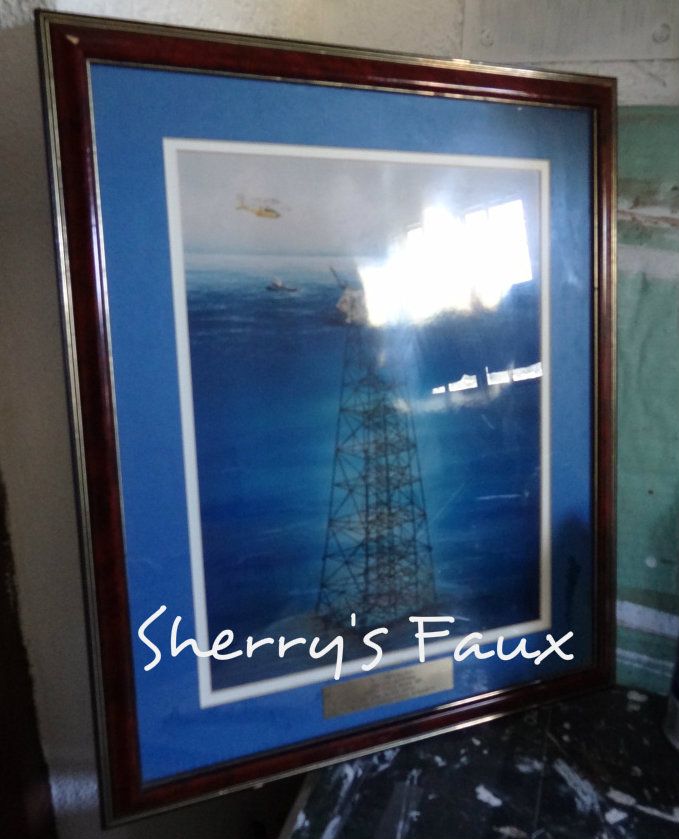
I have this old picture I've been holding onto for years.  It use to hang on the office wall of a company I worked for.  When the company closed, I was given permission to keep the picture.  The frame was custom made and I always loved it!


I also have this straw place-mat...


...and the globes from my chandelier that I had recently transformed...


I won't say what I'm going to do with them, because I'm not certain it's going to work, but let's hope by next week I'll have everything completed to showoff.  So until next week, don't forget to LET YOUR CREATIVITY FLOW!

Monday, June 25, 2012

Armoire (getting it organized)

Right now I'm juggling between getting a project completed for a friend and trying to get my Armoire organized.  When you have limited space, like me, it's important that you utilize every inch in your house wisely and that includes my Armoire.  I not only utilize it for storing clothes, it serves as a vanity when applying makeup, holds my TV when retiring in the evenings, store perfume, my jewelry, etc. - so you can imagine how junky it gets is.


Here's my Armoire in all it's clutter-ness!


 I went online just to get some ideas on how to organize/unclutter my Armoire.  I got some interesting ideas from Revamped Armoires for Small Space Storage


I figured this would take me a week or two to complete, but here's what I finished so far.  I knew I needed boxes and fabric.  I had some fabric left over from a previous project that I could use for lining the boxes, and I had been holding on to some old curtains that I would use to cover the boxes... 


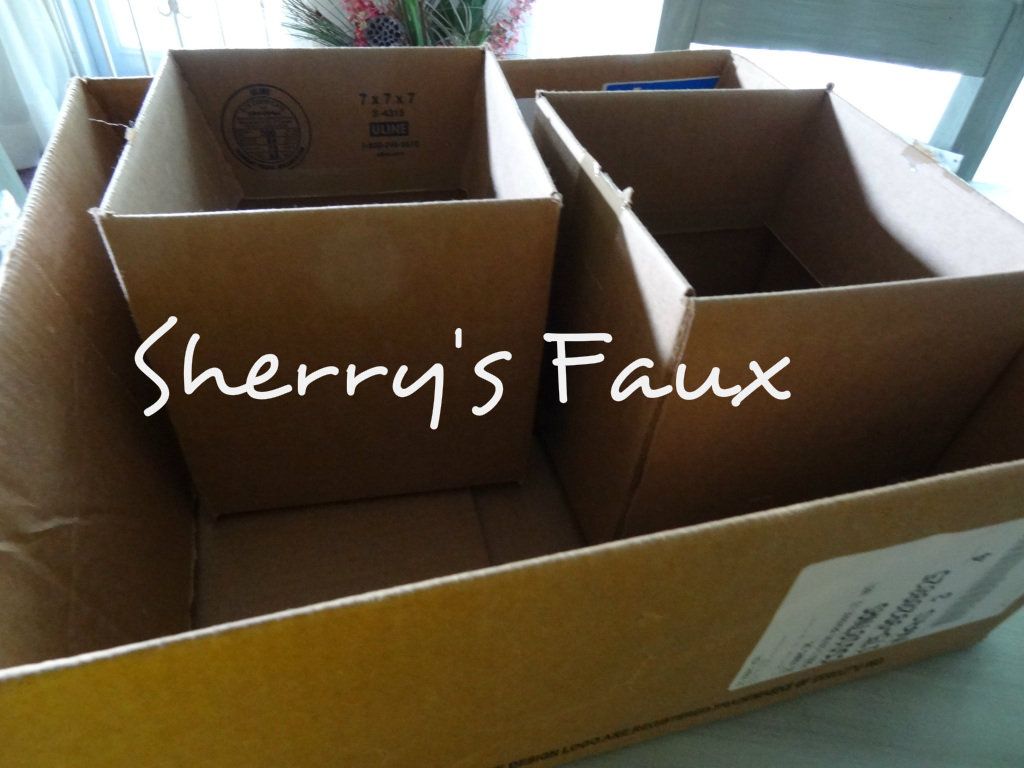
I found 3 boxes


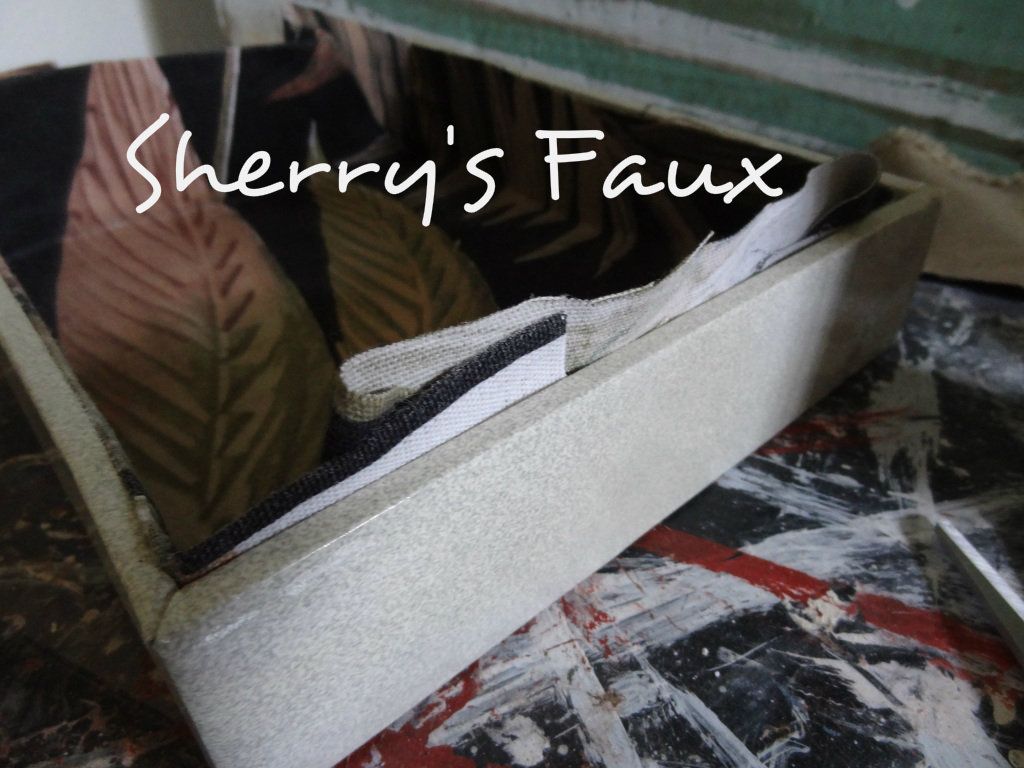
Spray adhesive was used for sticking fabric to boxes and for the lining.


I used twill to wrap around the top edges (fabric glue was used as adhesive)


I came across veneer edging in the store some time ago.  Never had a chance to use it so I decided to give it a shot.


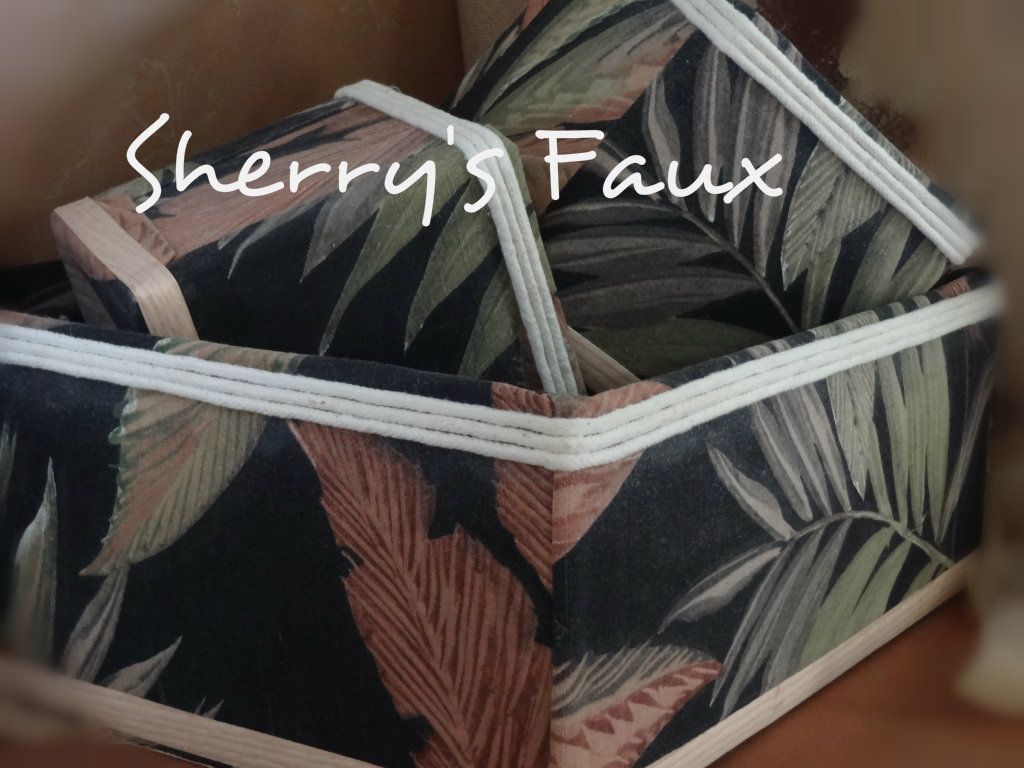
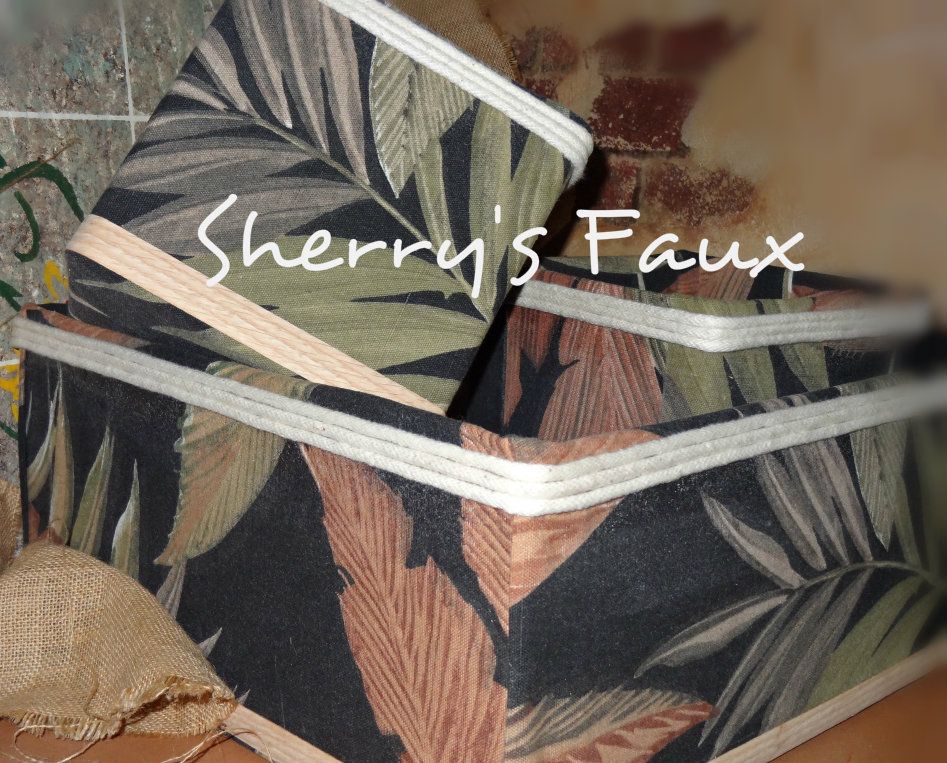
Here are my three decorative boxes I'll be using to organize my Armoire.


I'm still working on some other stuff; I'll definitely post once completed.


PLAIN BOXES BEFORE


DECORATIVE STORAGE BOXES AFTER


I'll be sure to pop by and visit everybody and don't forget to LET YOUR CREATIVITY FLOW! 

Saturday, June 9, 2012

Decorative Fabric Box

I've been looking around to see if I could find a nice basket for my glass table I talked about in my previous blog here


This is a table I had painted some time back and occasionally whenever I was out shopping I tried to remember to look for the perfect basket.  I wanted something like this.

Source:  CoffeeTablesGalore.com

Unfortunately, everything I saw was either too short, too long, too wide or too expensive!
Then one day a very dear friend bought me a set of stoneware, something I needed desperately, but most importantly it came in a box!


I know you're wondering why I'm excited about a box, but I figured if I couldn't find the perfect basket, perhaps I could substitute it for a box.  Will I be wrong for saying I appreciated the box more than the gift???

Here's what I did.

First, I tucked the flaps inside and wrapped paper around the box - this was to make sure the black didn't show through.


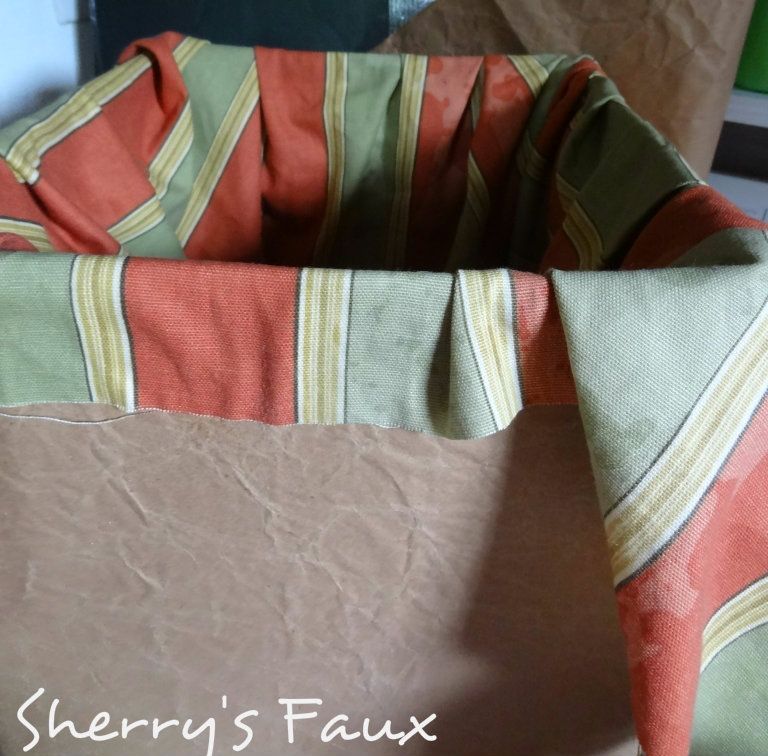
I then took some fabric and used it for the lining  


If you think you saw this fabric before you did.  I used it for my planter here and my dining room chairs here, and I still have tons left!

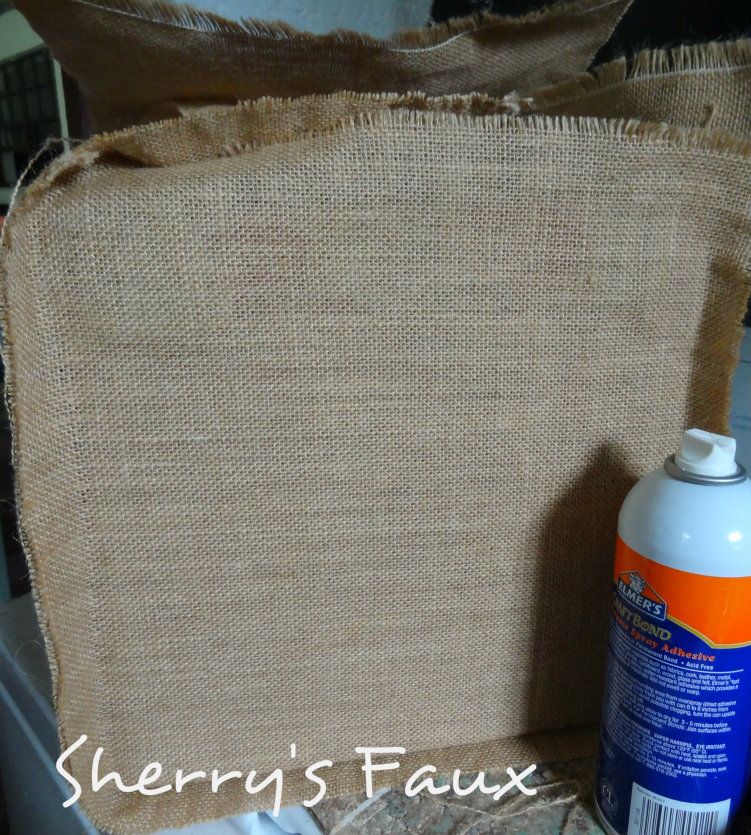
I then cut two long strips of burlap to cover the box.  Oops, I forgot to mention I used spray adhesive to adhere the paper, lining & burlap to the box.

Oh, I also realized the spray adhesive stiffens the fabric and prevents raveling so you don't have to worry about raw edges raveling or raveling too much!  Gotta luv that stuff, it makes everything super simple!


I made sure all four of the sides were sprayed to prevent unnecessary raveling, but I left the top unglued for now.

Sometime ago I came across these dried vines at Home Fabric


I'm sure I can find this stuff in my yard, but the bunch was for $9 so I decided to purchase.

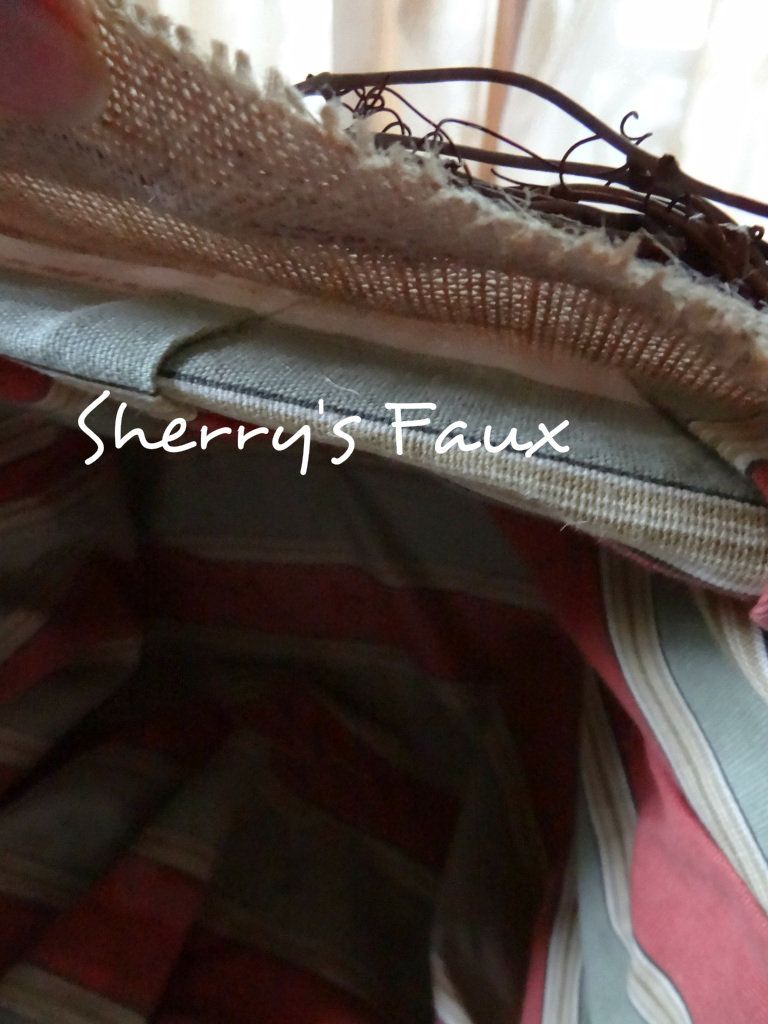
I took some of the dried vines twisted a few together and sewed them around the upper portion of the box. When that was done, I hot glued the fabric down; the twigs can add a lot of weight and I wanted to make sure they didn't pull the fabric down.


Once that was done, I  pulled some threads on top to give it that ragged ravel-y look. and then sprayed it with adhesive to stiffen it and to prevent unnecessary raveling.

 I wanted to apply a stencil, but I didn't have any fabric glue, so after some thought I decided to make my own.


Here's the end product


BEFORE


AFTER


I am so happy with the end product - a lovely decorative fabric covered box, super simple, super quick...LET YOUR CREATIVITY FLOW!