Showing posts with label plastering. Show all posts

Monday, April 30, 2012

Raised Stenciling

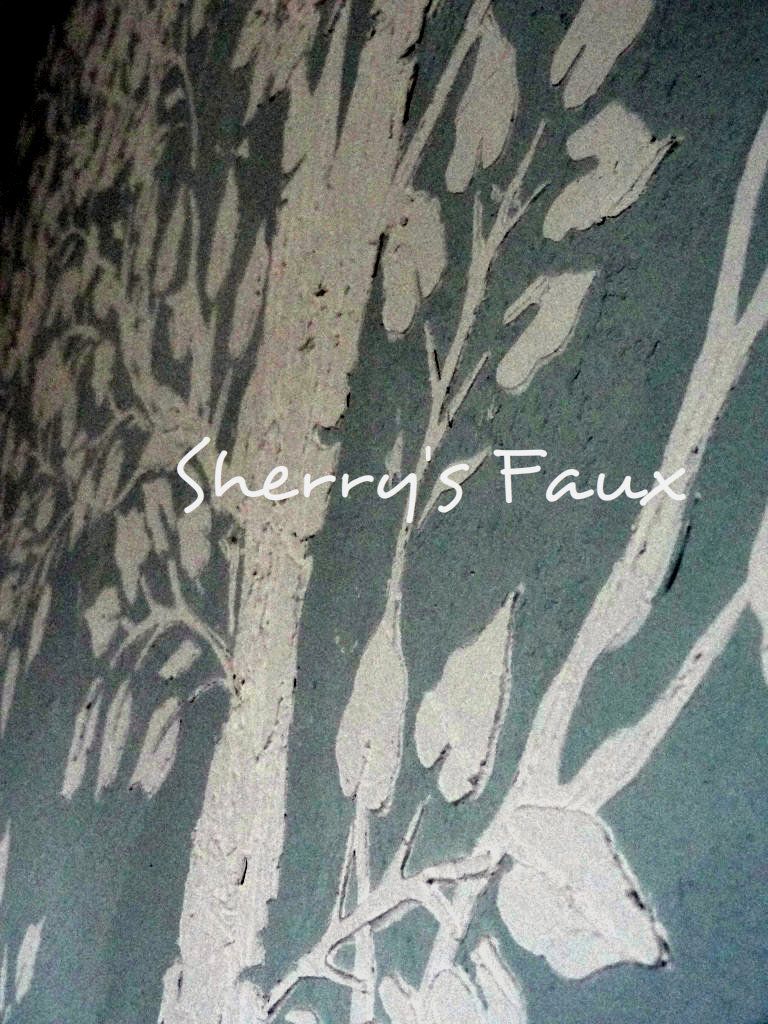
I had several queries about raised stenciling when I featured my shoe box on my earlier blog. Raise stenciling is one of the easiest ways to transform something from plain & drabby to creative & elegant!  Here's some stuff I stenciled over the years.

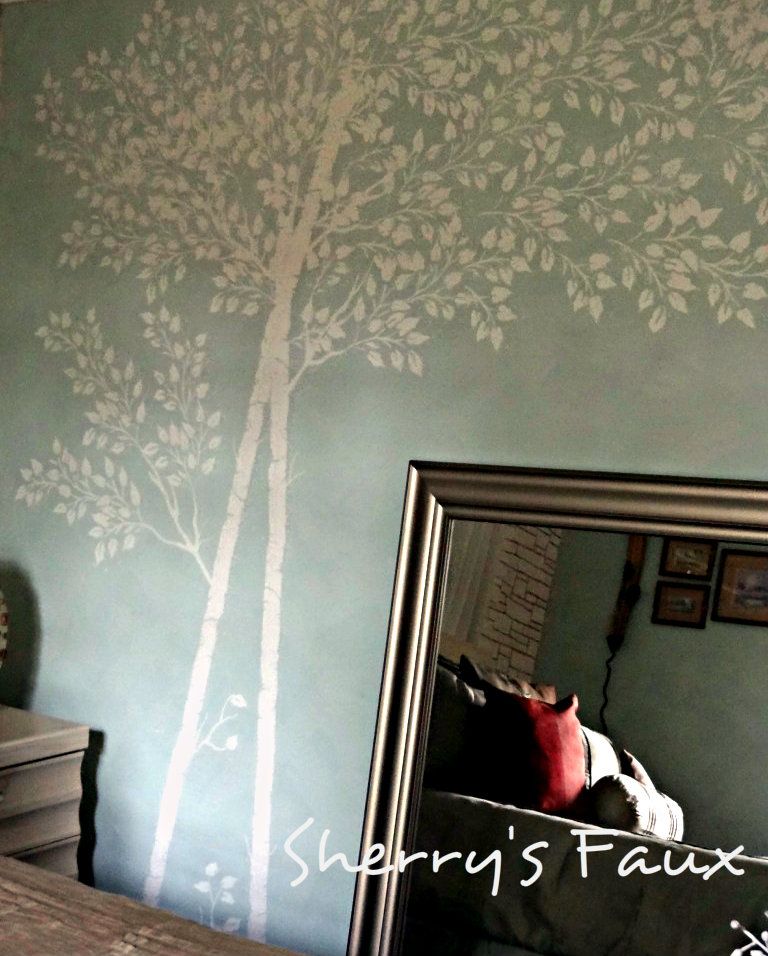
A tree on my bedroom wall


A simple stool


If you want to give this a shot, here's what you'll need to get started

  • Ready made Compound (or you can use wood filler)
  • Stencil
  • Flat end trowel

1st place your stencil where you want your design.


2nd take a little compound and smear it lightly and evenly over the stencil, be sure to hold your stencil firmly to prevent it from moving.
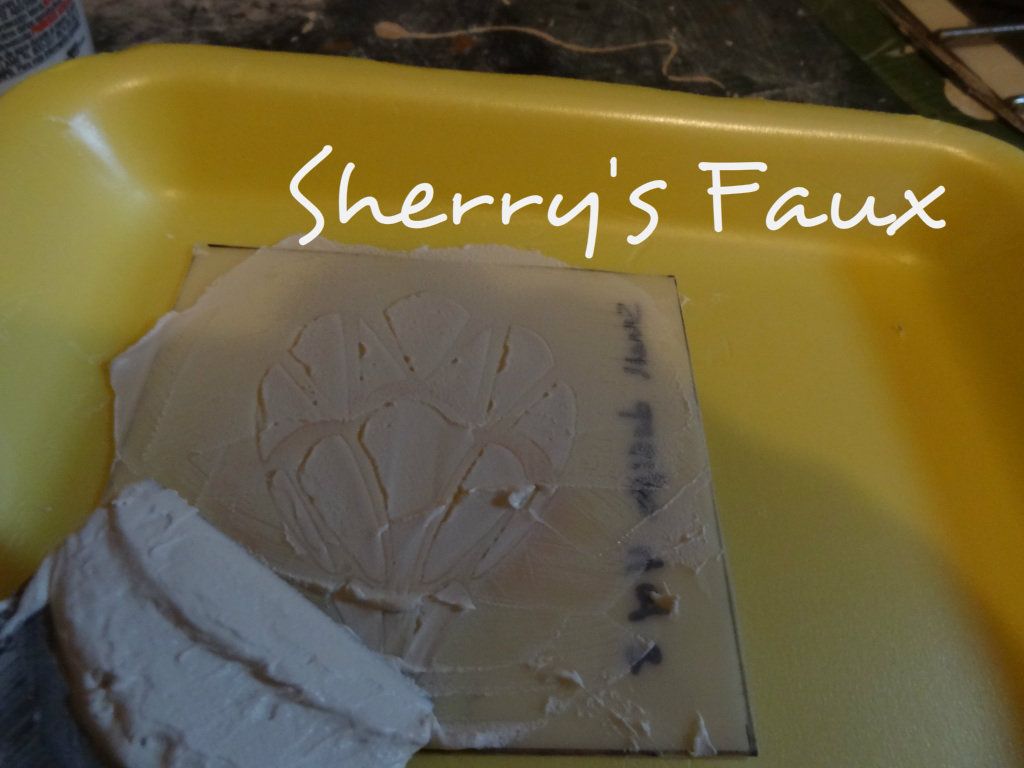


3rd lift your stencil at the edge being careful not to disturb the compound beneath


That's it!


If you have a peak in your design and you don't want it there (I generally like the high's and low's)  you can wait until it dry and sand it, or while the design is still wet you can use a toothpick to pat it down (you got to be gentle); you can also use a wet Q-tip to clean up the edges.


The best part about raised stenciling, if you don't like it you can scrape it up and redo it!
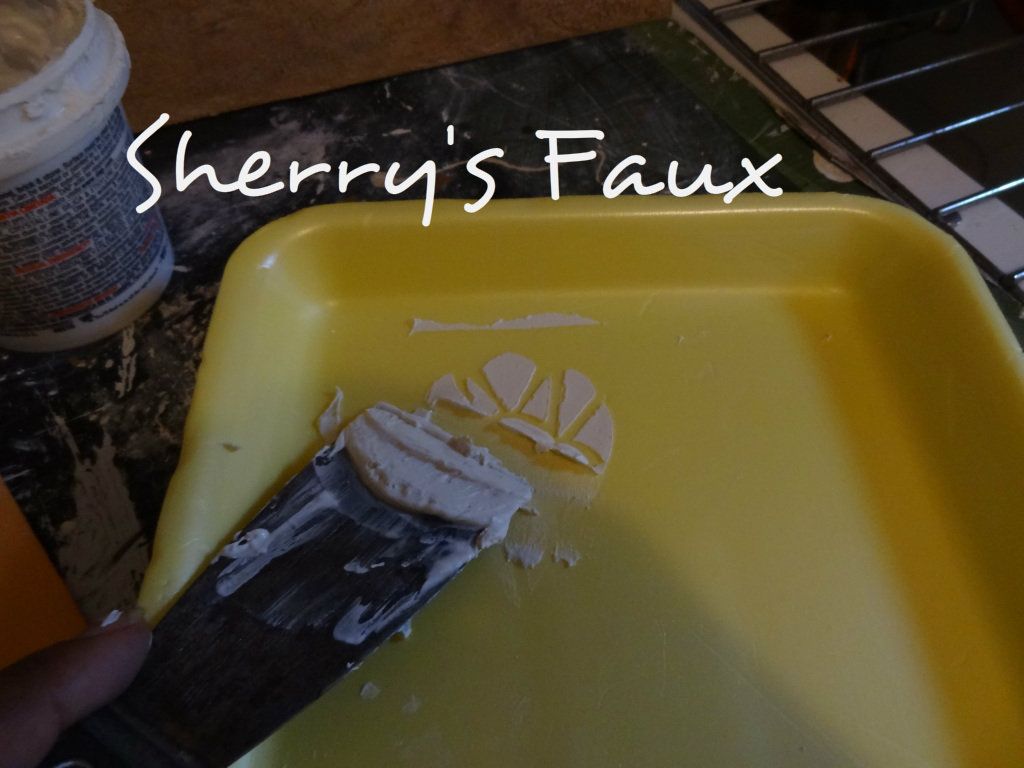


If you want to create more depth lay it heavy.


You can add paint to the compound if you want color, but be careful not to add too much or it might become runny and your design won't hold.  Also, if you add paint to your compound when it dries the color will be 1 - 2 shades lighter.


Raise stenciling your wall can be lovely - here's my foyer I painted


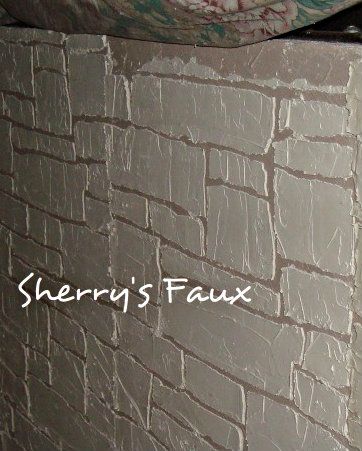
I also did a Stack Stone on my bedroom wall - this was laid heavy to give the appearance of stone.


And here's a Willow tree stenciled on my Living Room wall


Each leaf was hand painted


Once you get started, I'm sure you're going to have fun...


 If you decide to give this a shot send me a line and let me know.  So, go ahead and LET YOUR CREATIVITY FLOW!


Monday, October 10, 2011

Candle Nuggets (Gold, Black & Blue)

This weekend was a busy weekend for me.  I had found some small candles during the earlier part of the week, so I decided to begin playing around with them.

BEFORE


They are small and since I'm going to be giving these away as gifts I wanted to really make them unique. 

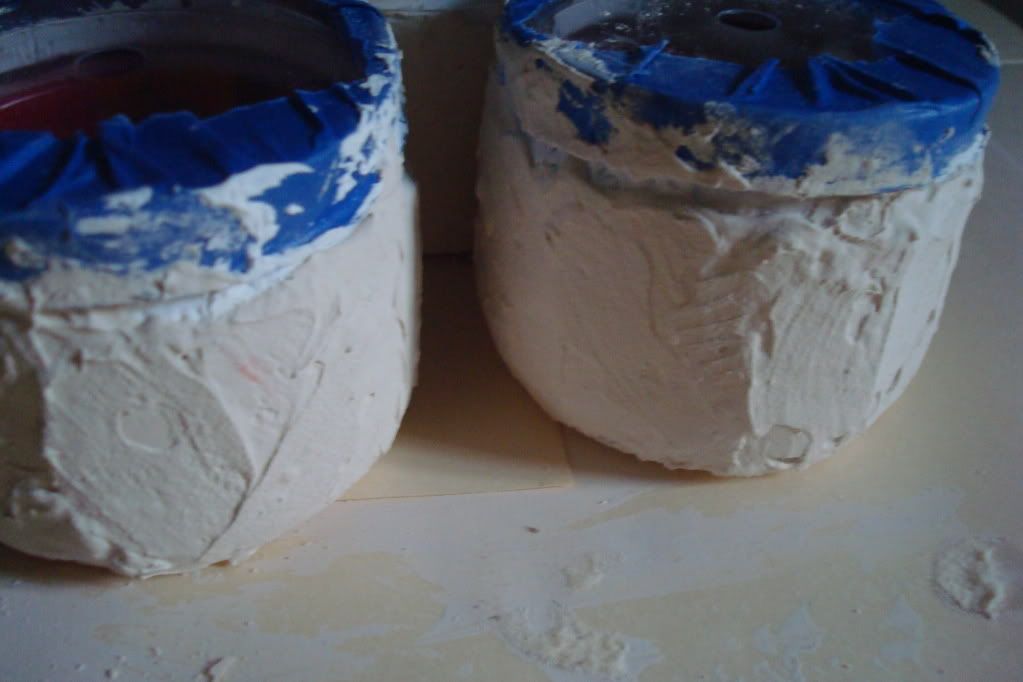
After taping the top part of the jar, using joint compound,  I began plastering.


I gave them a day to dry and then worked with painting them.  The first one I painted was gold, well of course this was too bright, so I pulled out all of my metallic paints and tried to get my creativity flowing.... :-)


I wanted to tone it down with some silver paint, but I didn't have silver so I decided to try mixing the color myself.  I combined 1 part  black with 10 parts white and came close to the silver I was looking for and began toning it down - you can use a brush or cloth for this (I used both).


I had also started adding cranberry to it...  I still wasn't sure of what I was looking for so I kept playing with colors - black, blue & bronze.


Sorry, around this time my camera ran out of memory, and I couldn't find my memory card, I had to keep running to my computer to upload photos before I could shoot more.  Well, after a while I got tired of running back & forth to my computer, so unfortunately I missed out on a lot of pictures.

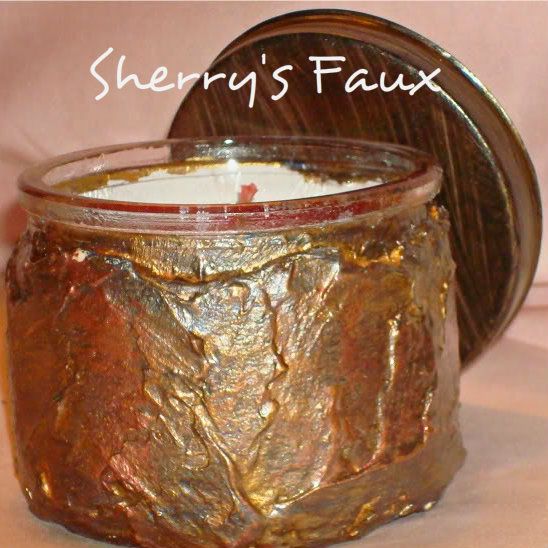
I knew I wanted more color and definition so I started smearing on blue, and dry brushed some black on it.  It was still a little to bright so I added an extender to my bronze (the extender gives your paint some play time) painted over the whole thing quickly and then begin wiping it off.  It took me a while to get the desired result, I had to add some more silver, cranberry & blue, but this is the final result.


I call it "Gold Nugget"  

I painted the plastic lid black & dry brushed gold over it and then wiped it down to soften the color; this looks much better than the clear plastic lid.

The second candle I painted silver (using the silver I had made earlier)


I then smeared on blue & cranberry...


This is 'Blue Dust'.


The lid was painted blue and I dry brushed it with cranberry, and then wiped it down to soften it.

I painted the last one silver also,


I then painted it black and added some white-gold glitter in the crevices, to give it a twinkle.


"Black Beauty!"


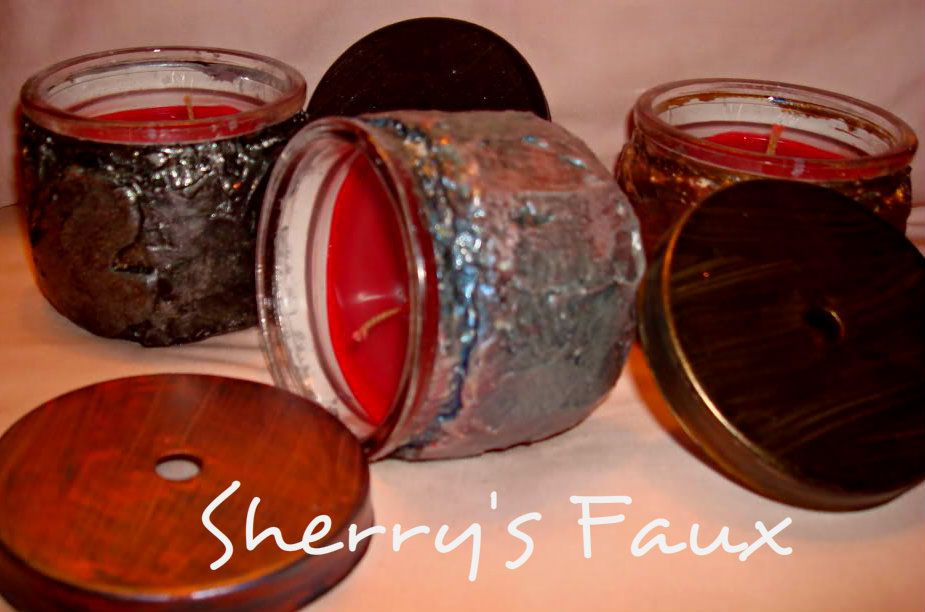
Here's another glimpse of my Candle Nuggets...


Black Beauty, Blue Dust, Gold Nugget


Black Beauty, Blue Dust, Gold Nugget


They're small, but I'm sure they will have a delightful impact on whoever receives them.  Hopefully you're now inspired to LET YOUR CREATIVITY FLOW!

I'm linking this post to Wow us Wednesdays