Showing posts with label bedroom makeover. Show all posts

Monday, April 30, 2012

Raised Stenciling

I had several queries about raised stenciling when I featured my shoe box on my earlier blog. Raise stenciling is one of the easiest ways to transform something from plain & drabby to creative & elegant!  Here's some stuff I stenciled over the years.

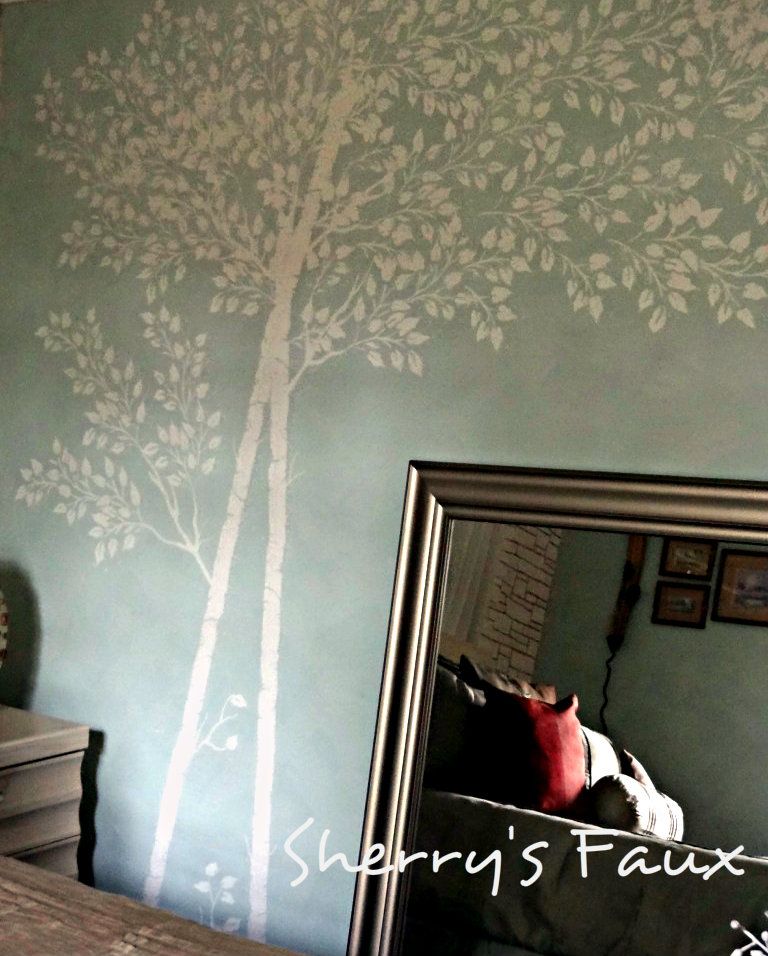
A tree on my bedroom wall


A simple stool


If you want to give this a shot, here's what you'll need to get started

  • Ready made Compound (or you can use wood filler)
  • Stencil
  • Flat end trowel

1st place your stencil where you want your design.


2nd take a little compound and smear it lightly and evenly over the stencil, be sure to hold your stencil firmly to prevent it from moving.
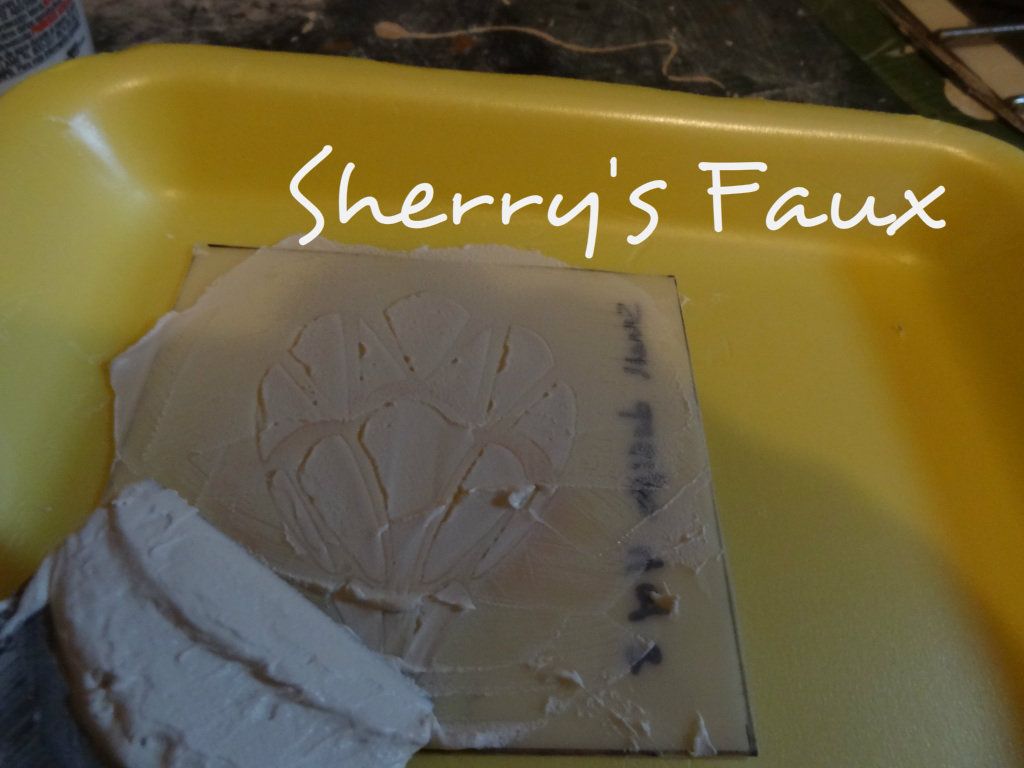


3rd lift your stencil at the edge being careful not to disturb the compound beneath


That's it!


If you have a peak in your design and you don't want it there (I generally like the high's and low's)  you can wait until it dry and sand it, or while the design is still wet you can use a toothpick to pat it down (you got to be gentle); you can also use a wet Q-tip to clean up the edges.


The best part about raised stenciling, if you don't like it you can scrape it up and redo it!
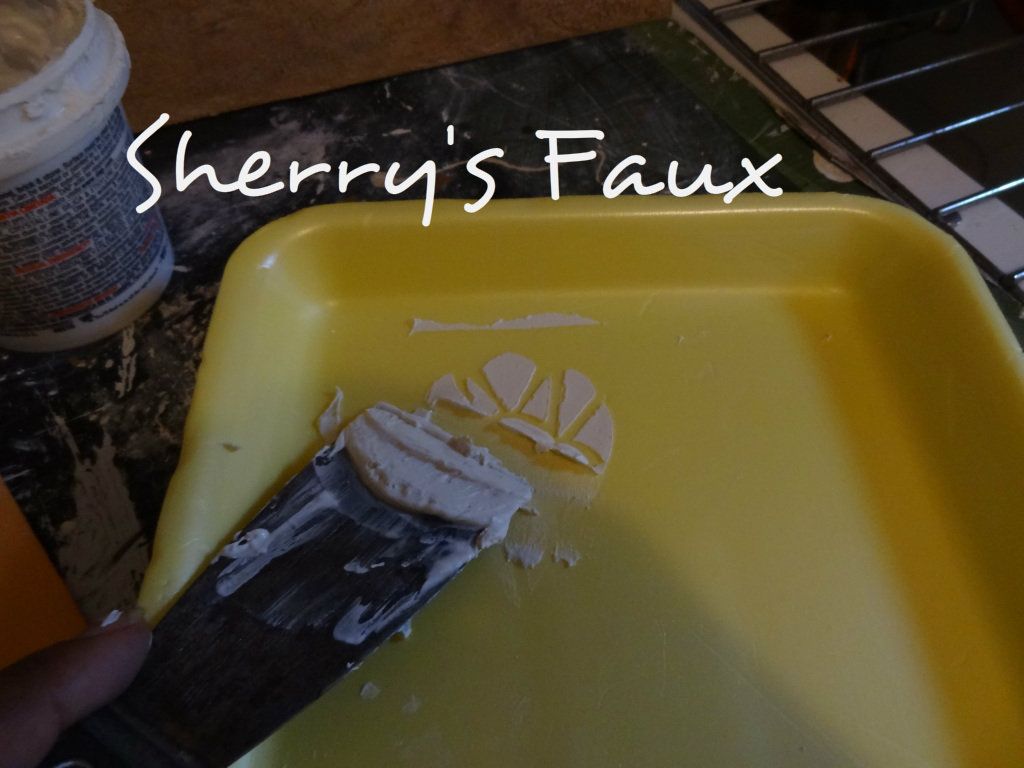


If you want to create more depth lay it heavy.


You can add paint to the compound if you want color, but be careful not to add too much or it might become runny and your design won't hold.  Also, if you add paint to your compound when it dries the color will be 1 - 2 shades lighter.


Raise stenciling your wall can be lovely - here's my foyer I painted


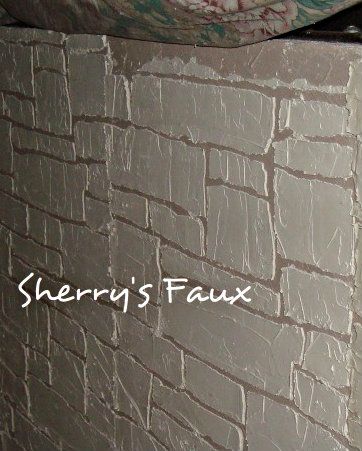
I also did a Stack Stone on my bedroom wall - this was laid heavy to give the appearance of stone.


And here's a Willow tree stenciled on my Living Room wall


Each leaf was hand painted


Once you get started, I'm sure you're going to have fun...


 If you decide to give this a shot send me a line and let me know.  So, go ahead and LET YOUR CREATIVITY FLOW!


Monday, January 2, 2012

HAPPY NEW YEAR!

2011 was an inspirational year for me.  There is so much unique and creative ideas on all of these blogs that encourages and inspires.  I named my blog Decorating with Cents because I had to learn to do more with less and I had to learn to improvise - make do with what I had or sometimes with what I didn't have.


I'm learning.  I'm learning to look at "trash" differently.  I'm a shame to say there was a time I would never look on the corners for 'junk' thrown out by homeowners - but now I'm always on the lookout.  November was the first time my sister and I visited a Goodwill store (while on vacation in Georgia) and you know, it was fun, I enjoyed browsing through Goodwill eying furniture with so much potential and other treasures I wished I could have scooped up.  The only thing that prevented me from buying was knowing I had to take a flight back and the airline's tight restriction on carry-on's and luggage.

I was also fortunate to attend my first Faux Decorative class which was a major accomplishment for me.  Incorporating everything I've learned and read about has helped me to transform my humble home with meager $$$ into a home I'm comfortable with.  It's encouraging to know it is possible to Decorate with Cents!  Here are a few of my accomplishments I'm able to look back on and feel proud.

KITCHEN BEFORE


KITCHEN AFTER


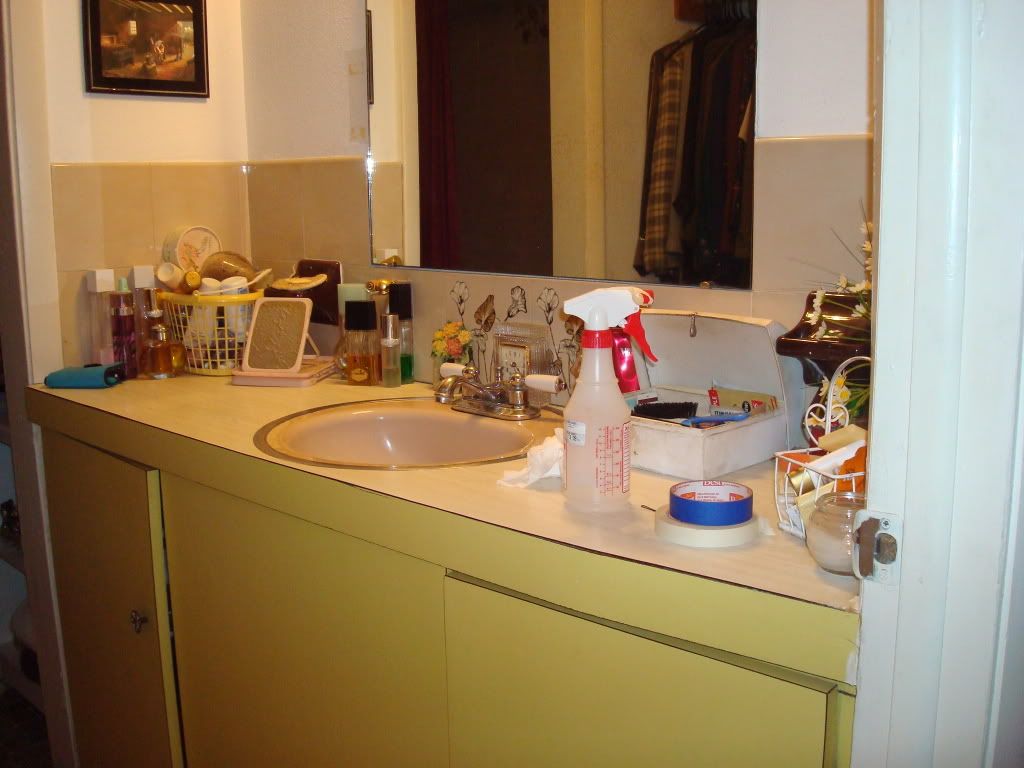
BATH BEFORE


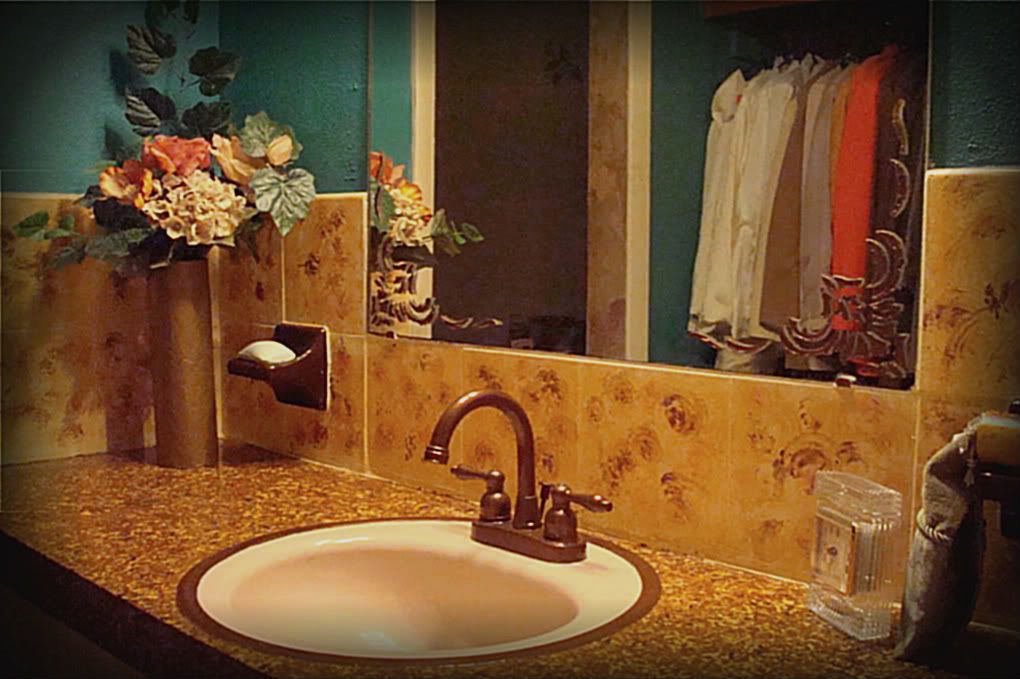
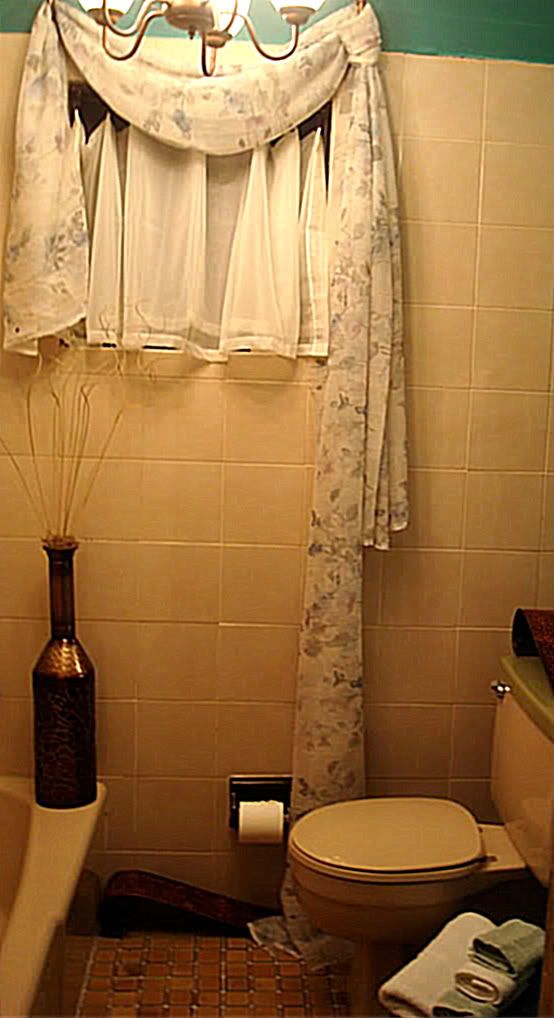
BATH AFTER


BEDROOM BEFORE


BEDROOM AFTER


It's amazing, a few years ago I knew nothing about painting, never heard of a miter saw, and hadn't a clue about changing junk into treasure.  What I've learned over the past year wouldn't have been possible without bloggers who eagerly and willingly share their 'how to' tips.

This year I'm hoping to progress and become better at what I enjoy doing because it's always better when you LET YOUR CREATIVITY FLOW!  
HAPPY NEW YEAR

Thursday, August 11, 2011

Master Bed Makeover

My home is 20+ years old and all of the rooms are small.  It's a constant challenge trying to do so much with limited funds and space!  I had to first think about what I wanted for my room.  I very seldom use my bedroom for anything but sleeping, I'm up early in the morning occupying the other rooms.  So I knew I wanted the room to have that calm, inviting look with a cottage twist.  I also needed the appearance of space.

This is my BEFORE


I was never into decorating and I was always pretty much comfortable with whatever I had.  All of the walls in my house had always been white so I found myself hesitating a lot about adding color to my bedroom walls.  The hardest part was taking down the borders.  That was a 2 day process, thankfully my son assisted me in that task.  I have since learned to hate borders.

Here's the AFTER

This is the back wall.  I used a raised stencil for the stacked stone affect.  I then stained it with a natural walnut stain.  It took me about 4 days (2-3 hours each evening after work) and 1 weekend to complete the stenciling.  The pictures hanging on the left looked 'blah' by themselves; I wasn't too sure what to put up there with them.  While browsing through one of the stores I stumbled across this dry plant and loved it!   While on vacation in Georgia I spotted the champagne & teal fabric and I knew I had to have it, because I hadn't intended on buying fabric I had to guess at the yardage.  I barely had enough fabric for my window treatment.  Because I can be lazy at times I opted to use the No Sew glue.  So far they're holding up good.  I wanted to add some height to the windows so I used the sheers that were taken down from my living room.  I didn't want to spend money on new rods so I spray painted my old rods brown, I definitely liked the look.  The comforter set was ordered online from King Linen 2 months prior to me painting & the lamps were purchased from  AID I was going to get something simple, but my sister had already advised me to look for something funky "outside of my comfort zone".  The comforter set ($69.99) and the lamps (approx. $49 each) were my biggest purchase items.


Stack stone in progress close up

This is the entrance to my bedroom.  I feel the table & stool were a good balance for my Armour.  The stool is just an ordinary plastic stool that I had purchased years ago for my son and his friends when he was much younger.  I fixed it, click here to read how, and used an old linen tablecloth to make the cushion, then I added ribbon to the cushion and tied each to the legs of the stool.  The table is an old glass table that was headed for the dump, I experimented with painting it, liked it and decided to use it.  It also helps to hide the cabling against the wall.  One of my friends at the office had given me the vase.  It was a plain clear vase so I decided to paint it and add a simple floral arrangement.  I painted the wall off white because I didn't want it to take away for the other walls in the room.

Side wall.  It's difficult to see the texture on the wall from this picture but I decided to attempt the Bellagio faux technique I used a dark teal & a lighter teal. Afterward I used raised stenciling for the tree, joint compound was used for both techniques.  The Bellagio technique took me approx 3 days for both walls.  Because my room is small I realized I had to get rid of some furniture.  It was a battle between the Armour and the dresser, the Armour won!  However, I always loved the mirror on my dresser and decided to place it along the empty space by the wall.

It took a lot of work but I'm fascinated by the change and it was well worth the time.
LET YOUR CREATIVITY FLOW! 

Wednesday, August 3, 2011

My son's room transformed

When my son was home for winter break, he asked me to decorate his room.  Well, this was a big challenge for me because neither he nor I could agree on a color scheme.  He said he wanted to draw a mural on the wall and I said fine, but as teenagers often do, he procrastinated.  After three or four days of nothing I decided to take it in my hand.  My biggest weakness is 'before' pics, I forgot to take them, but here's a short & humorous video clip I had did of us a year prior.  Get a good look at his room...  If you look hard you'll see peaks of the foyer when the walls were 'boring white'.


Hoped you enjoyed the humor... here are the after pictures:

We decided on stripes, maroon and light gray.  Because the room is small I felt stripes on all four walls would have made the room look like a jail cell, so the front & back walls are striped and the two side walls were dry brushed.


My biggest expense was the comforter set.   I bought the comforter set from Cost Right and it was selling for approx $60. I wasn't completely satisfied with the comforter, I wanted something with a little more gray, but I wanted the room completed before he left to go back to college and that didn't leave me with very much time (we were painting around the New Year Holiday)  my son was flying back to college the day after New Year.  The black lamp was around $30. I had a $50 gift certificate for Cost Right so I spent approx $40.  Kelly's generally have the best selection of blinds and thankfully they had the color I was looking for.  I love their paint selection, so I purchased my paint from them as well.    I can't locate my receipts, but in total I think I'm safe saying I spent approx $200 that would include 2 gallons of paint (gray & maroon), blinds, comforter set, lamp, paint brushes and pillows.  I'll be using my paint brushes and left over paint for future projects, so there will be some money savings later.

If you look closely at the top of the wall you can see where I stenciled straight across.  I figured that would help to add a little more interest to the wall. My son is obsessed with caps, so we decided to use his caps as the center piece for his dresser.

There are still one or two details I want to add to the room, i.e. change the white ceiling fan and perhaps add something more to the window treatment.  But still the room was completed before he headed back to college and we were both pleased with the results.

LET YOUR CREATIVITY FLOW!