This weekend was a busy weekend for me. I had found some small candles during the earlier part of the week, so I decided to begin playing around with them.
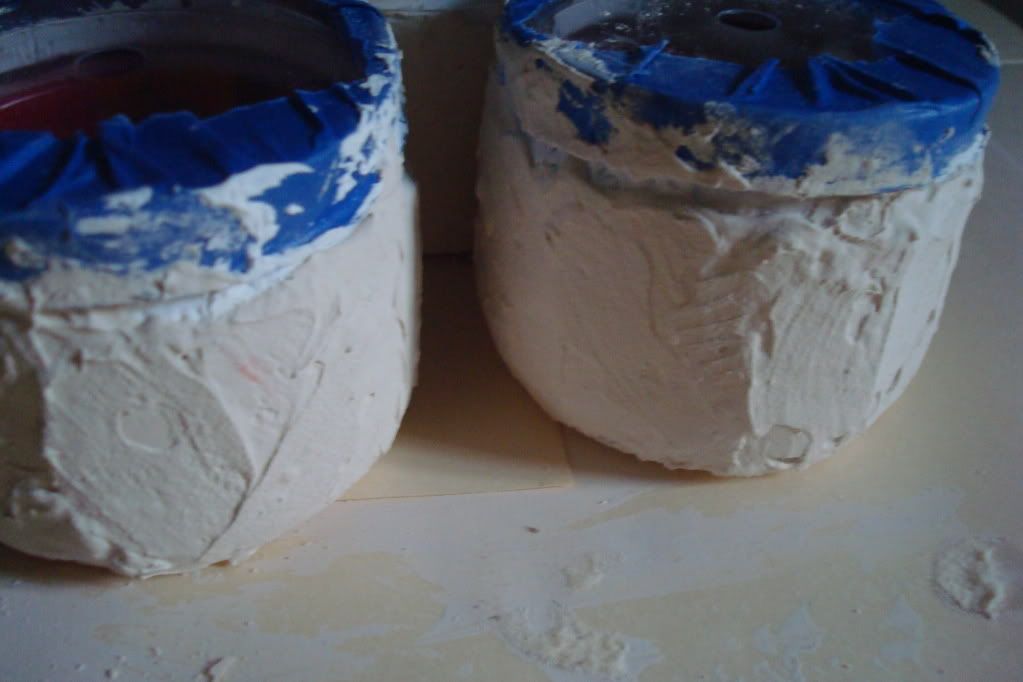
BEFORE
They are small and since I'm going to be giving these away as gifts I wanted to really make them unique.
After taping the top part of the jar, using joint compound, I began plastering.
I gave them a day to dry and then worked with painting them. The first one I painted was gold, well of course this was too bright, so I pulled out all of my metallic paints and tried to get my creativity flowing.... :-)
I wanted to tone it down with some silver paint, but I didn't have silver so I decided to try mixing the color myself. I combined 1 part black with 10 parts white and came close to the silver I was looking for and began toning it down - you can use a brush or cloth for this (I used both).
I had also started adding cranberry to it... I still wasn't sure of what I was looking for so I kept playing with colors - black, blue & bronze.
Sorry, around this time my camera ran out of memory, and I couldn't find my memory card, I had to keep running to my computer to upload photos before I could shoot more. Well, after a while I got tired of running back & forth to my computer, so unfortunately I missed out on a lot of pictures.
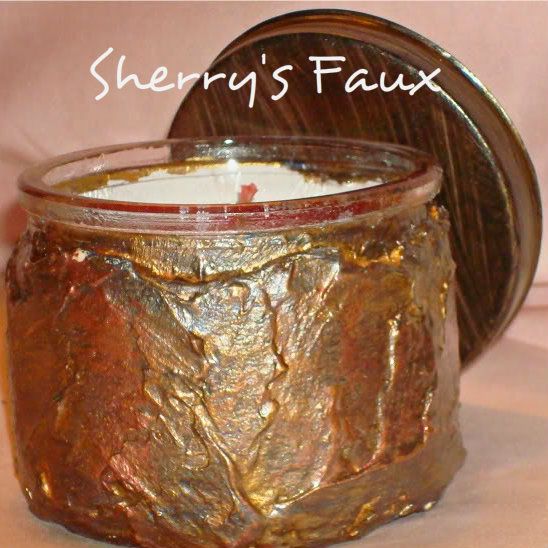
I knew I wanted more color and definition so I started smearing on blue, and dry brushed some black on it. It was still a little to bright so I added an extender to my bronze (the extender gives your paint some play time) painted over the whole thing quickly and then begin wiping it off. It took me a while to get the desired result, I had to add some more silver, cranberry & blue, but this is the final result.
I call it "Gold Nugget"
I painted the plastic lid black & dry brushed gold over it and then wiped it down to soften the color; this looks much better than the clear plastic lid.
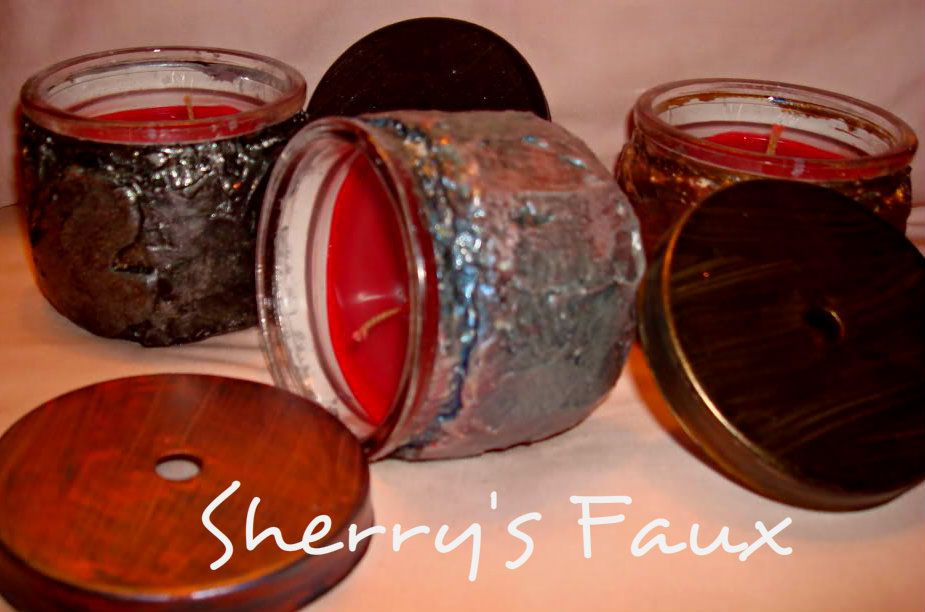
The second candle I painted silver (using the silver I had made earlier)
The lid was painted blue and I dry brushed it with cranberry, and then wiped it down to soften it.
I painted the last one silver also,
I then painted it black and added some white-gold glitter in the crevices, to give it a twinkle.
"Black Beauty!"
Here's another glimpse of my Candle Nuggets...
They're small, but I'm sure they will have a delightful impact on whoever receives them. Hopefully you're now inspired to LET YOUR CREATIVITY FLOW!
I'm linking this post to Wow us Wednesdays
I'm linking this post to Wow us Wednesdays


11 comments:
Wow, these are so pretty and creative. Truly a unique gift idea that everyone will love! And, thank you so much for the sweet note about my Fall dining room! *Becca* (new follower)
Thanks for stopping by my blog! Happy to have you as a new follower and I am following you now too!
These candles are so unique! How cool would they be to stamp an image on the front or a monogram? Love the coloring technique - awesome!
Those look like they took a lot of time! Nice job!
Love your candle nuggets - very creative. Thanks for stopping by my blog. I'm now following you back!
~ Wendi ~
Very nice - I like the goldish one...
Kudos to you! I love your little bio, as it is so true. I get more thrills out of budget decorating than going into a store and paying high prices for designer stuff. I want to follow you back but for some reason your followers is not up on the screen, I tried refreshing twice.
You have been busy you will be more than ready by the holidays!
These are so pretty! What nice gifts. I love the colors you came up with.
www.inside-outdesign.blogspot.com
I love the nugget look. You have some great gifts in the making.
Beautifully done! Perseverance truly pays off! Thx for stopping by and for your kind comment.
These are beautiful.. stunning!! and super impressive!!
Post a Comment